1. Introducció
This manual provides comprehensive instructions for the Acogedor Automatic Morse Code Keyer Transmitter. This device is engineered for radio amplification and features advanced capabilities such as memory storage, adjustable transmission speed, and power-off protection. Constructed from durable aluminum alloy, it offers reliable performance for continuous wave (CW) communication.

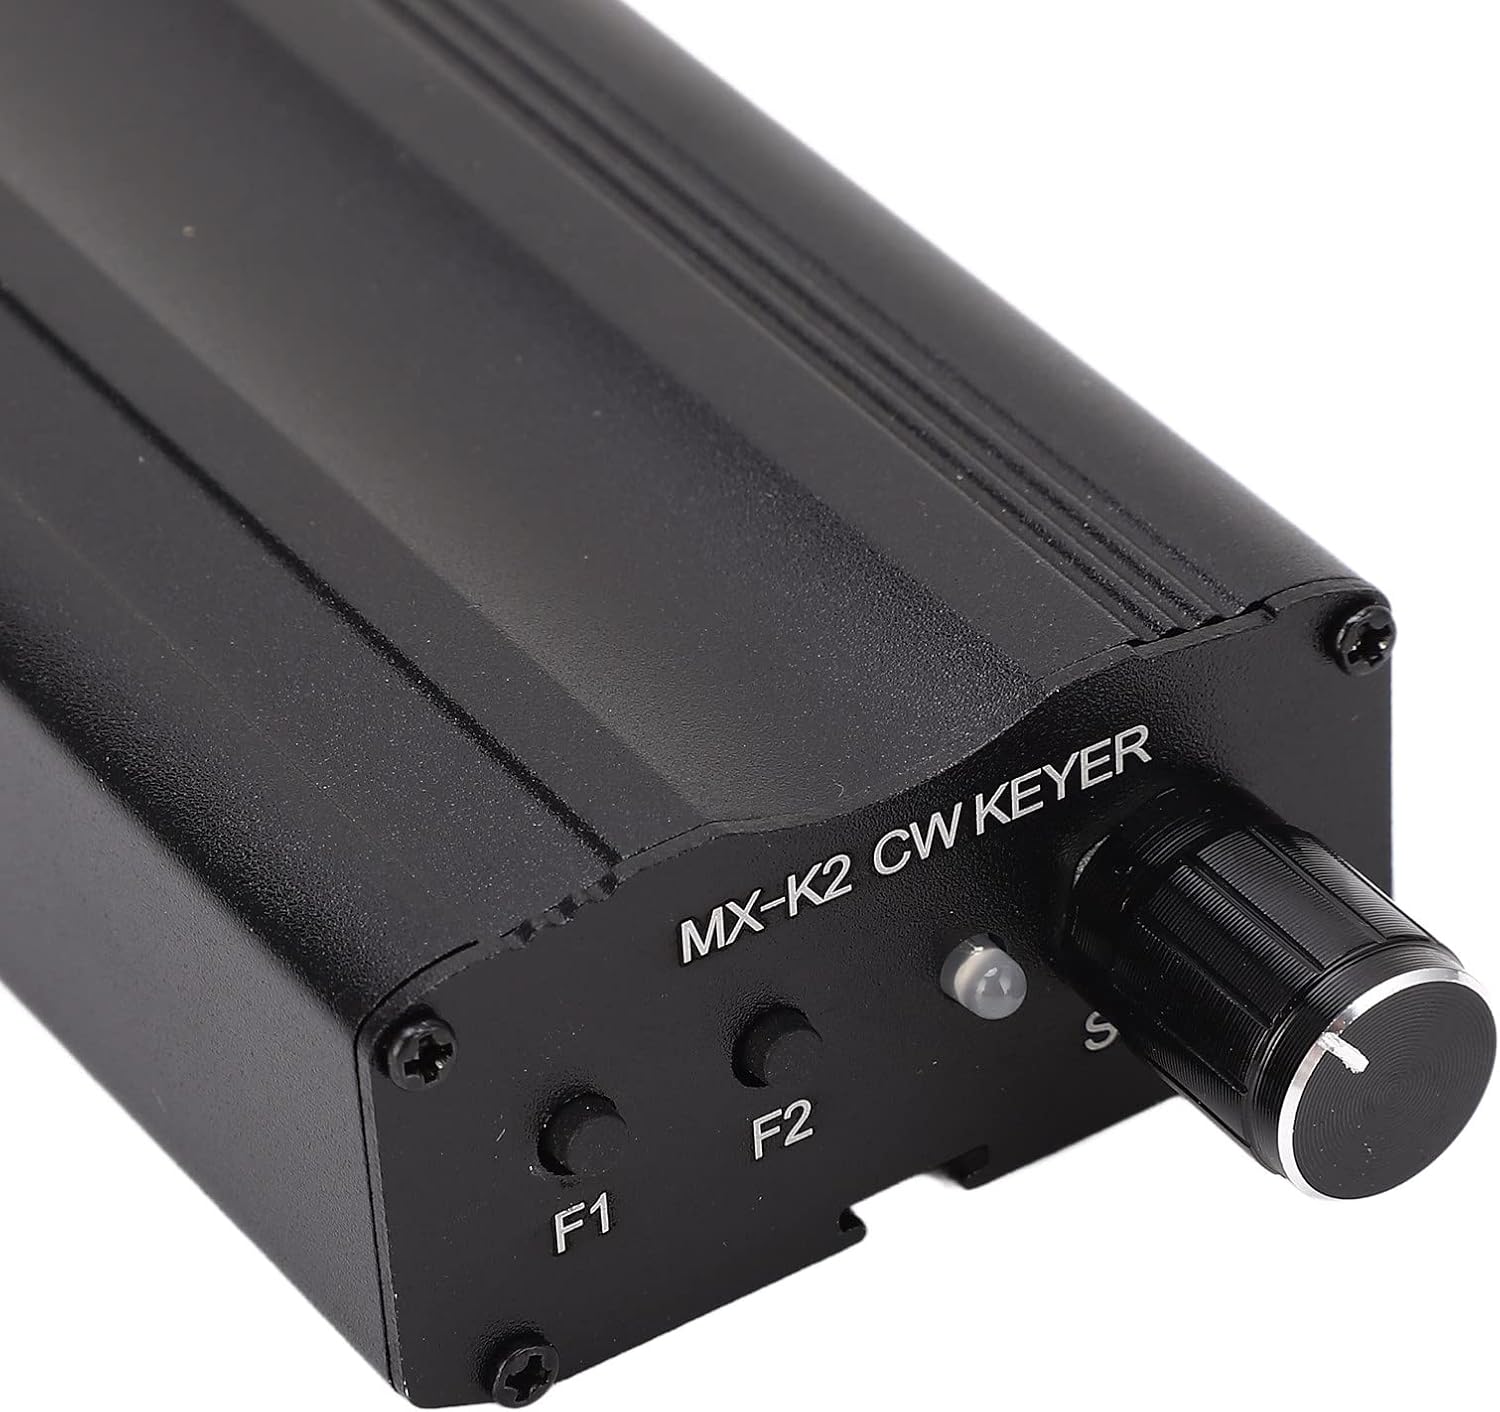
Imatge 1.1: acabatview of the Acogedor Automatic Morse Code Keyer Transmitter.

Image 1.2: Key features of the Automatic Keyer, including its 2-button and switch design, segmented storage, power-off protection, and adjustable speed switch.
2. Configuració
Follow these steps to connect your Automatic Morse Code Keyer Transmitter:
- Connect CW Paddle: Locate the port labeled 'KEY' on the side of the keyer. Insert the connector from your CW paddle into this port.
- Connectar el transceptor: Locate the port labeled 'TRANSCEIVER' on the side of the keyer. Connect your radio transceiver to this port using the appropriate cable.
Imatge 2.1: Lateral view of the keyer, clearly showing the 'KEY' port for the CW paddle and the 'TRANSCEIVER' port for connecting to a radio transceiver.
3. Instruccions de funcionament
The keyer is equipped with two function buttons, F1 and F2, and a rotary knob, R3, for speed control.
- Botó F1: Used for memory functions, capable of storing up to 60 words. This memory retains data even after power loss.
- Botó F2: Used for memory functions, capable of storing up to 50 words. This memory also retains data after power loss.
- R3 Knob (Speed Control): Adjusts the transmission speed. Decreasing the R3 value will increase the keying speed.

Imatge 3.1: Primer pla view of the keyer's control panel, highlighting the F1 and F2 buttons and the R3 speed adjustment knob.
4. Funcions de memòria
4.1 Recording Messages
- Press and hold both F1 and F2 buttons simultaneously for more than half a second.
- You will hear an 'M' sound, indicating that recording has started.
- Transmit your Morse code message using the CW paddle.
- To end recording, press F1 and F2 again. You will hear an 'S' sound.
- If the memory capacity is exceeded during recording, an 'F' sound will be emitted, and any additional strokes will not be recorded.
4.2 Segmented Messages
Messages can be stored in multiple segments. To separate segments within a single message, insert an EOM (End of Message) marker at the conclusion of each segment during the recording process.
4.3 Playing Segments
To play a specific segment of a stored message, press the corresponding memory button (F1 or F2) multiple times:
- Press the button once to play the first segment.
- Press the button twice to play the second segment.
- Press the button three times to play the third segment, and so on.
5/XNUMX. Mode d'operació
The keyer supports various operational modes:
- Entering Mode: Press F1 and F2 simultaneously. You will hear a 'C' sound, indicating entry into mode.
- Exiting Mode: To exit mode, press F1 and F2 simultaneously again, or press the auto key to enter D mode.
- Auto Key Feedback: When using the auto key, the system provides feedback:
- 'R' indicates a correct input.
- '?' indicates an invalid input.
- Mode A: Disables memory and short sounds.
- Mode B: Enables memory and short sounds. This is the most common operational setting.
- Modes C and E (Repeat Playback): These modes enable message repetition. Playback automatically ceases after 255 repetitions in E mode.
- Disabling Short Voice Auto Key: To turn off the short voice auto key, press it once. After the keyboard player makes an 'R' judgment, press it again to end the function. The 'C' sound does not automatically activate but can serve as a signal. To deactivate it, press the Short Voice Auto key, then press it again after an 'R' judgment to conclude.
- Mode D (End Mode): This mode refers to the end mode and returns the device to normal operation.
6. Especificacions
| Atribut | Detall |
|---|---|
| Tipus d'element | Automatic Keyer |
| Material | Aliatge d'alumini |
| Marca | Acogedor |
| Número de model | Acogedor7sxtq34eym |
| Memory Capacity (F1) | 60 words (with power-off retention) |
| Memory Capacity (F2) | 50 words (with power-off retention) |
| Interfície de control | 2 buttons (F1, F2), 1 speed adjustment knob (R3) |
| Protecció | Funció d’apagada |
7. Solució De Problemes
Aquesta secció tracta els problemes habituals que podeu trobar:
- Recording stops unexpectedly or 'F' sound is heard: This indicates that the memory capacity for the current message has been exceeded. Shorten your message or clear existing memory if necessary.
- Auto key provides a '?' sound: This signifies an invalid input. Review your keying technique or the current mode settings.
- El dispositiu no respon: Ensure all connections (CW paddle, transceiver) are secure and correctly inserted into the 'KEY' and 'TRANSCEIVER' ports. Verify power supply if applicable (though this model's power source isn't specified, general troubleshooting applies).
- Incorrect keying speed: Adjust the R3 knob to achieve the desired transmission speed. Decreasing the R3 value increases speed.
8. Manteniment
To ensure the longevity and optimal performance of your Automatic Morse Code Keyer Transmitter, follow these maintenance guidelines:
- Neteja: Keep the device clean and free from dust and debris. Use a soft, dry cloth for cleaning. Avoid liquid cleaners or abrasive materials.
- Emmagatzematge: Store the keyer in a dry environment, away from direct sunlight, extreme temperatures, and high humidity.
- Manipulació: The aluminum alloy housing is designed for durability, but avoid dropping or subjecting the device to strong impacts.
9. Garantia i Suport
For technical assistance, warranty information, or customer support regarding your Acogedor Automatic Morse Code Keyer Transmitter, please contact Acogedor customer service through their official channels or the retailer from whom the product was purchased. Please have your model number (Acogedor7sxtq34eym) available when contacting support.