1. Introducció
This manual provides detailed instructions for the setup, operation, and maintenance of your ELEGOO Mars 4 MSLA 3D Printer and ELEGOO Mercury Plus 2.0 Wash and Cure Station. These devices are designed to work together to provide a seamless and high-quality resin 3D printing experience, from model creation to final curing.
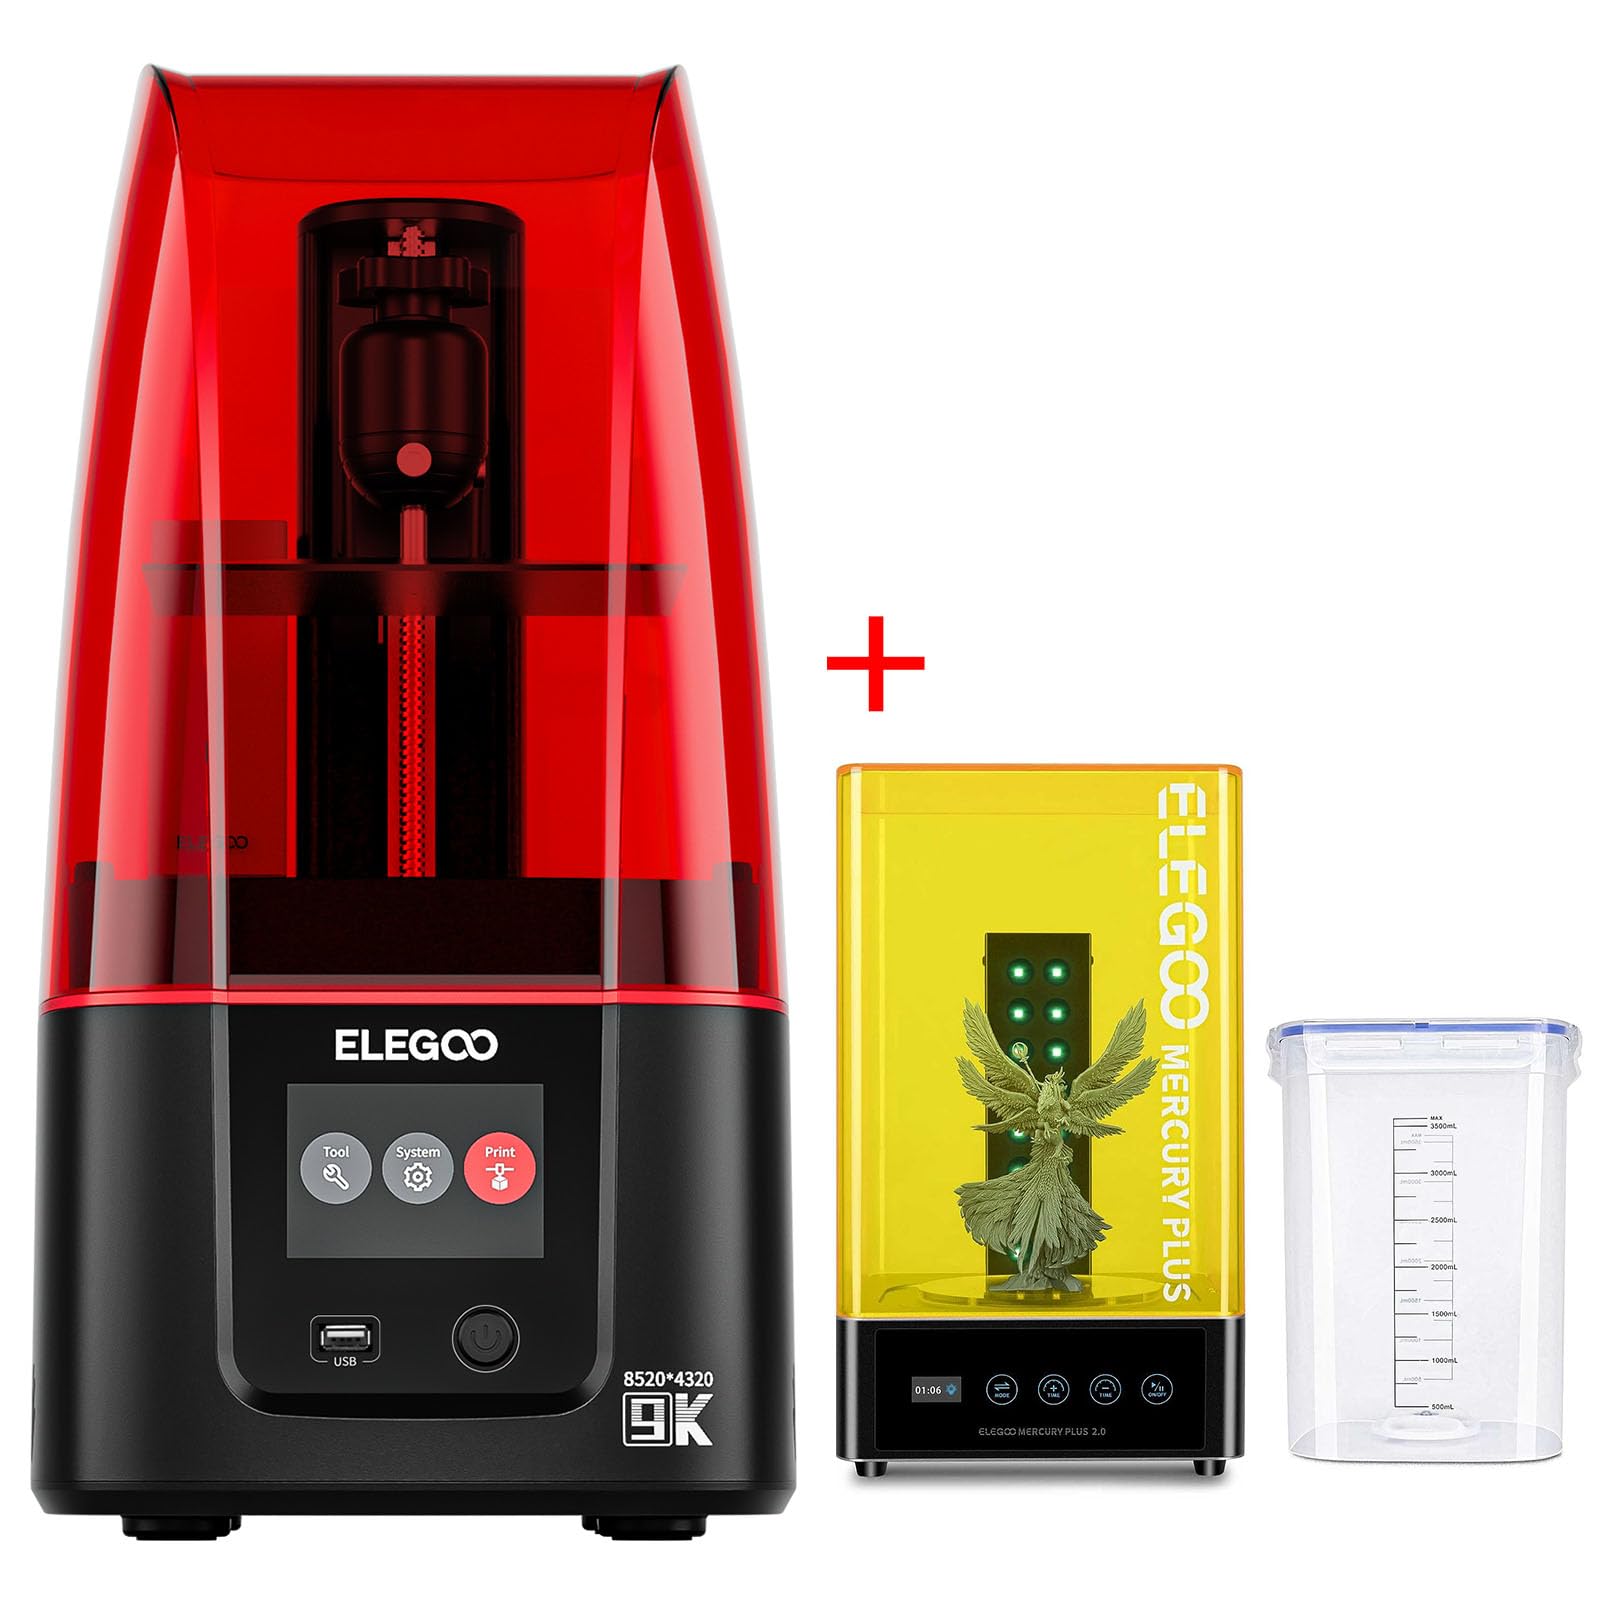
Image: The ELEGOO Mars 4 MSLA 3D Printer (red cover) alongside the ELEGOO Mercury Plus 2.0 Wash and Cure Station (yellow cover).
2. Informació de seguretat
Always prioritize safety when operating 3D printers and handling resin. Wear appropriate personal protective equipment (PPE), including gloves and safety glasses, to prevent skin contact and eye irritation. Ensure adequate ventilation in your workspace to minimize exposure to resin fumes. Keep the devices away from direct sunlight and heat sources. Do not ingest resin. In case of accidental contact, wash thoroughly with soap and water. Seek medical attention if irritation persists.
3. Contingut del paquet
3.1. ELEGOO Mars 4 MSLA 3D Printer
- ELEGOO Mars 4 Machine Body
- Red UV Cover
- Construeix la placa
- Dipòsit de resina
- Font d'alimentació
- Tool Kit (USB Disk, User Manual, Leveling Card, Spatula, Scraper, Gloves, Wrenches, Screws, Funnel, Masks, Air Purifier)
3.2. ELEGOO Mercury Plus 2.0 Wash and Cure Station
- Mercury Plus 2.0 Machine Body
- Yellow UV Cover
- Cubell de rentat
- Cistella de rentat
- Curing Table
- Llum de coll de cisne
- Conjunt de claus hexagonals
- Rack Bar
- Manual d'usuari
- Adaptador d'alimentació
4. Configuració
4.1. ELEGOO Mars 4 MSLA 3D Printer Setup
- Unboxing: Carefully remove the printer from its packaging. Remove all protective foams and plastic films from the machine body, LCD screen, and resin tank.
- Instal·leu la placa de construcció: Attach the build plate to the Z-axis arm and securely lock it with the knob.
- Leveling Process:
- Loosen the screws on the build plate diagonally.
- Place the leveling card on the LCD screen.
- On the printer's touchscreen, navigate to 'Tool' -> 'Manual' -> 'Back to Zero' to lower the build plate.
- Once the build plate stops and a beep sounds, firmly press the plate down and tighten the screws diagonally.
- Lift the build plate using the 'Manual' option on the touchscreen.
- Install Resin Tank: Place the empty resin tank onto the LCD screen, ensuring it is properly seated.
- Install Air Purifier: Insert the ELEGOO Mini Air Purifier into the designated interface on the printer.

Image: The ELEGOO Mars 4 MSLA 3D Printer, showcasing its compact design and a detailed printed model.
4.2. ELEGOO Mercury Plus 2.0 Wash and Cure Station Setup
- Unboxing: Remove the Wash and Cure Station components from the box.
- Assemble Washing Basket: Connect the rack bars to the washing basket as per the user manual.
- Assemble Curing Table: Attach the support rods to the clear curing table.
- Connect Gooseneck Light: Insert the gooseneck UV light into its port on the machine body.
- Connexió d'alimentació: Connecteu l'adaptador de corrent i engegueu el dispositiu.

Image: The ELEGOO Mercury Plus 2.0 Wash and Cure Station, featuring its yellow UV cover and a clear washing container.
5. Instruccions de funcionament
5.1. ELEGOO Mars 4 MSLA 3D Printer Operation
- Preparació del model: Use a compatible slicing software (e.g., Voxeldance Tango) to prepare your 3D model. Adjust settings such as layer height, exposure time, and supports. Save the sliced file al disc USB proporcionat.
- Pour Resin: Shake the resin bottle well before opening. Carefully pour the resin into the resin tank, ensuring it does not exceed the MAX fill line.
- Començar a imprimir: Insert the USB disk into the printer. On the touchscreen, select 'Print' -> 'USB File', then choose your sliced model file and press the play button to start printing.
- Impressió del monitor: The printer's 7-inch 9K Mono LCD provides high-resolution printing with an XY resolution of 18μm. The COB light source ensures uniform exposure across the entire print area. Keep the red UV cover on during printing to block harmful UV light.

Image: Close-up of the 7-inch 9K Mono LCD screen, highlighting its 8520x4320 resolution and 18μm XY resolution for fine detail.
Video: Demonstrates the Anycubic Photon Mono 4 in operation, including resin pouring and the printing process. This video is relevant for understanding general resin 3D printer workflow.
5.2. ELEGOO Mercury Plus 2.0 Wash and Cure Station Operation
- Washing Process:
- Place your freshly printed model (still on the build plate or removed) into the washing basket.
- Fill the washing bucket with a suitable cleaning solution (e.g., isopropyl alcohol).
- Place the washing basket with the model into the bucket, ensuring the model is fully submerged.
- Select the 'Wash' function on the control panel and set the desired time. Press 'Start'. The station will agitate the cleaning solution to remove uncured resin.
- Procés de curat:
- After washing, remove the model and let it air dry or use compressed air.
- Place the dry model on the curing table.
- Attach the gooseneck UV light to the machine body and position it over the model.
- Select the 'Cure' function on the control panel and set the desired curing time. Press 'Start'. The UV lights will harden the resin.
Video: An unboxing and assembly guide for the Anycubic Wash & Cure 3 Plus, demonstrating the components and initial setup steps relevant to the Mercury Plus 2.0.
6. Manteniment
- Clean Resin Tank: After printing, filter any remaining resin back into its bottle. Clean the resin tank with isopropyl alcohol and a soft cloth.
- Placa de construcció neta: Remove the build plate and clean off any residual resin with isopropyl alcohol.
- Neteja la pantalla LCD: Use a soft, lint-free cloth and a small amount of isopropyl alcohol to gently clean the LCD screen. Avoid scratching the surface.
- Clean Wash and Cure Station: Regularly replace the cleaning solution in the washing bucket. Clean the washing basket and curing table after each use.
- Store Resin: Store resin in a cool, dark place, away from direct sunlight and heat.
7. Solució De Problemes
- Print Fails to Adhere: Ensure the build plate is properly leveled. Increase bottom exposure time in slicing software. Check resin temperature (optimal is 20-25°C).
- Warped Prints: Verify proper support placement and density in slicing software. Ensure resin is not too cold.
- Uncured Spots After Curing: Increase curing time. Ensure the gooseneck light is properly positioned to cover the entire model.
- Resin Leakage: Check the FEP film in the resin tank for damage. Ensure the resin tank is securely fastened.
- La impressora no respon: Check power connections. Restart the printer. Ensure USB disk is properly inserted and formatted.
8. Especificacions
8.1. ELEGOO Mars 4 MSLA 3D Printer
- Dimensions del producte: 20 x 10 x 10 polzades
- Pes de l'article: 27 pounds (combined with station)
- Material: Resina
- Color: Black (printer body)
- Fabricant: ELEGOO
- Pantalla LCD: LCD monocrom de 9K de 7 polzades
- Resolució XY: 18 μm
- Font de llum: COB Light Source
8.2. ELEGOO Mercury Plus 2.0 Wash and Cure Station
- Max Curing Size: Φ140*165mm
- Washing Bucket Capacity: 3500ml (Graduated Line)
- Max Washing Size (with platform cleaning): 124 mm * 90 mm * 110 mm
- Max Washing Size (no platform cleaning): 131 mm * 90 mm * 220 mm
- Disseny: Space-saving 3.5L design, fanless curing design for quieter operation.
9. Garantia i Suport
For warranty information and technical support, please refer to the official ELEGOO weblloc web o contacteu directament amb el servei d'atenció al client. Conserveu el rebut de compra per a reclamacions de garantia.


