1. Introducció
Welcome to the Krups Aroma Partner Drip Coffee Maker KM761DMX user manual. This guide provides essential information for the safe and efficient operation, maintenance, and troubleshooting of your new coffee maker. Please read all instructions carefully before first use and keep this manual for future reference.
Instruccions importants de seguretat
- Always unplug the appliance from the outlet before cleaning or when not in use.
- No submergiu el cable, els endolls ni l'aparell en aigua ni en altres líquids.
- És necessària una supervisió estreta quan qualsevol aparell és utilitzat per o a prop dels nens.
- No feu servir cap aparell amb un cable o un endoll danyats, o després que l'aparell funcioni malament o s'hagi fet malbé de cap manera.
- Aquest aparell només és per a ús domèstic.

Figure 1: Krups Aroma Partner Drip Coffee Maker KM761DMX
2. Components del producte
Familiarize yourself with the various parts of your Krups Aroma Partner coffee maker:
- Dipòsit d'aigua: Per omplir amb aigua fresca.
- Coffee Bean/Grounds Container: Integrated, airtight container for storing up to 400g of ground coffee.
- Tauler de control: Digital display and buttons for programming and operation.
- Coffee Dispensing Lever: Mechanism to release ground coffee into the filter.
- Cistella de filtre: Holds the coffee filter and ground coffee during brewing.
- Garrafa de vidre: 10-cup capacity carafe for collecting brewed coffee.
- Placa calefactora: Manté la garrafa calenta després de la infusió.
- Muntatge de la tapa: Includes the lid for the coffee grounds container and the filter cone.

Figura 2: Explotat view of coffee maker components

Figure 3: Close-up of the lid and filter assembly
3. Configuració inicial i primer ús
3.1 Desembalatge i neteja
- Remove all packaging materials and promotional labels from your coffee maker.
- Wash the glass carafe, carafe lid, filter basket, and coffee grounds container in warm, soapy water. Rinse thoroughly and dry.
- Netegeu l'exterior de la cafetera amb anunciamp tela.
3.2 Primer cicle de preparació (neteja)
Before brewing coffee for consumption, run two full cycles with only water to clean the internal components:
- Fill the water tank to the 10-cup mark with fresh, cold water.
- Place the empty filter basket and glass carafe in position.
- Press the 'START' button to begin the cycle.
- Un cop finalitzat el cicle, llenceu l'aigua de la garrafa.
- Repeat steps 1-4 once more.
4. Instruccions de funcionament
4.1 Omplir el dipòsit d'aigua
Open the water tank lid and fill with fresh, cold water up to the desired number of cups indicated on the water level indicator. Do not exceed the maximum fill line.
4.2 Adding Ground Coffee
- Open the lid of the integrated coffee grounds container.
- Pour your preferred ground coffee into the container. The container can hold up to 400g of coffee, designed to preserve freshness and aroma.
- Tanqueu la tapa amb seguretat.
4.3 Setting Coffee Quantity and Intensity
Your coffee maker features automatic and precise dosing with three intensity levels:

Figure 4: Control Panel for settings
- Use the 'Cups' button (often indicated by a coffee cup icon or numbers like '2-10') to select the desired number of cups.
- Use the 'Intensity' button (often indicated by a bean icon or 'P' for strong) to choose your preferred coffee strength: mild, medium, or strong.
- Before brewing, ensure the coffee dispensing lever is in the correct position to release the selected amount of coffee into the filter basket.
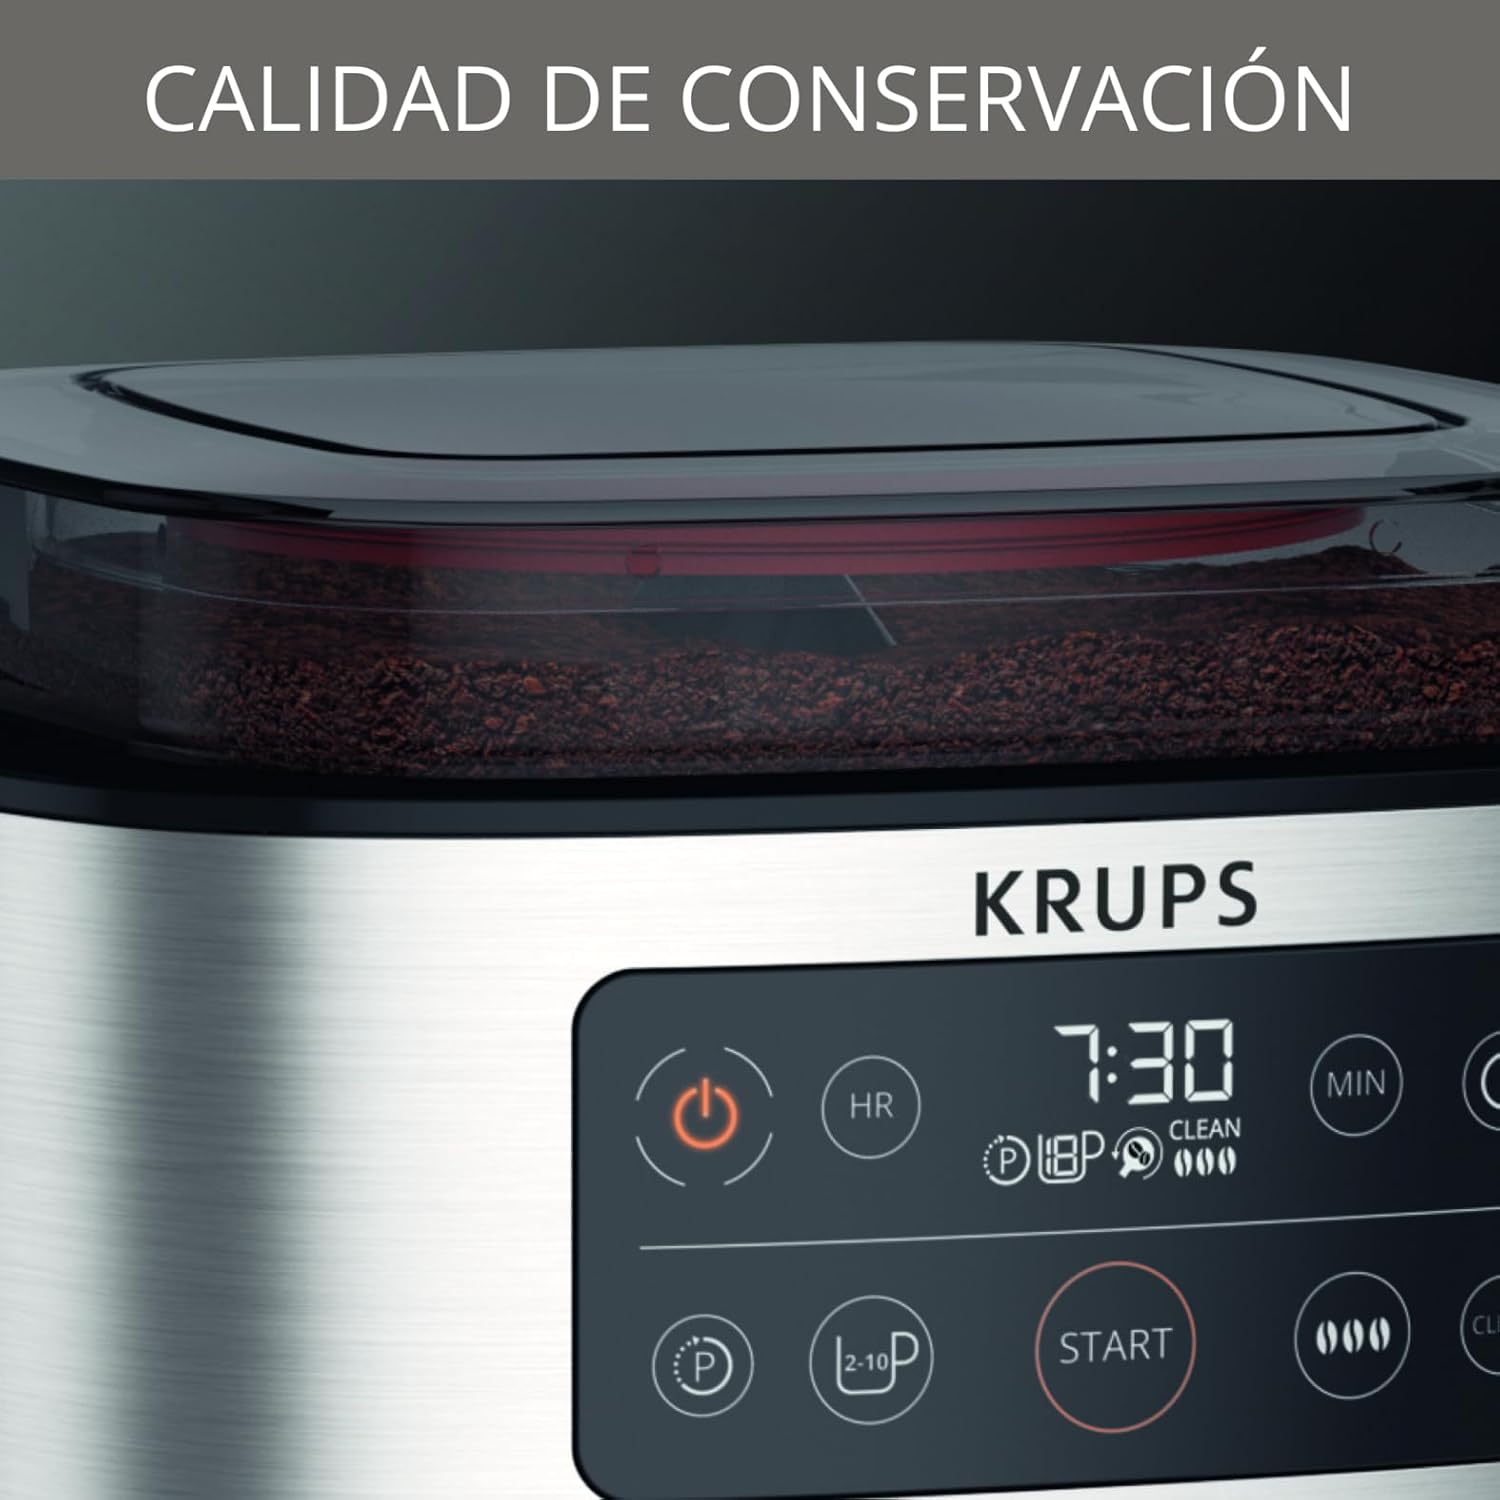
Figure 5: Coffee dispensing lever
4.4 Elaboració de cafè
- Ensure the glass carafe with its lid is correctly placed on the heating plate.
- Press the 'START' button to begin the brewing process. The indicator light will illuminate.
- The coffee maker will automatically dispense the selected amount of ground coffee and brew.
- Once brewing is complete, the coffee maker will enter a 30-minute keep-warm cycle.
- After 30 minutes, the appliance will automatically shut off.

Figure 6: Coffee maker in operation
4.5 Ús del temporitzador programable
El temporitzador programable de 24 hores permet configurar una hora específica perquè el cafè comenci a preparar-se automàticament.
- Prepare the coffee maker as described in sections 4.1-4.3 (water, coffee, settings).
- Press the 'PROG' button (often indicated by a clock icon).
- Use the 'HR' and 'MIN' buttons to set your desired brew time.
- Press the 'PROG' button again to confirm. The timer indicator will light up.
- La cafetera començarà a preparar cafè automàticament a l'hora configurada.
5. Neteja i Manteniment
Regular cleaning ensures optimal performance and extends the life of your coffee maker. The appliance features an automatic cleaning indication and cycle.
5.1 Neteja diària
- Desendolla sempre la cafetera i deixa que es refredi completament abans de netejar-la.
- Remove the glass carafe, carafe lid, and filter basket. Wash them in warm, soapy water or in the dishwasher (if dishwasher-safe).
- Empty any remaining coffee grounds from the integrated container. The intelligent filter holder opens and closes for easy emptying.
- Netegeu l'exterior de la cafetera amb anunciamp tela. No utilitzeu netejadors abrasius ni fregalls.
5.2 Descalcificació
Over time, mineral deposits can build up in your coffee maker, affecting performance. The coffee maker will indicate when descaling is needed.
- Prepare a descaling solution according to the descaler manufacturer's instructions, or use a mixture of white vinegar and water (e.g., 500ml white vinegar and 500ml water).
- Aboqueu la solució descalcificant al dipòsit d'aigua.
- Col·loqueu la garrafa buida sobre la placa calefactora.
- Initiate the descaling cycle as indicated in your specific model's instructions (often by pressing and holding a 'CLEAN' button).
- After the descaling cycle, run at least two full cycles with fresh water to rinse the appliance thoroughly.
6. Solució De Problemes
Si teniu problemes amb la vostra cafetera, consulteu la taula següent per veure els problemes i les solucions més habituals.
| Problema | Causa possible | Solució |
|---|---|---|
| El cafè no es fa infusió. | No water in tank, power not connected, timer set. | Fill water tank, check power plug, check timer settings. |
| El cafè és massa feble. | Insufficient coffee grounds, incorrect intensity setting. | Add more coffee grounds, select a stronger intensity setting. |
| El cafè vessa del filtre. | Too much coffee grounds, filter basket clogged, carafe not placed correctly. | Reduce coffee grounds, clean filter basket, ensure carafe is centered. |
| Fuites d'aparells. | Water tank not properly seated, carafe not correctly positioned. | Ensure water tank is secure, reposition carafe. |
| 'CLEAN' indicator light is on. | Cal descalcificar. | Perform a descaling cycle as per section 5.2. |
7. Especificacions del producte
- Marca: KRUPS
- Número de model: KM761DMX
- Color: Acer inoxidable
- Dimensions: 35.6 x 45.1 x 28.6 cm
- Pes: 4.11 kg
- Capacitat: 10 tasses
- Potència: 1000 watts
- Material: Acer inoxidable
- Característica especial: Integrated airtight coffee grounds container, Automatic Dosing, Programmable Timer, 30-minute Keep Warm function, Automatic Shut-off, Cleaning Indicator.
8. Garantia i Suport
Your Krups Aroma Partner Drip Coffee Maker KM761DMX is covered by a manufacturer's warranty. Please refer to the warranty card included with your purchase for specific terms and conditions, including the warranty period and coverage details.
For technical assistance, spare parts, or warranty claims, please contact KRUPS customer support. Contact information can typically be found on the KRUPS official weblloc web o a la targeta de garantia.
Assistència en línia: Visita l'oficial KRUPS Store per obtenir informació sobre el producte i recursos d'assistència.