1. Introducció
This manual provides detailed instructions for the setup, operation, and maintenance of your RAINPOINT Sprinkler Timer. Designed for garden, lawn, and yard watering, this timer offers 3 independent programs, rain delay, and manual watering options to ensure efficient and precise irrigation.

Figure 1: RAINPOINT Sprinkler Timer (Plastic Model)
The timer features an easy-to-read LCD display and intuitive controls, making it simple to customize your watering schedule to meet the specific needs of your plants and landscape.
2. Configuració
2.1. Instal·lació de la bateria
The timer requires two (2) AAA alkaline batteries (not included). To install:
- Localitza el compartiment de les piles a la part posterior del temporitzador.
- Feu lliscar la tapa de la bateria.
- Introduïu les dues piles AAA, assegurant-vos de la polaritat correcta (+/-).
- Tanqueu fermament la tapa de la bateria. Ensure the battery cover is sealed and installed firmly to maintain the timer's performance and waterproof rating.
2.2. Instal·lació física
To install the timer to your faucet:
- For optimal leak prevention, wrap Teflon tape around the faucet's threaded opening a few times.
- Screw the RAINPOINT Sprinkler Timer onto the faucet. Ensure it is installed vertically for proper operation.
- Connecteu la mànega del jardí a la sortida inferior del temporitzador.
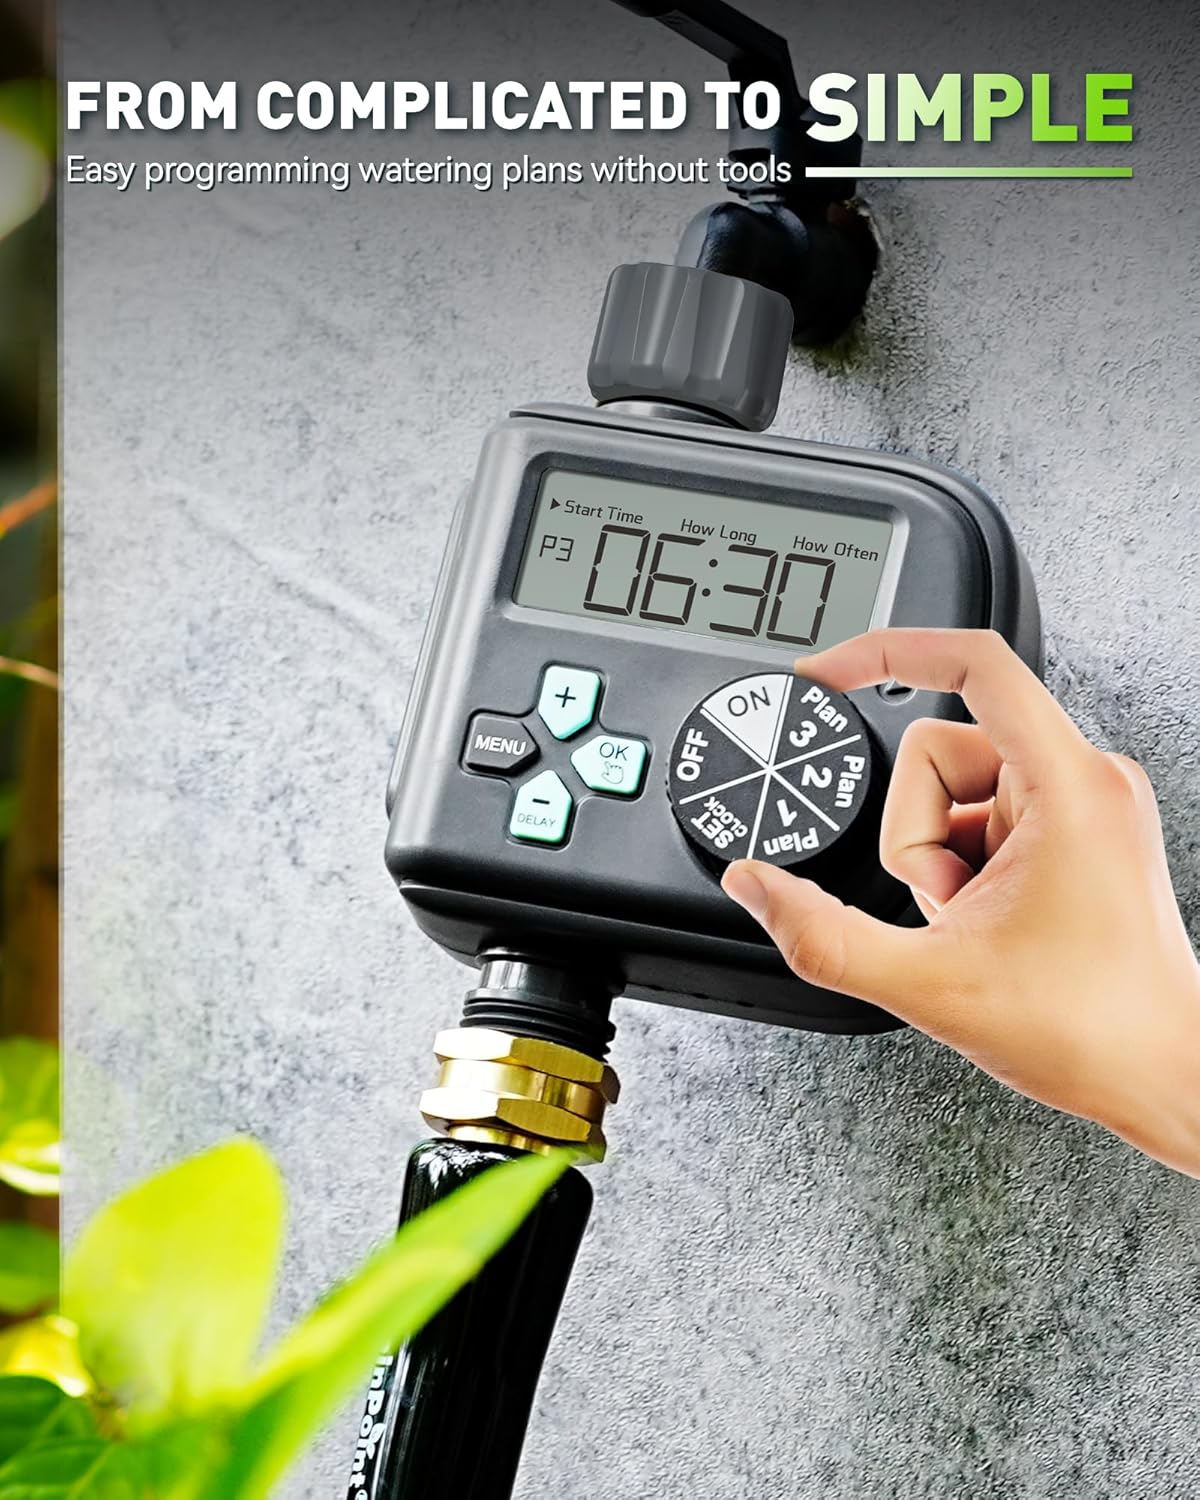
Figure 2: Timer controls and display
2.3. Activació inicial
For first-time use, the valve needs to be manually activated to ensure proper function. Rotate the dial to the "ON" position. Then, long press the "OK" button for 3-5 seconds to manually activate the valve. Water should flow from the timer. Once confirmed, long press "OK" again to turn off the flow.
Video 1: RAINPOINT Water timer with 3 programs. This video demonstrates battery installation, physical setup, and initial valve activation (0:00 - 0:54).
3. Instruccions de funcionament
3.1. Configuració de l'hora actual
Before programming watering schedules, set the current time and day:
- Rotate the dial to "SET CLOCK".
- Long press the "OK" button to switch between 12-hour and 24-hour time formats.
- Use the "+" and "-" buttons to select the current day of the week. Press "OK" to confirm.
- The display will automatically move to the hour setting. Use "+" and "-" to adjust the hour. Press "OK" to confirm.
- Adjust the minutes similarly using "+" and "-", then press "OK" to confirm.

Figure 3: Customizing your garden plan with start time, duration, and frequency.
3.2. Programming Watering Plans (P1, P2, P3)
The timer allows for three independent watering programs (P1, P2, P3). Rotate the dial to select the desired plan (Plan 1, Plan 2, or Plan 3) to begin programming.
3.2.1. Estableix l'hora d'inici
- With the dial on your chosen plan (e.g., Plan 1), the display will show "Start Time".
- Use "+" and "-" buttons to set the desired hour for the watering to begin. Press "OK" to confirm.
- Adjust the minutes similarly using "+" and "-", then press "OK" to confirm.
3.2.2. Set How Long (Watering Duration)
- Press the "MENU" button to navigate to the "How Long" setting.
- Use "+" and "-" buttons to set the watering duration. The duration can be set from 1 minute up to 3 hours and 59 minutes. Press "OK" to confirm.
3.2.3. Set How Often (Watering Frequency)
Press the "MENU" button again to navigate to the "How Often" setting. There are three frequency modes:
- Every X Hours: Use "+" and "-" to select 6, 8, or 12 hours. This means the timer will water every 6, 8, or 12 hours from the start time. Press "OK" to confirm.
- Every X Days: Press "MENU" to switch to this mode. Use "+" and "-" to select a frequency from 1 to 7 days. For example, "Every 2 Days" means it waters every other day. Press "OK" to confirm.
- Specific Days of the Week: Press "MENU" to switch to this mode. Use "+" and "-" to toggle specific days (Sunday, Monday, Tuesday, etc.) on or off. Press "OK" to confirm your selection for each day.

Figure 4: Three independent watering schedules (Plan 1, Plan 2, Plan 3).
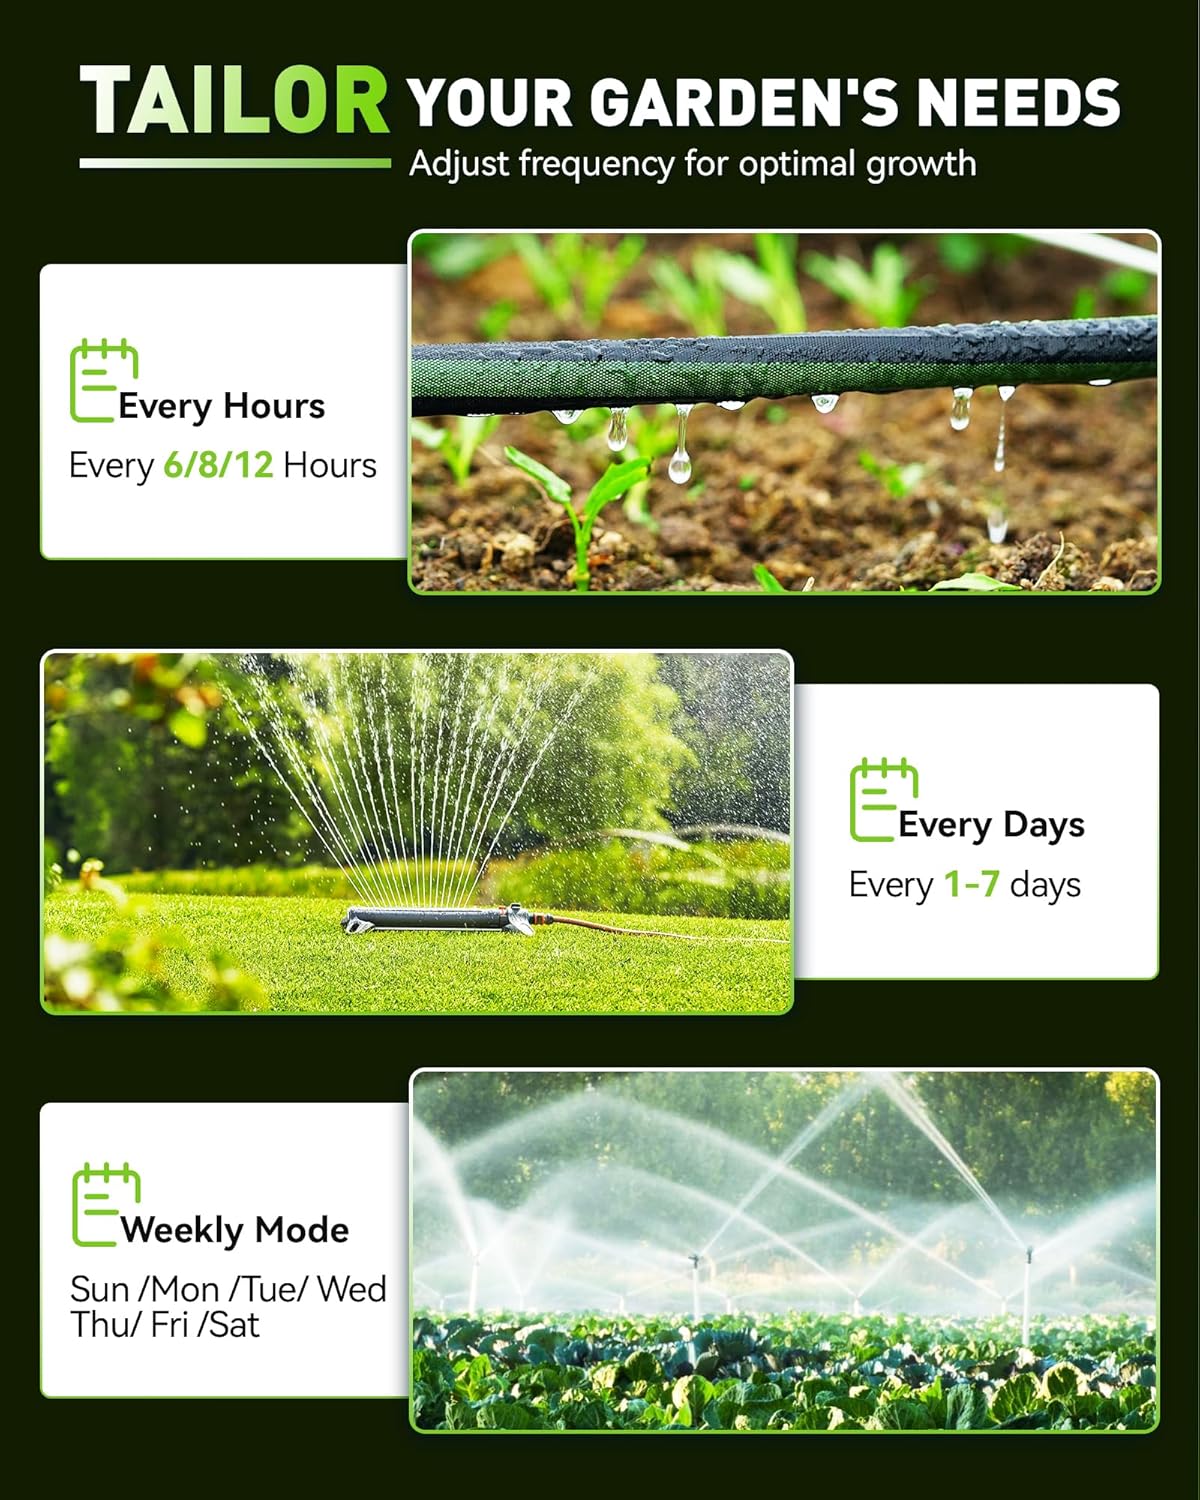
Figure 5: Tailor your garden's needs with hourly, daily, or weekly watering modes.
3.2.4. Cancel·lació d'un programa
To cancel a specific program (P1, P2, or P3), rotate the dial to that plan's setting. Navigate to the "How Long" setting using the "MENU" button. Use the "-" button to decrease the duration until the display shows "0H 0M". This will disable the program.
3.3. Starting Automatic Watering
After setting up your desired watering plans, rotate the dial to the "ON" position. The timer will display the current time and the start time of the next scheduled watering. The timer will now automatically execute the programmed schedules.
3.4. Mode de reg manual
For immediate, on-demand watering, you can use the manual mode:
- With the dial in any position (except "OFF"), long press the "OK" button for 3-5 seconds. The display will show "M" for manual mode.
- Use the "+" and "-" buttons to adjust the manual watering duration, from 1 minute up to 8 hours.
- The watering will begin immediately for the set duration.
- To cancel manual mode at any time, long press the "OK" button for 3-5 seconds. The timer will return to its automatic schedule mode.

Figure 6: Manual watering mode allows on-demand irrigation for up to 8 hours.
3.5. Mode de retard per pluja
To conserve water during rainy periods, use the rain delay function:
- With the dial in any position (except "OFF"), long press the "DELAY" button for 3-5 seconds.
- Use the "+" and "-" buttons to select a delay period of 24, 48, or 72 hours. Press "OK" to confirm.
- The timer will pause all programmed watering schedules for the selected delay period and automatically resume once the delay ends.
- To cancel the rain delay at any time, long press the "DELAY" button for 3-5 seconds. The timer will resume its automatic schedule.

Figure 7: Rain delay options to conserve water during wet weather.
4. Manteniment
- Regularly check the battery level on the LCD display. Replace batteries when the low battery indicator appears.
- Ensure the battery compartment is always securely sealed to prevent water ingress.
- Clean the filter washer at the inlet periodically to prevent debris from clogging the timer.
- During freezing temperatures, remove the timer from the faucet and store it indoors to prevent damage.
5. Solució De Problemes
| Problema | Causa possible | Solució |
|---|---|---|
| Sense flux d'aigua | Low battery; Faucet off; Clogged filter; Timer not activated. | Replace batteries; Turn on faucet; Clean filter; Perform initial activation (Section 2.3). |
| Timer not starting program | Dial not on "ON"; Incorrect program settings; Rain delay active. | Rotate dial to "ON"; Verify program settings (Section 3.2); Cancel rain delay (Section 3.5). |
| La pantalla està en blanc o tènue | Bateries esgotades. | Canvieu les piles (Secció 2.1). |
| Fuita d'aigua per les connexions | Loose connection; Missing/worn washer; Insufficient Teflon tape. | Tighten connections; Check/replace washers; Apply more Teflon tape. |
For further assistance, refer to the official product video for visual guidance on setup and programming.
Video 2: RAINPOINT Water timer with 3 programs. This video provides a comprehensive guide to programming and troubleshooting (0:54 - end).
6. Especificacions
- Marca: PUNT DE LLUVIA
- Model: ITV517P
- Material: Plàstic
- Dimensions del producte: 4.51 "P x 6.68" W x 3.54" H
- Pes de l'article: 0.82 lliures (13.1 unces)
- Nombre de configuracions: 3 Independent Programs
- Mida de la pantalla: 1.5 polzades
- Classificació impermeable: IP54

Figure 8: Product dimensions for the RAINPOINT Sprinkler Timer.
7. Garantia i Suport
RAINPOINT offers a 5-year warranty for this sprinkler timer upon registration. For detailed warranty information, product support, or to register your product, please refer to the product packaging or visit the official RAINPOINT weblloc.
For additional resources and frequently asked questions, you may also visit the RAINPOINT Store on Amazon: RAINPOINT Store


