1. Introducció
This manual provides essential information for the safe and efficient use of your Indesit DI9E 2B10 fully integrated dishwasher. Please read these instructions carefully before installation and operation, and keep them for future reference.
2. Informació de seguretat
Seguiu sempre les precaucions de seguretat bàsiques quan utilitzeu aparells elèctrics per reduir el risc d'incendi, descàrrega elèctrica i lesions personals. Aquest aparell està pensat només per a ús domèstic.
- Assegureu-vos que l'aparell estigui ben connectat a terra.
- No toqueu l'element de calefacció durant o immediatament després de l'ús.
- Mantingueu els nens allunyats del rentaplats, sobretot quan la porta estigui oberta.
- Feu servir només detergents i abrillantadors dissenyats específicament per a rentaplats automàtics.
- Do not operate the dishwasher if it is damaged. Contact qualified service personnel.
- The Aquastop security system is designed to prevent water leaks.
3. Configuració i instal·lació
Proper installation is crucial for the performance and longevity of your dishwasher. This fully integrated model is designed to be installed within kitchen cabinetry.
3.1 Desembalatge
Traieu amb cura tots els materials d'embalatge. Inspeccioneu el rentaplats per detectar qualsevol dany que hagi patit durant el transport. Informeu immediatament al vostre distribuïdor de qualsevol dany.
3.2 Posicionament i anivellament
The dishwasher should be placed on a firm, level floor. Adjust the adjustable feet to ensure the appliance is stable and level. This prevents vibrations and ensures proper door alignment.
3.3 Connexió d'aigua
Connect the water inlet hose to a cold water supply tap with a 3/4-inch thread. Ensure the connection is tight to prevent leaks. The inlet hose length is 1.55 m.
Connect the drain hose to a suitable drain pipe. The drain hose length is 1.5 m. Ensure the drain hose is not kinked or obstructed.
3.4 Connexió elèctrica
Connect the dishwasher to a grounded electrical outlet. The appliance requires a 220-240V, 50Hz power supply. The cable length is 1.3 m. Do not use extension cords or multiple adapters.
3.5 Integració de l'armari
This model is designed for full integration. A custom door panel (not supplied) must be attached to the dishwasher door. Refer to the installation template provided with the appliance for precise measurements and instructions for attaching the panel.
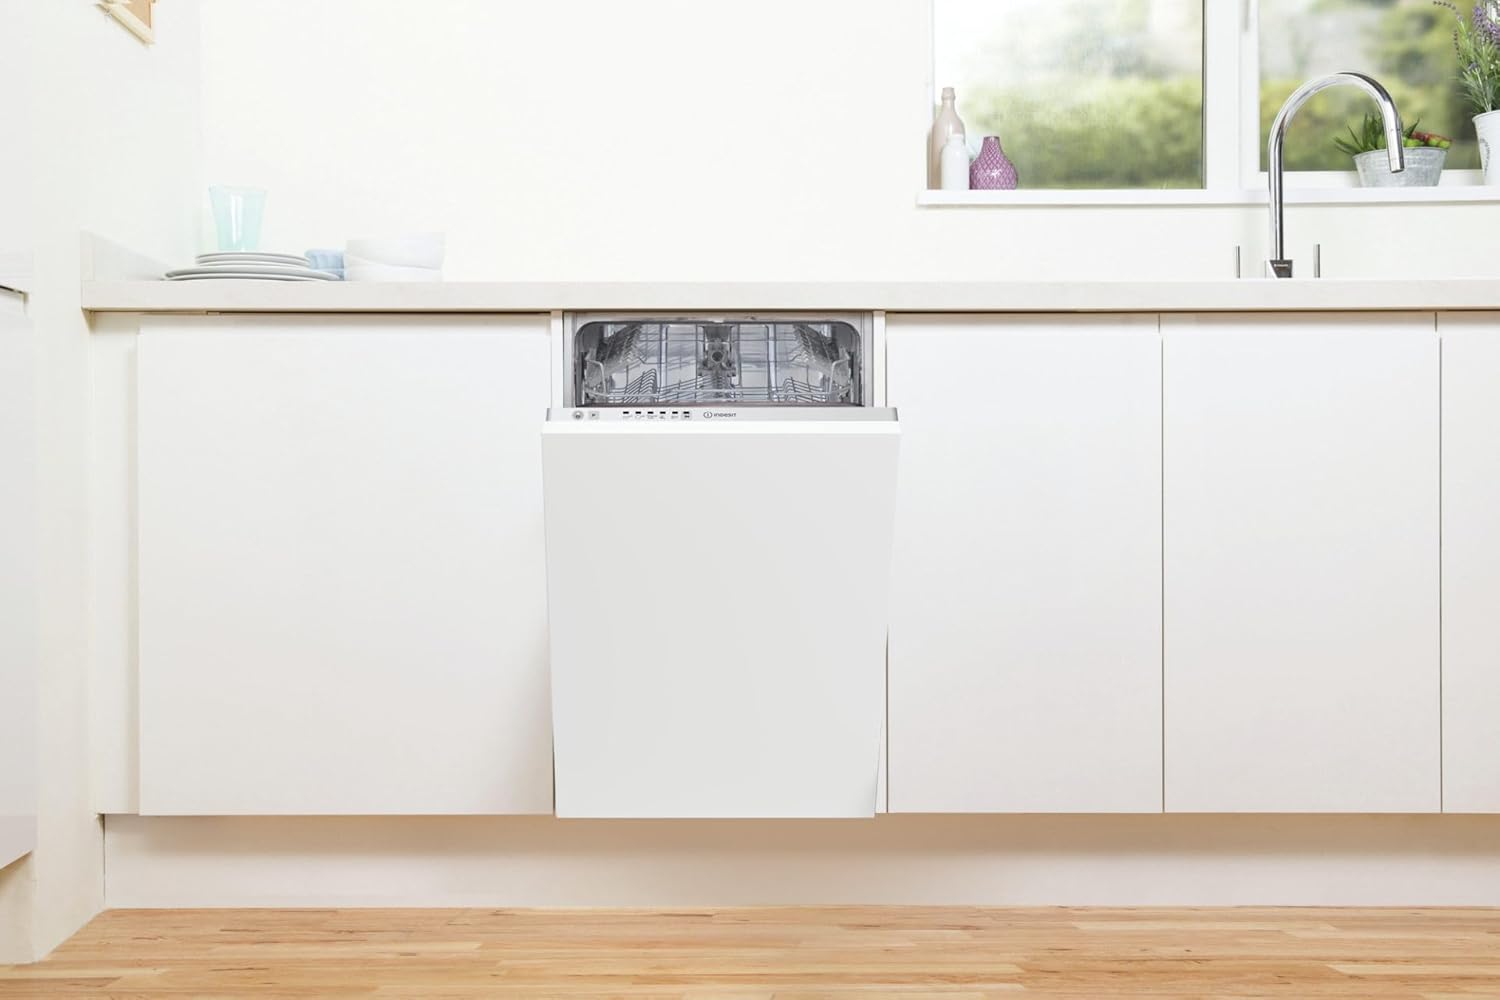
Image: The Indesit DI9E 2B10 dishwasher seamlessly integrated into a modern kitchen cabinet, with its door slightly open, revealing the control panel.

Image: The Indesit DI9E 2B10 dishwasher fully integrated into a modern kitchen, with its custom door panel closed, blending perfectly with the surrounding cabinetry.
4. Instruccions de funcionament
Familiaritzeu-vos amb el tauler de control i els procediments de càrrega per obtenir resultats de rentat òptims.
4.1 Tauler de control acabatview

Imatge: Un primer pla view of the dishwasher's control panel, featuring push-buttons for program selection and LED indicators for cycle status. The Indesit logo is visible.
The dishwasher features push-button controls and an LED display. The LED display indicates the selected program and cycle status.
4.2 Càrrega del rentavaixelles
The dishwasher has two baskets and a cutlery basket, designed for 9 place settings. The upper basket is adjustable to accommodate larger items in the lower basket.

Image: The Indesit DI9E 2B10 dishwasher with both the upper and lower racks fully extended, showing the empty interior and the cutlery basket in the lower rack.

Image: Both the upper and lower racks of the Indesit DI9E 2B10 dishwasher are loaded with various dishes, including plates, bowls, glasses, and cutlery, demonstrating its capacity.
- Cistella inferior: Ideal for plates, serving dishes, pots, and pans.
- Cistella superior: Suitable for glasses, cups, small plates, and bowls. The upper basket is adjustable.
- Cistella de coberts: Place forks, knives, and spoons in the designated sections, ensuring they do not nest together.
4.3 Afegir detergent i abrillantador
Fill the detergent dispenser with the appropriate amount of dishwasher detergent. If using rinse aid, fill the rinse aid dispenser. This model does not feature automatic salt or rinse aid indicators, so monitor levels manually.
4.4 Selecció de programes
Select a wash program using the control buttons. Available programs include:
- Eco 50°C: Standard program for normally soiled dishes, most efficient in terms of energy and water consumption.
- Intensiu 65 °C: Per a plats i olles molt brutes.
- Mixt: A versatile program for mixed loads.
- Ràpid: A shorter cycle for lightly soiled dishes.
4.5 Inici d'un cicle
Close the dishwasher door firmly. Press the start button to begin the selected program. The LED display will show the program status.
5. Manteniment i cura
Un manteniment regular garanteix un rendiment òptim i allarga la vida útil del rentaplats.
5.1 Neteja dels filtres
The filter system prevents food particles from recirculating and clogging the drain. Regularly check and clean the filters located at the bottom of the dishwasher tub. Remove any food debris and rinse under running water.
5.2 Neteja dels braços polvoritzadors
Check the spray arm nozzles for blockages. If necessary, remove the spray arms and clean the holes with a fine brush or toothpick.
5.3 Neteja interior i exterior
Netegeu l'interior amb anunciamp cloth after each cycle to prevent odors. Clean the exterior surfaces with a soft, damp drap i detergent suau. Eviteu els netejadors abrasius.
5.4 Recàrrega de sal i abrillantador
Since this model does not have indicators for salt and rinse aid, it is recommended to check and refill these compartments regularly based on your water hardness and usage frequency.
6. Solució De Problemes
Abans de contactar amb el servei tècnic, consulteu els següents problemes i solucions habituals.
| Problema | Causa possible | Solució |
|---|---|---|
| El rentavaixelles no arrenca | Problema amb l'alimentació, la porta no tanca correctament, el programa no està seleccionat. | Comproveu la connexió elèctrica, assegureu-vos que la porta estigui tancada, seleccioneu un programa i premeu Inici. |
| Els plats no són nets | Incorrect loading, insufficient detergent, clogged spray arms, dirty filters. | Load dishes correctly, add more detergent, clean spray arms and filters. |
| L'aigua no drena | Mànega o filtre de desguàs obstruïts, problema amb la bomba de desguàs. | Check and clean drain hose and filters. If problem persists, contact service. |
| Soroll inusual | Plats que interfereixen amb els braços polvoritzadors, objecte estrany a la bomba. | Reorganitzeu els plats, comproveu si hi ha objectes estranys. |
| Fuites | Loose hose connections, damaged door seal. | Check hose connections, inspect door seal for damage. |
Si el problema persisteix després d'intentar aquestes solucions, poseu-vos en contacte amb personal de servei qualificat.
7. Especificacions
Detailed technical specifications for the Indesit DI9E 2B10 dishwasher.
| Característica | Especificació |
|---|---|
| Model | DI9E 2B10 |
| Tipus | Rentavaixelles totalment integrat |
| Dimensions (A x A x P) | 82 x 45 x 55.5 cm |
| Pes | 27.2 kg |
| Capacitat | 9 Configuració del lloc |
| Classe d'eficiència energètica | F (on a scale of A to G) |
| Consum d'aigua per cicle | 11.5 litres |
| Consum d'energia per cada 100 cicles | 78 kWh |
| Nivell de soroll | 51 dB (Class D) |
| Tipus de control | Pulsador |
| Tipus de visualització | LED |
| Programes | Eco 50°C, Intensive 65°C, Mixed, Quick |
| Material interior | Acer inoxidable |
| Característiques especials | Adjustable Basket, Aquastop Security System |
| Longitud del cable | 1.3 m |
| Longitud de la mànega d'entrada | 1.55 m |
| Longitud de la mànega de desguàs | 1.5 m |
8. Garantia i Suport
For warranty information, please refer to the documentation provided at the time of purchase or contact your retailer. Indesit provides customer support for product inquiries and service requests.
For technical assistance or to schedule a service appointment, please contact Indesit customer service or your authorized service provider. Contact details can typically be found on the manufacturer's weblloc web o a la documentació de la compra.


