Introducció
This manual provides detailed instructions for the safe installation, operation, and maintenance of your UFESA CFNP Ceiling Fan with Light. Please read this manual thoroughly before installation and use, and keep it for future reference.
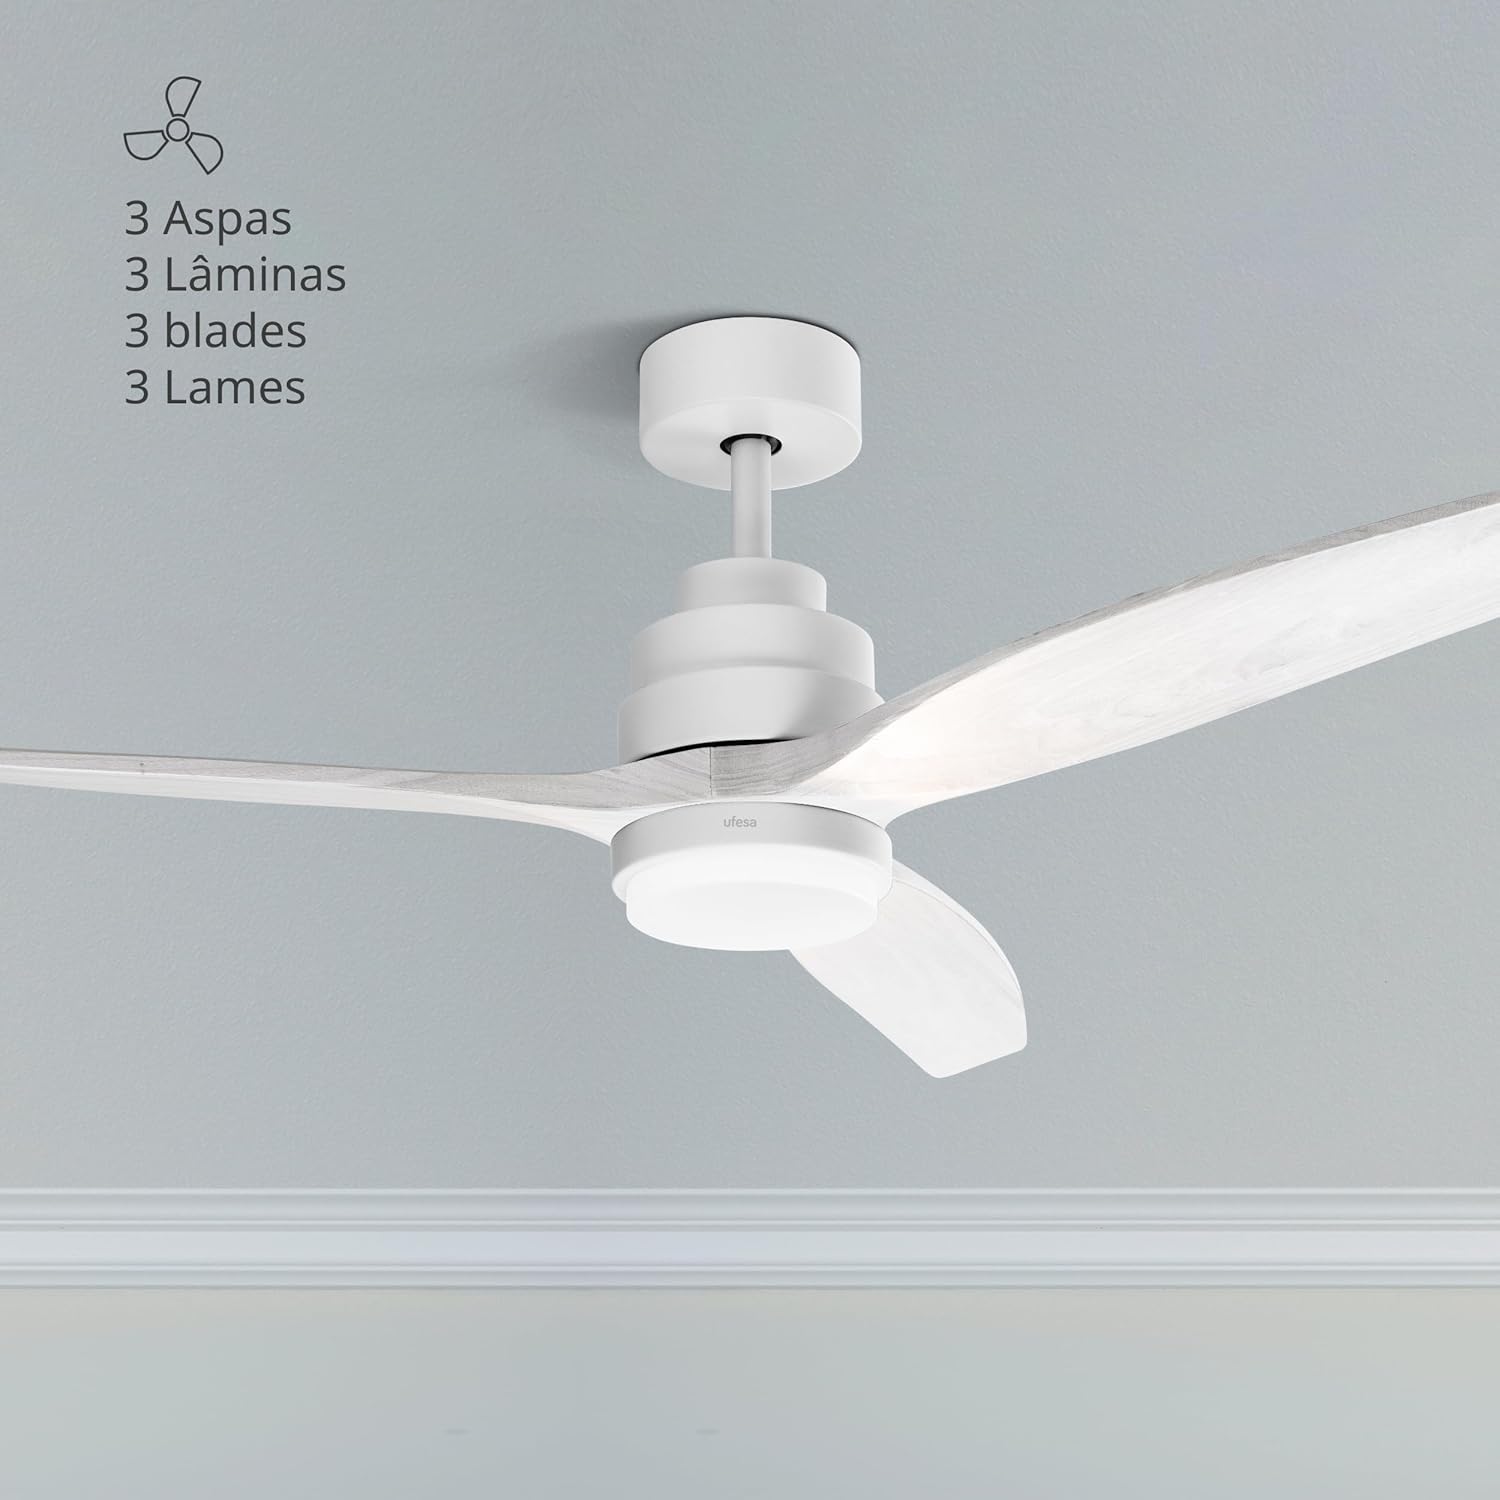
The UFESA CFNP Ceiling Fan with Light installed in a room, showcasing its three natural wood blades and integrated light.
Instruccions de seguretat
Seguiu sempre les precaucions de seguretat bàsiques quan utilitzeu aparells elèctrics per reduir el risc d'incendi, descàrrega elèctrica i lesions personals.
Seguretat general
- Ensure the ceiling fan is installed by a qualified electrician in accordance with local electrical codes.
- Disconnect power at the main circuit breaker before installation, cleaning, or any maintenance.
- No feu funcionar el ventilador amb les pales o la carcassa danyades. Inspeccioneu-lo regularment per detectar qualsevol signe de desgast o dany.
- Keep hands, hair, and clothing away from moving fan blades during operation.
- Aquest aparell no està pensat per ser utilitzat per persones (inclosos nens) amb capacitats físiques, sensorials o mentals reduïdes, o amb manca d'experiència i coneixements, tret que hagin rebut la supervisió o instruccions sobre l'ús de l'aparell per una persona responsable de la seva seguretat. .
- Els nens han de ser supervisats per assegurar-se que no juguin amb l'aparell.
Seguretat elèctrica
- Comproveu que el voltagComproveu que el voltatge indicat al ventilador coincideixi amb la vostra font d'alimentació local abans de connectar-lo.
- Tot el cablejat ha de complir amb els codis elèctrics nacionals i locals.
- Assegureu-vos de posar a terra adequadament per evitar descàrregues elèctriques.
- No utilitzeu el ventilador en damp or wet locations, or where it may be exposed to water.
Contingut del paquet
Carefully unpack all components and ensure all items are present and undamaged. If any parts are missing or damaged, contact Ufesa customer service.

A close-up of the fan's motor housing and a blade, representing the main components.
The package should typically include:
- 3 Natural Wood Blades
- Muntatge del motor
- Downrod (typically 15cm and 25cm options)
- Mounting Bracket + Canopy
- Integrated LED Light Kit / Lampombra
- Muntatge del controlador
- Coberta del jou
- Control remot
- Maquinari de muntatge (cargols, ancoratges)
Configuració i instal·lació
Important: Disconnect power at the circuit breaker before beginning any installation work.
Pas 1: Munteu el suport
Fix the fan's mounting bracket to the ceiling. Use a pencil to mark the drilling points. Ensure the bracket is securely fastened to a structural beam or a suitable ceiling electrical box capable of supporting the fan's weight.
Pas 2: perforar forats
Perforeu forats als punts marcats amb una broca adequada per al material del sostre.
Pas 3: inseriu els ancoratges
Insert the provided ceiling anchors into the drilled holes. Tap gently with a hammer if necessary to ensure they are flush with the ceiling surface.
Step 4: Secure Bracket
Align the mounting bracket with the anchors and secure it firmly with the provided screws. Ensure it is stable and does not wobble.
Step 5: Connect Light Wiring
Connect the light wires from the fan to the terminal block on the mounting bracket. Match colors (e.g., blue to blue, brown to brown, etc.) according to the wiring diagram in the full manual.
Step 6: Connect Controller Wiring
Connect the wiring from the light kit to the fan's controller. Ensure all connections are tight and secure.
Step 7: Assemble Fan Base
Assemble the fan base by attaching the chosen downrod (15cm or 25cm) to the motor assembly. Secure it with the provided pin and screw.
Step 8: Hang Fan Base
Carefully lift the assembled fan base and hang it onto the hook or support provided on the ceiling mounting bracket. This allows you to work on wiring with the fan temporarily supported.
Step 9: Connect Base Wiring to Controller
Connect the main power wiring from the ceiling to the fan's controller, and then connect the controller to the fan motor wiring. Ensure all connections are correct and secure.
Step 10: Position Controller and Cables
Carefully tuck the controller and all excess cables into the opening of the ceiling support bracket, ensuring no wires are pinched.
Pas 11: connecteu el cable de terra
Connect the ground wire (usually green/yellow) from the fan base to the ground terminal on the mounting bracket or ceiling wiring.
Step 12: Install Canopy
Slide the canopy up to the ceiling and secure it to the mounting bracket with the provided screws. Ensure it covers all wiring connections.
Pas 13: Fixeu les fulles
Attach the three natural wood blades to the fan motor assembly using the provided screws. Ensure they are tightened evenly to prevent wobbling.
Step 14: Install Light Kit
Remove the small screws from the base of the fan's light housing. Place the LED light support, screw it into place, and then attach the light cover (lampshade) by twisting or securing it as per the design.
Instruccions de funcionament
Your UFESA CFNP ceiling fan is controlled by the included remote control. Ensure batteries are installed correctly in the remote.

The remote control allows easy access to all fan and light functions.
Encès/Apagat
Premeu el botó d'engegada (⏻) on the remote control to turn the fan and light on or off.
Control de velocitat del ventilador
The fan offers 6 adjustable speeds. Use the numbered speed buttons (1-6) on the remote to select your desired airflow intensity. Speed 1 is the lowest, and Speed 6 is the highest.

The fan features 6 speeds and an 8-hour timer function.
Control de la llum
The integrated LED light has 3 selectable color temperatures: natural light, cold light, and warm light. Use the light button (💡) on the remote to cycle through these settings to create the desired ambiance.

The fan light offers natural, warm, and cold light options.
Funció Estiu/Hivern
This fan features a reversible motor for year-round comfort. Use the summer/winter button (⟳) on the remote to switch between modes.
- Mode d'estiu (flux d'aire descendent): Les pales giren en sentit antihorari, creant una brisa descendent que refreda l'habitació.
- Mode hivern (flux d'aire ascendent): Blades rotate clockwise, circulating warm air trapped near the ceiling downwards without creating a direct draft, helping to distribute heat more evenly.

Visual representation of the summer and winter airflow directions.
Funció de temporitzador
Set the fan to automatically turn off after a specified period using the timer buttons (1H, 4H, 8H) on the remote control. This is useful for energy saving or for use during sleep.
Manteniment
Un manteniment regular garanteix un rendiment òptim i allarga la vida útil del ventilador de sostre.
Neteja
- Desconnecteu sempre l'alimentació abans de netejar.
- Regularly clean the fan blades and motor housing with a soft, damp drap. No utilitzeu netejadors abrasius, dissolvents ni productes químics agressius, ja que poden danyar l'acabat.
- Ensure the fan is completely dry before restoring power and operating.
Inspecció de fulles
- Periodically check that all blade screws are tight. Over time, they may loosen, causing the fan to wobble or create noise.
- Ensure blades are free from cracks or damage. Replace damaged blades immediately.
Resolució de problemes
Si teniu algun problema amb el ventilador, consulteu els següents problemes i solucions habituals:
El ventilador no arrenca
- Check if the main power supply to the fan is connected and turned on.
- Ensure the circuit breaker for the fan is in the 'ON' position.
- Verifiqueu que totes les connexions elèctriques estiguin segures i connectades correctament.
- Comproveu la pila del comandament a distància i substituïu-la si cal.
El ventilador tremola
- Ensure all blade screws are tightened evenly. Loose screws can cause imbalance.
- Check that the mounting bracket is securely fastened to the ceiling and that the downrod is properly seated.
- Verify that the blades are not bent or damaged.
La llum no funciona
- Check the light wiring connections within the fan housing.
- Ensure the light kit is properly installed and connected to the fan's electrical system.
- If the light is LED and not replaceable by the user, a faulty LED module may require professional service.
El control remot no funciona
- Substituïu les piles del comandament a distància per unes de noves.
- Ensure there are no obstructions between the remote control and the fan's receiver.
- Confirm the remote control is paired with the fan (refer to specific pairing instructions if available in the full manual).
Especificacions

The fan has a diameter of 132 cm, suitable for various room sizes.
| Característica | Especificació |
|---|---|
| Número de model | CFNP |
| Poder | 40W |
| Velocitats | 6 |
| Material de la fulla | Fusta natural |
| Diàmetre del ventilador | 132 cm |
| Nivells de llum | 3 (Natural, Cold, Warm) |
| Temporitzador | Fins a 8 hores |
| Característiques especials | Ultra-silent DC motor, Summer/Winter function, Remote control |
| Dimensions (L x A x A) | 25.5 x 68.5 x 32.5 cm |
| Pes | 5.63 kg |
| Font d'alimentació | Cable elèctric |
| Certificacions | CE, UL |
Garantia i Suport
For detailed warranty information, including terms, conditions, and duration, please refer to the warranty card included with your product. You can also find this information on the official Ufesa weblloc.
For customer support, technical assistance, or to inquire about replacement parts, please visit the Ufesa website or contact their customer service department directly. Have your product model number (CFNP) and purchase date ready when contacting support.
Official Ufesa Weblloc: www.ufesa.es


