Introducció
This manual provides comprehensive instructions for the setup, operation, and maintenance of your Pure Moment Bedside & Office Alarm Clock. Designed to enhance your sleep hygiene and daily routine, this device combines a DAB+/FM digital radio, Bluetooth connectivity, a sleep sound white noise machine, a wake-up light, and a dimmable display. Please read this manual thoroughly to ensure optimal performance and longevity of your product.
Configuració
Before using your Pure Moment alarm clock, follow these steps for initial setup.
1. Connexió d'alimentació
Connecteu l'adaptador de corrent proporcionat al port d'entrada de CC de la part posterior del despertador. Endolleu l'adaptador a una presa de corrent estàndard. El dispositiu s'encendrà automàticament.
The Pure Moment alarm clock also includes a backup battery feature, requiring 9V batteries (included) to retain settings during a power outage. Ensure these are correctly installed.
2. Configuració inicial de la data i l'hora
Upon first power-on, the clock will attempt to synchronize time and date via DAB+ radio signal. If a signal is not immediately available, you may need to set the time manually. Refer to the "Operating Instructions" section for manual time setting.
3. Radio Antenna Placement
For optimal DAB+ and FM radio reception, fully extend the wire antenna located at the back of the unit. Position it vertically and away from other electronic devices that may cause interference.
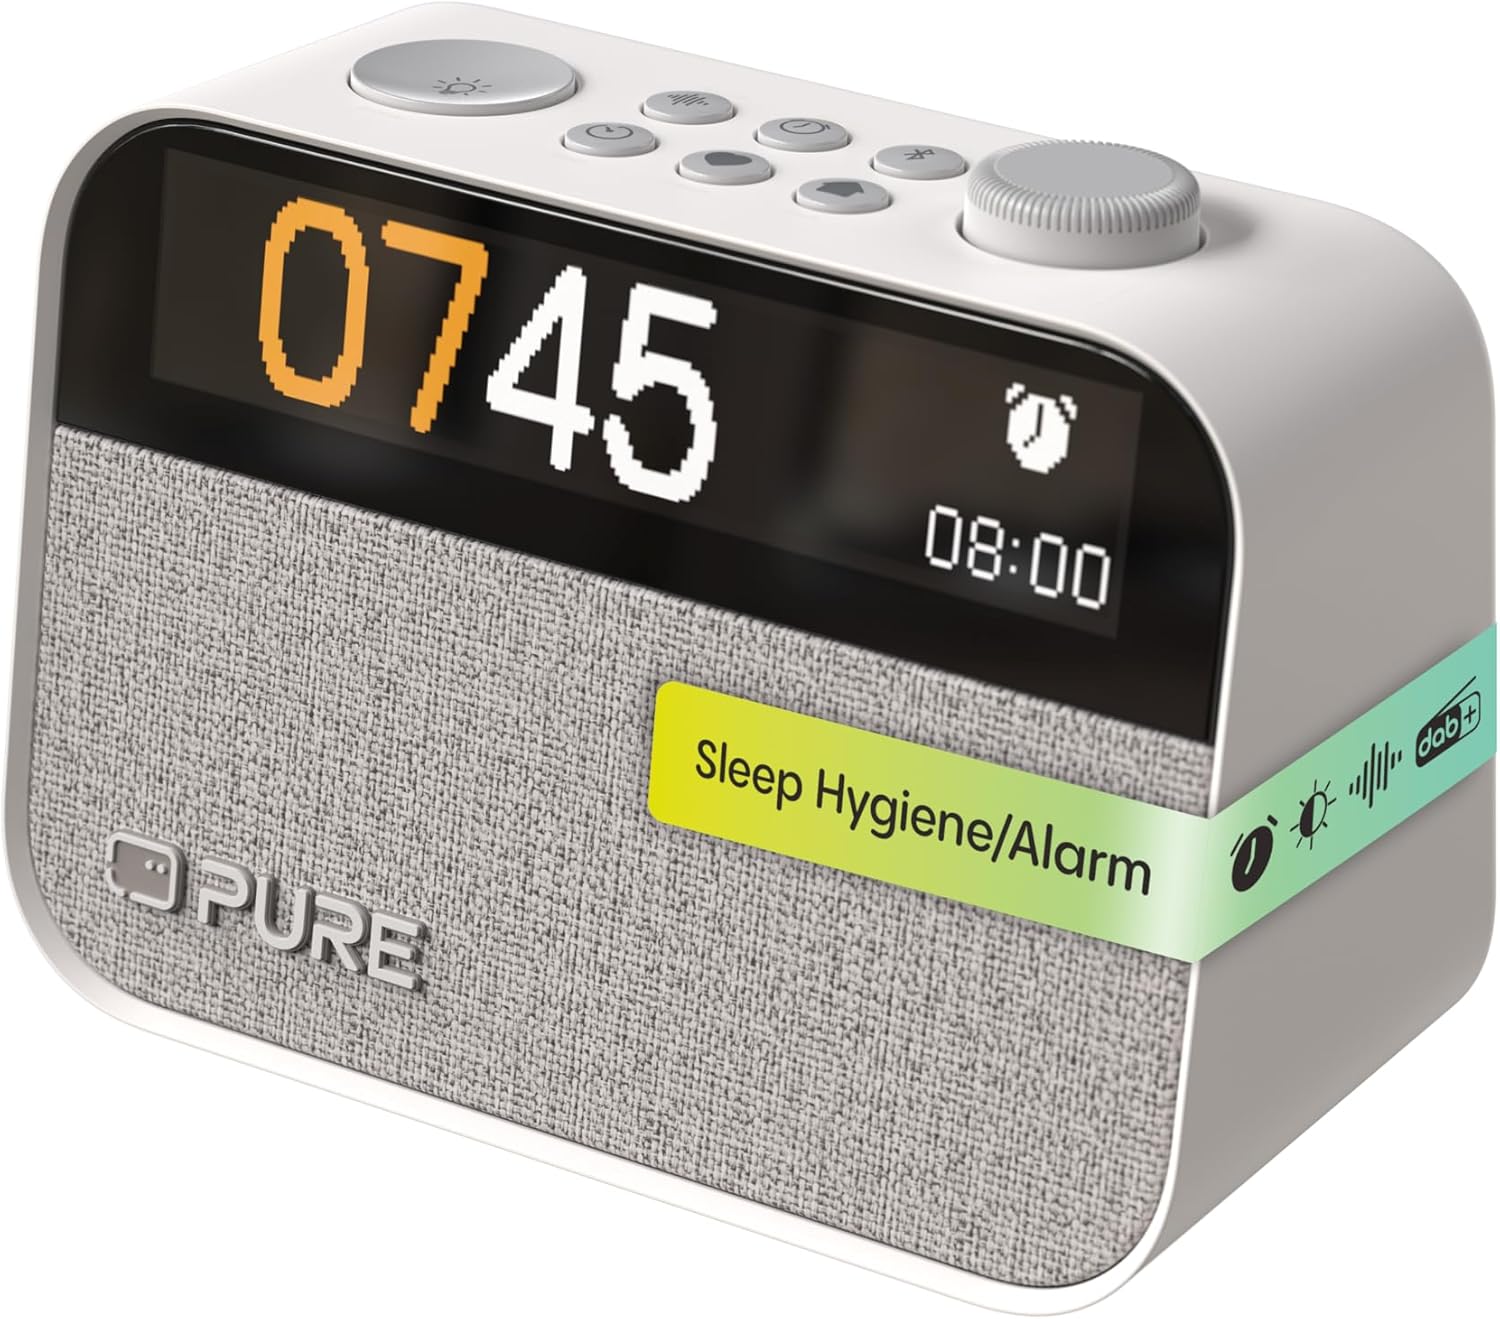
Imatge: Frontal view of the Pure Moment alarm clock, displaying the time and various control buttons on top.
Instruccions de funcionament
This section details the functions of your alarm clock and how to use them.
1. Controls sobreview
The Pure Moment alarm clock features intuitive controls located on the top panel. Familiarize yourself with these buttons and the rotary dial for easy navigation.
| Control | Funció |
|---|---|
| Rotary Dial / Select Button | Rotate to navigate menus or adjust volume/brightness. Press to confirm selection. |
| Botó d'alimentació / mode | Press to turn on/off. Hold to switch between DAB+, FM, Bluetooth, and Sleep Sound modes. |
| Botó d'alarma | Press to set or review alarms. Hold to enter alarm setup menu. |
| Botó de dormir | Activates sleep timer or sleep sound mode. |
| Botó de llum | Adjusts night light brightness or activates wake-up light preview. |
| Botó de visualització | Ajusta la brillantor de la pantalla. |
2. Radio Operation (DAB+/FM)
Your alarm clock supports both DAB+ digital radio and traditional FM radio.
- Canvi de modes: Press and hold the Power/Mode button to cycle between DAB+ and FM modes.
- Escaneig d'estacions: In DAB+ mode, the device will automatically scan for available stations. In FM mode, rotate the dial to manually tune or press the dial to auto-scan for the next available station.
- Desant els valors predefinits: To save a favorite station, tune to the desired station, then press and hold the Rotary Dial/Select button until the preset menu appears. Rotate the dial to select a preset number and press to confirm.

Imatge: El programa del despertadorasing its DAB+, FM, and Bluetooth capabilities.
3. Connectivitat Bluetooth
Connect your smartphone or other Bluetooth-enabled devices to stream audio wirelessly.
- Press and hold the Power/Mode button until "Bluetooth" mode is selected. The display will show "Pairing".
- On your device, enable Bluetooth and search for "Pure Moment".
- Select "Pure Moment" from the list to pair. Once connected, the display will show "Connected".
4. Configuració d'alarma
Set up to 10 personalized alarms with various options.
- Press and hold the Alarm button to enter the alarm setup menu.
- Rotate the dial to select an alarm slot (e.g., Alarm 1) and press to confirm.
- Follow the on-screen prompts to set the alarm time, days of the week, alarm source (radio, buzzer, or sleep sound), and volume.
- You can also enable or disable the wake-up light function for each alarm.
- Press the Alarm button briefly to preview alarmes actives.

Image: A user interacting with the alarm clock to set or adjust settings.
5. Sleep Sounds and White Noise
Utilize over 20 soothing natural sounds to aid relaxation and sleep.
- Press the Sleep button to activate the sleep sound mode.
- Rotate the dial to browse through the available sounds, including various white noise options.
- Press the dial to select a sound. You can also set a sleep timer for the sound to automatically turn off after a set duration.

Image: The alarm clock displaying a 'Zen' sound option, promoting a tranquil environment.
6. Display and Night Light Adjustment
Customize the display brightness and utilize the integrated night light.
- Dimmable Clock Display: Press the Display button repeatedly to cycle through brightness levels for the monochrome LCD display. This helps minimize light disruption during sleep.
- Llum nocturna: Press the Light button to turn on the night light. Rotate the dial to adjust its brightness.
- Sunrise Function: If enabled with an alarm, the wake-up light will gradually brighten before your alarm time, simulating a natural sunrise.
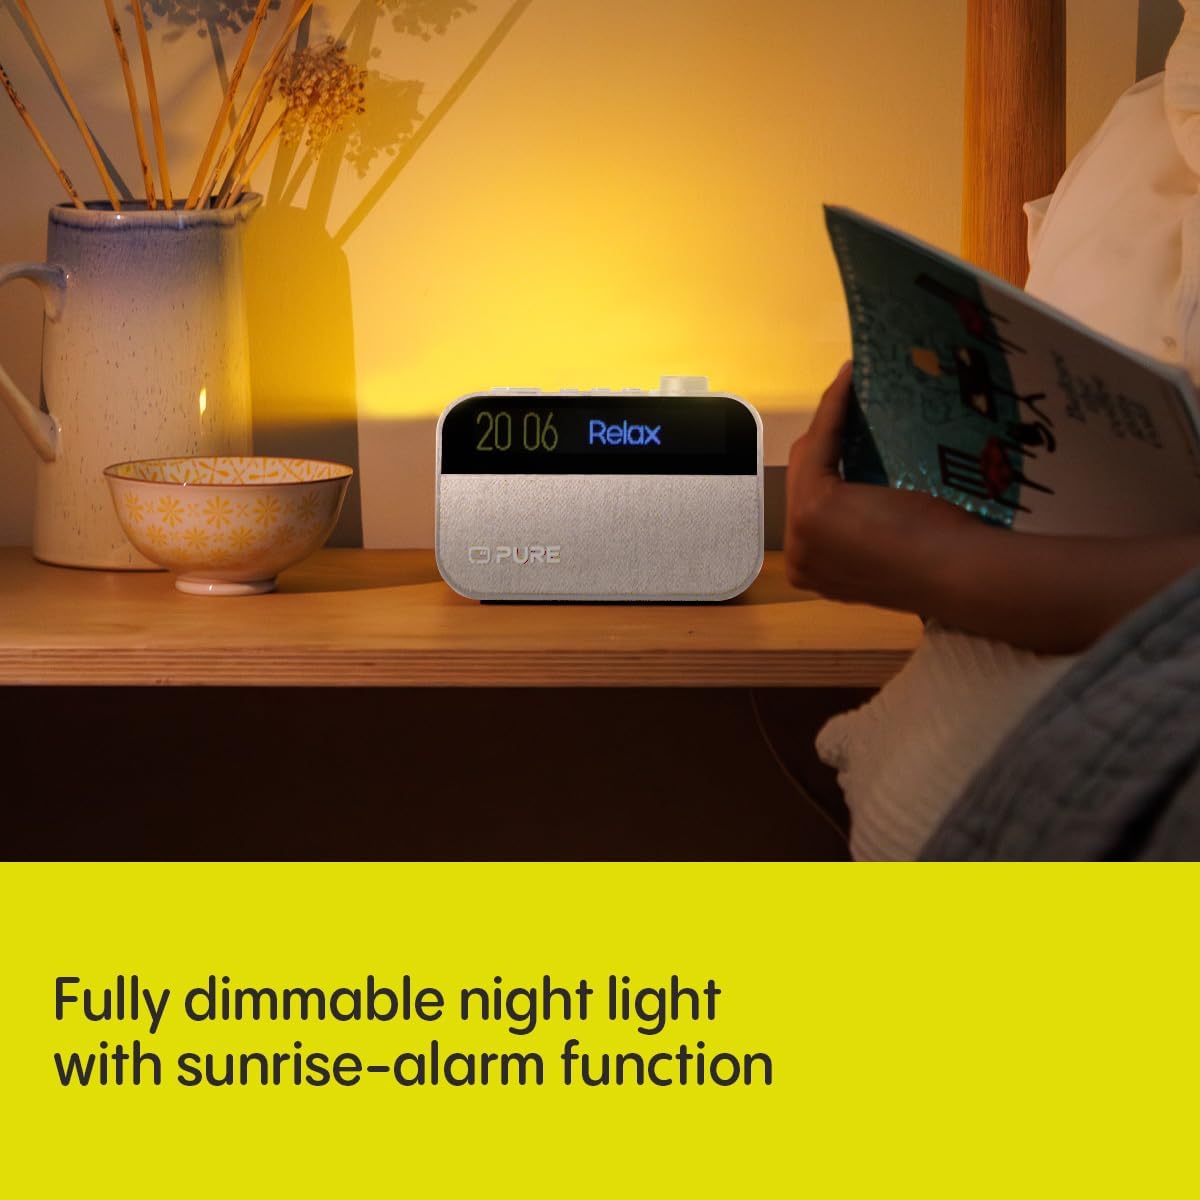
Image: The alarm clock functioning as a night light, providing a soft, dimmable glow.

Image: The alarm clock's dimmable LCD display, designed for minimal light disruption in a bedroom setting.
Manteniment
Proper care ensures the longevity and optimal performance of your Pure Moment alarm clock.
- Neteja: Disconnect the power adapter before cleaning. Use a soft, dry, lint-free cloth to wipe the surfaces. Do not use abrasive cleaners, waxes, or solvents.
- Col·locació: Place the unit on a stable, flat surface. Avoid direct sunlight, heat sources, and areas with high humidity or dust.
- Ventilació: Assegureu-vos que hi hagi una ventilació adequada al voltant de la unitat. No bloquegeu cap obertura de ventilació.
Resolució de problemes
If you encounter issues with your alarm clock, refer to the following common problems and solutions.
| Problema | Solució |
|---|---|
| Sense alimentació / Pantalla apagada | Ensure the power adapter is securely connected to both the unit and a working wall outlet. Check if the power outlet is active. |
| Mala recepció de ràdio | Fully extend and reposition the wire antenna. Try moving the unit to a different location, away from other electronic devices or large metal objects. Perform a new station scan. |
| Error d'emparellament Bluetooth | Ensure the alarm clock is in Bluetooth pairing mode. Make sure Bluetooth is enabled on your device and it is within range (approx. 10 meters). Forget "Pure Moment" from your device's Bluetooth list and try pairing again. |
| L'alarma no sona | Verify the alarm is enabled and set for the correct time and days. Check the alarm volume setting. Ensure the unit is powered on or has working backup batteries. |
| Display Too Bright/Dim | Press the Display button to adjust brightness levels. If auto-dimming is active, check ambient light conditions. |
Especificacions
| Característica | Detall |
|---|---|
| Número de model | 252449 |
| Dimensions (L x A x A) | 15.5 x 3.81 x 11.5 cm |
| Pes | 0.58 quilos |
| Font d'alimentació | Elèctric amb cable |
| Sintonitzador de ràdio | DAB+, FM |
| Versió Bluetooth | 5.3 |
| Tipus de visualització | Digital, Monochrome LCD (192x32) |
| Característiques especials | White Noise, Sleep Sounds (20+), Wake-Up Light, Night Light, Dimmable Display, Built-In Clock, Backup Battery Support |
| Components inclosos | Power Adapter, Quick Start Guide |
Informació de la garantia
Your Pure Moment Bedside & Office Alarm Clock is covered by a Garantia del fabricant de 2 anys from the date of purchase. This warranty covers defects in materials and workmanship under normal use. Please retain your proof of purchase for warranty claims. For full terms and conditions, refer to the warranty documentation included with your product or visit the official Pure weblloc.
Suport
For further assistance, technical support, or to access additional resources such as FAQs and updated user guides, please visit the official Pure support website. Contact information for customer service may also be found on the product packaging or the Quick Start Guide.
Note: Always refer to the latest information available from the manufacturer for the most accurate and up-to-date support.


