1. Introducció
This manual provides detailed instructions for the installation, operation, and maintenance of your MOES Programmable Smart Thermostat. This device is designed for electric baseboard heaters and offers advanced control features, including Wi-Fi connectivity for remote management and voice control compatibility.

Figure 1: MOES Programmable Smart Thermostat and its mobile application interface.
2. Informació de seguretat
WARNING: Risk of electric shock. Installation must be performed by a qualified electrician or trained personnel. Always turn off power at the circuit breaker before beginning installation.
- Ensure the power supply is completely disconnected before any wiring work.
- Verifiqueu el voltage compatibility (120V/240V AC) with your heating system.
- This thermostat is designed for high-voltage electric heating systems only. It is not compatible with low-voltagsistemes electrònics.
- Requires at least four wires in the electrical box, including a neutral wire or a second active wire.
3. Contingut del paquet
Verifiqueu que tots els elements siguin presents al paquet:
- MOES Smart Thermostat Unit
- Cargols de muntatge
- Filferro
- Manual d'usuari (aquest document)
4. Requisits d'instal·lació
Before installation, confirm your heating system meets the following criteria:
- Vol. Alttage Electric Heat: Compatible with 120V/240V electric baseboard, fan-forced (in-wall), in-ceiling radiant, and self-contained hydronic baseboard heaters.
- Cablejat: Requires a 4-wire system (two live wires, two load wires, and a ground wire). Not compatible with 2-wire systems.
- Capacitat de potència: Supports up to 3800 watts at 240V.
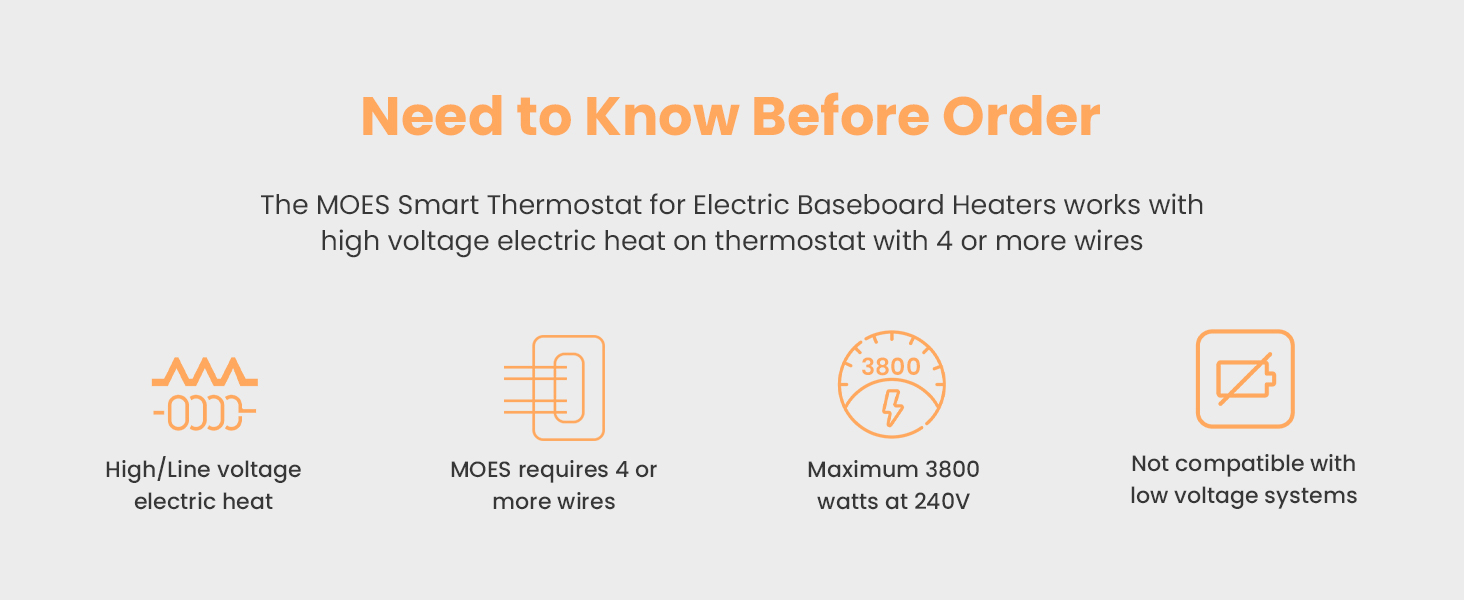
Figure 2: Key installation requirements for the MOES Smart Thermostat.

Figure 3: Thermostat compatibility with different heating setups.
5. Guia d'instal·lació
Follow these steps carefully to install your MOES Smart Thermostat. If you are unsure about any step, consult a licensed electrician.
- Apagueu l'alimentació: Locate your circuit breaker panel and turn off the power to your heating system. Verify power is off using a voltage detector.
- Elimina el termòstat antic: Gently remove your existing thermostat from the wall. Note how the wires are connected.
- Etiqueta els cables: Label each wire in your electrical box according to its function (e.g., L1, L2, Load). Take a photo for future reference.
- Prepareu els cables: Loosen and unhook the wires. If necessary, trim the ends and strip about 1 cm of insulation from each wire.
- Separate Thermostat Components: Carefully separate the front half of the MOES thermostat from its backplate by slightly loosening the screws on the bottom side.
- Connecteu els cables: Connect the wires from your electrical box to the corresponding terminals on the thermostat's backplate. Use the provided wire nuts to secure connections. Ensure all connections are tight by gently wiggling the wires.

Figure 4: Detailed wiring diagram for the MOES Smart Thermostat.
Video 1: Hardware Installation Guide. This video demonstrates the step-by-step process of installing the thermostat, including safety precautions, wire labeling, and connection procedures.
- Mount Backplate: Screw the thermostat backplate securely into the electrical box using the provided mounting screws.
- Attach Front Half: Gently press the front of the thermostat onto the backplate until it clicks into place. Tighten any remaining screws.
- Restaura l'alimentació: Return to your circuit breaker panel and turn the power back on. The thermostat display should light up.
6. Instruccions de funcionament
6.1 Control manual
The thermostat features an easy-grip knob for direct temperature adjustments:
- Ajustar la temperatura: Turn the knob clockwise to increase the temperature and counter-clockwise to decrease it.
- Frosted Screen: The frosted screen minimizes glare and ensures clear readability of the temperature.

Figure 5: Manual temperature adjustment using the thermostat's knob.
6.2 App Control (Smart Life/TUYA APP)
Control your thermostat remotely using the Smart Life or TUYA APP:
- Descarregar l'aplicació: Download the Smart Life or TUYA APP from your smartphone's app store.
- Registra't/Inici de sessió: Creeu un compte o inicieu sessió.
- Afegeix un dispositiu: Follow the in-app instructions to add your MOES Smart Thermostat. Ensure your phone and thermostat are connected to the same 2.4G Wi-Fi network during setup.
- Ajust remot: Once connected, you can adjust the temperature, set schedules, and monitor energy usage from anywhere.
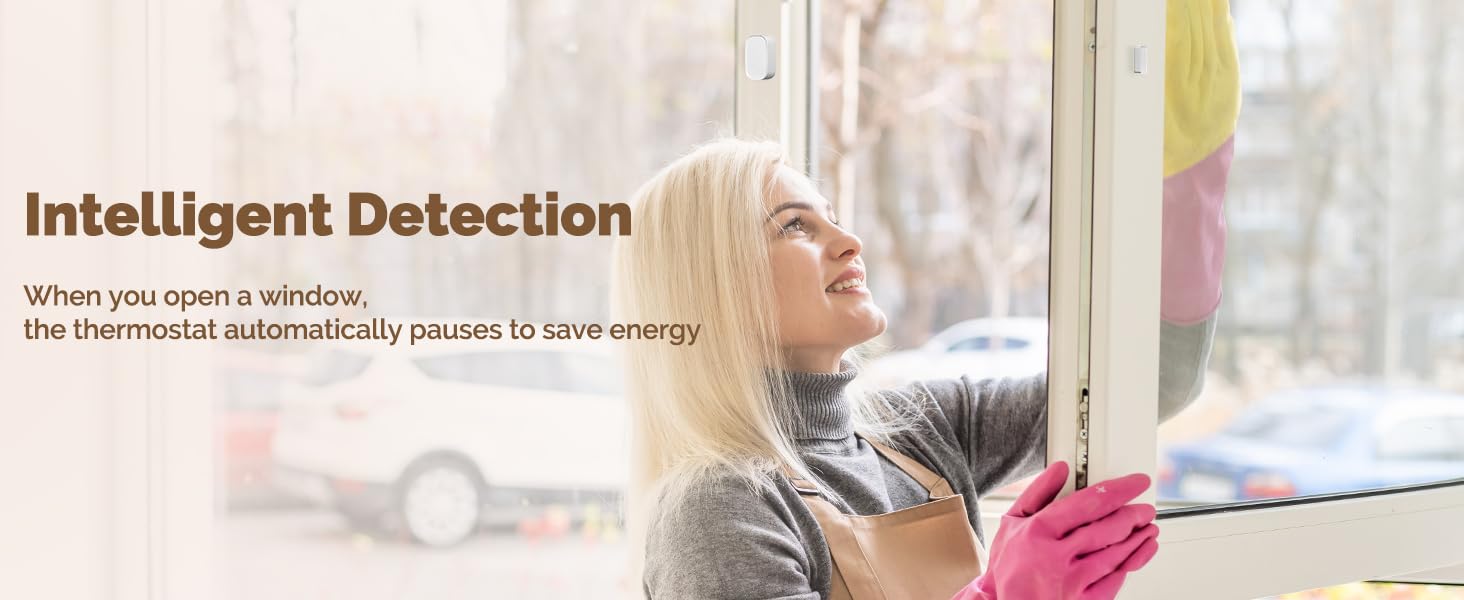
Figure 6: Remote control of the thermostat via the Smart Life app.
6.3 Control per veu (Alexa/Google Home)
Integrate your thermostat with Amazon Alexa or Google Home for hands-free control:
- Habilita l'habilitat/acció: In the Alexa or Google Home app, enable the Smart Life/TUYA skill or action.
- Enllaça el compte: Link your Smart Life/TUYA account to your Alexa/Google Home account.
- Descobriu els dispositius: Ask Alexa or Google to discover new devices.
- Comandaments de veu: Use simple voice commands like, "Alexa, set living room to 72 degrees," or "Hey Google, what's the temperature in the bedroom?"

Figure 7: Voice control functionality with smart home assistants.
7. Característiques
- Estalvi d'energia: Save up to 23% on energy costs by optimizing heating schedules and remote control.
- Detecció intel·ligent: Automatically pauses heating when a window is detected open to conserve energy.
- Disseny modern: Frosted screen and easy-grip knob for a sleek appearance and intuitive control.
- Integració de la llar intel·ligent: Compatible with Amazon Alexa and Google Home for seamless voice control.
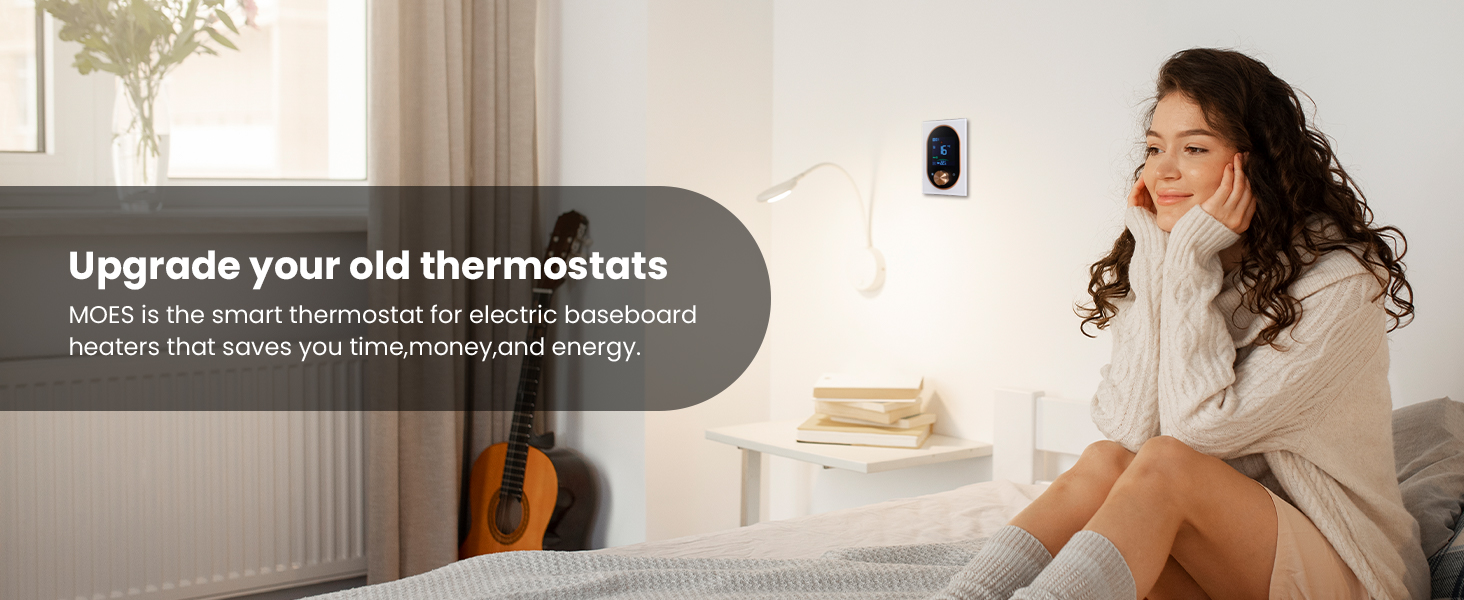
Figure 8: Intelligent window detection feature for energy saving.
8. Manteniment
To ensure optimal performance and longevity of your thermostat:
- Neteja: Gently wipe the screen and body with a soft, dry cloth. Do not use abrasive cleaners or solvents.
- Actualitzacions de programari: Keep the Smart Life/TUYA APP updated to the latest version to receive new features and security enhancements.
- Eviteu les obstruccions: Ensure no objects block the thermostat's sensors or air vents, as this can affect temperature readings.
9. Solució De Problemes
- El termòstat no s'encén:
- Check the circuit breaker to ensure power is restored.
- Verify all wiring connections are secure and correct according to the installation guide.
- Problemes de connexió Wi-Fi:
- Ensure your Wi-Fi network is 2.4GHz. This thermostat does not support 5GHz networks.
- Check that the thermostat is within range of your Wi-Fi router.
- Reinicieu l'encaminador i proveu de connectar-vos de nou.
- Lectures de temperatura inexactes:
- Ensure the thermostat is not exposed to direct sunlight or drafts.
- Verify that the thermostat's vents are not obstructed.
- El control per veu no funciona:
- Confirm your Smart Life/TUYA account is correctly linked to Alexa/Google Home.
- Ensure your smart speaker is online and functioning correctly.
10. Especificacions
| Especificació | Valor |
|---|---|
| Marca | MOES |
| Número de model | 334c51f7-0013-443e-b79d-8723f0a7808c |
| Voltage | 120V/240V AC |
| Potència màxima | 3800W (at 240V) |
| Tecnologia de connectivitat | Wi-Fi (2.4 G) |
| Tipus de controlador | Amazon Alexa, Google Assistant, Smart Life/TUYA APP |
| Tipus de visualització | LCD |
| Tipus de muntatge | Muntatge en superfície |
| Pes de l'article | 14 unces |
| Dimensions del paquet | 5.83 x 4.61 x 2.83 polzades |

Figure 9: Physical dimensions of the MOES Smart Thermostat.
11. Garantia i assistència
The MOES Programmable Smart Thermostat comes with a 2-year limited warranty. For technical support, troubleshooting assistance, or warranty claims, please contact MOES customer service through their official website or the Smart Life/TUYA APP support section.


