1. Introducció
The Waveshare RP2350 MCU Board Plus is a low-cost, high-performance microcontroller development board. It is designed around the Raspberry Pi RP2350A dual-core and dual-architecture microcontroller chip, offering compatibility with most Raspberry Pi Pico add-on modules. This manual provides essential information for setting up, operating, and maintaining your RP2350 MCU Board Plus.

Imatge 1: De dalt a baix view of two RP2350 MCU Board Plus units, showcasing their compact design and pin headers.
2. Característiques i especificacions principals
The RP2350 MCU Board Plus incorporates advanced features for versatile development:
- Microcontrolador: RP2350A chip by Raspberry Pi, featuring a dual-core Arm Cortex-M33 processor and a dual-core RISC-V processor, with a flexible clock running up to 150 MHz.
- Memòria: 520KB Static Random-Access Memory (SRAM) and 4MB of on-board Flash memory.
- Connectivitat: Type-C USB connector for modern compatibility and ease of use.
- Gestió d'energia: Onboard recharge/discharge header for mobile applications and an MP28164 DC-DC buck-boost chip with a maximum 2A load current.
- Pins GPIO: 26 multi-function GPIO pins, configurable for various peripheral functions.
- Perifèrics: 2 × SPI, 2 × I2C, 2 × UART, 4 × 12-bit ADC, 16 × controllable PWM channels.
- Característiques avançades: Accurate on-chip clock and timer, temperature sensor, accelerated floating-point libraries, and 12 × Programmable I/O (PIO) state machines for custom peripheral support.
- Factor de forma: Castellated module design allows direct soldering to carrier boards.
- USB: USB 1.1 with device and host support.
- Modes d'alimentació: Low-power sleep and dormant modes.
- Programació: Drag-and-drop programming using mass storage over USB.
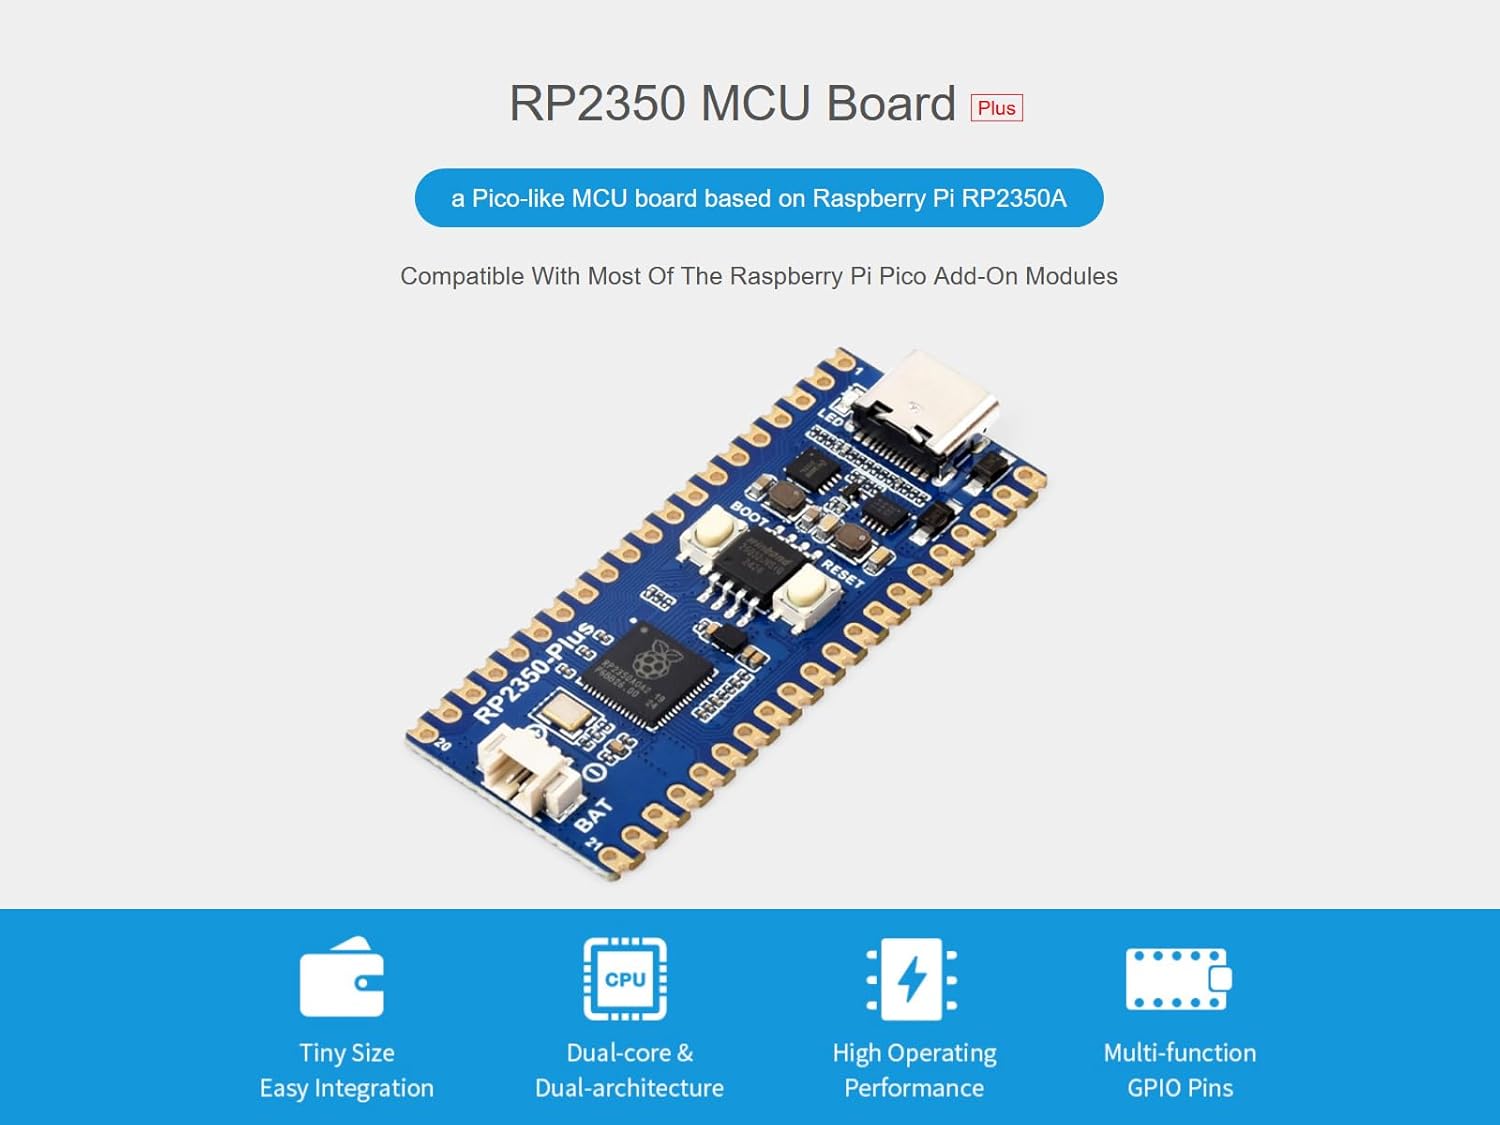
Image 2: The RP2350 MCU Board Plus with visual callouts for its compact size, dual-core architecture, high operating performance, and multi-function GPIO pins.

Imatge 3: Una imatge detallada view of the RP2350A microcontroller chip, illustrating its dual-core and dual-architecture design for flexible clock speeds up to 150 MHz.
3. Diagrama de fixació
The RP2350 MCU Board Plus features 26 multi-function GPIO pins. Refer to the diagram below for a detailed pinout configuration, which allows for flexible development and integration with various peripherals.

Image 4: Comprehensive pinout diagram for the RP2350 MCU Board Plus, indicating the function of each of the 26 multi-function GPIO pins, including SPI, I2C, UART, ADC, and PWM channels.
4. Board Components Overview
Familiarize yourself with the main components of the RP2350 MCU Board Plus using the labeled diagram below:

Image 5: An annotated diagram of the RP2350 MCU Board Plus, identifying key components such as the LED, USB Type-C connector, BOOT and RESET buttons, the RP2350A microcontroller, and the battery header for mobile applications.
- LED (not power indicator)
- Connector USB tipus C
- ETA6096 (high efficiency Lithium battery recharge manager)
- MP28164 (high efficiency DC-DC buck-boost chip)
- BOOT button (press it when resetting to enter download mode)
- On-board flash memory (4MB: W25Q32JVSSIQ)
- Botó RESET
- RP2350A (dual-core and dual-architecture design, up to 150 MHz operating frequency)
- Battery header (MX1.25 header, for 3.7V Lithium battery, allows recharging the battery and powering the board at the same time)
- Pinout (compatible with Raspberry Pi Pico 2)
- USB test points (connecting to USB interface)
- BOOT test point (connecting to BOOT button)
- DEBUG points
5. Desenvolupament de programari
The RP2350 MCU Board Plus supports various development environments and programming languages, including C/C++ and MicroPython. Waveshare provides comprehensive SDKs, development resources, and tutorials to assist users in getting started quickly.
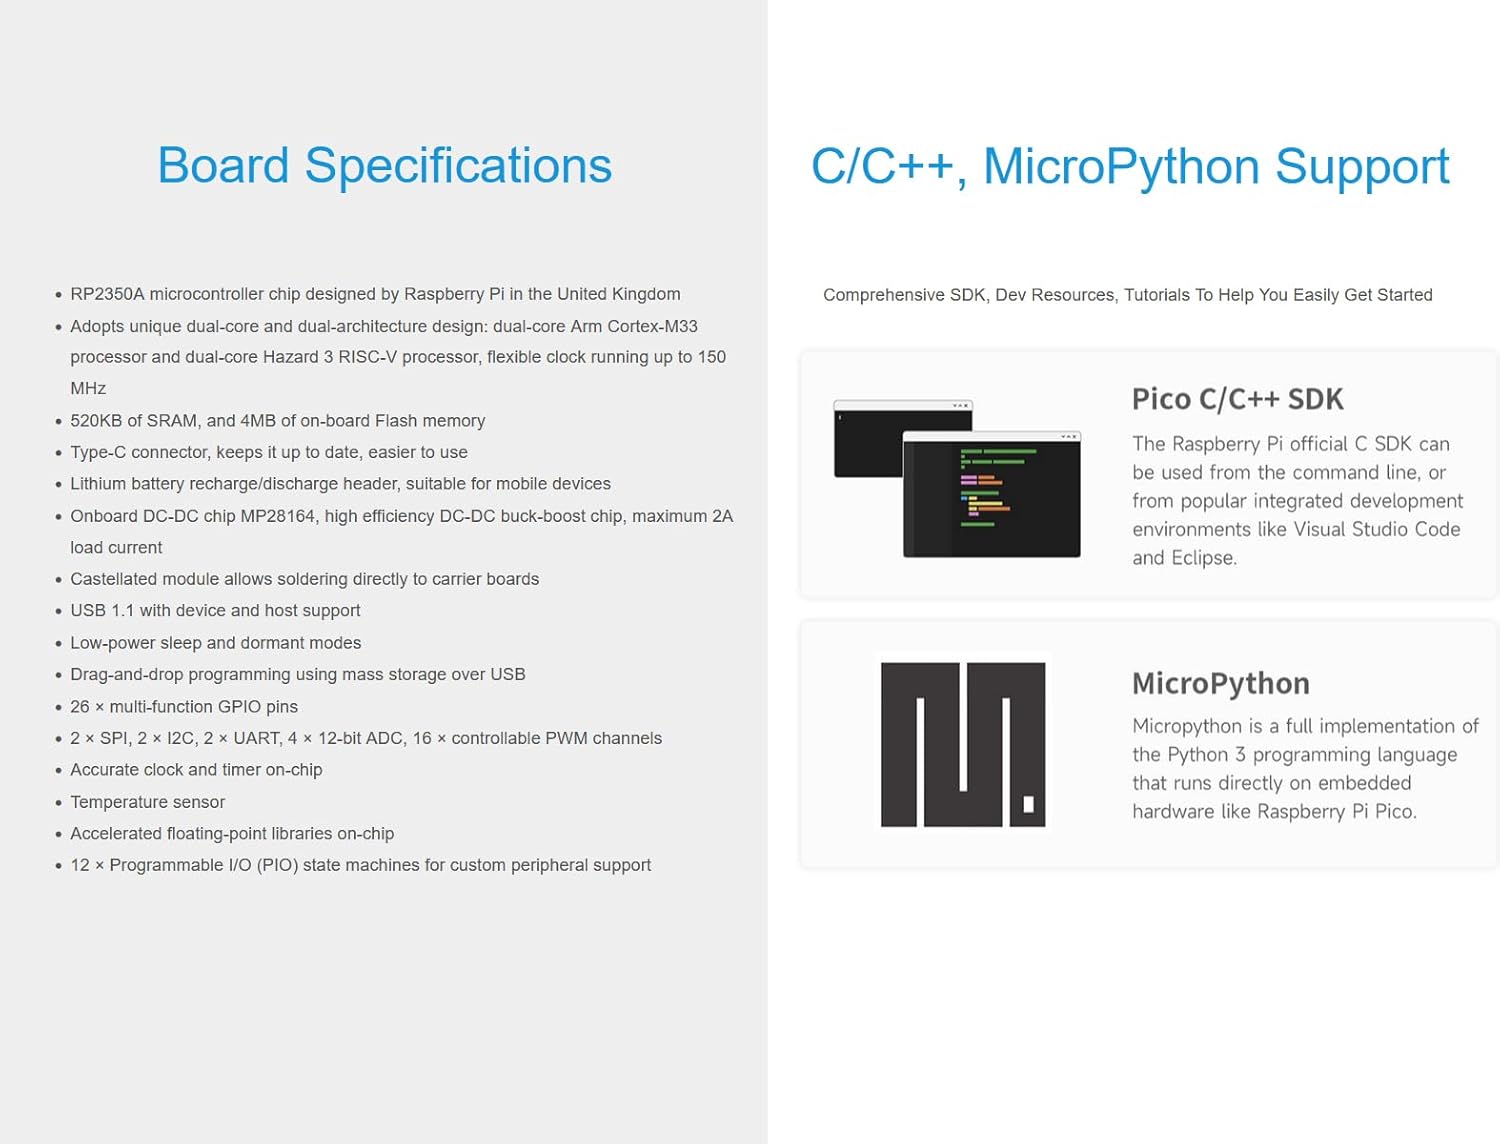
Image 6: Visual representation of the software development support for the RP2350 MCU Board Plus, highlighting compatibility with Pico C/C++ SDK and MicroPython.
Official Product Video: RP2350 Pi Zero Overview
Video 1: An official Waveshare video providing an overview of the RP2350 Pi Zero, demonstrating its features, architecture, storage, interfaces, and development environment support. This video is relevant for understanding the RP2350 series.
6. Dimensions físiques
The compact design of the RP2350 MCU Board Plus makes it suitable for integration into various projects. Below are the outline dimensions for reference (Unit: mm).

Image 7: Technical drawing illustrating the precise dimensions of the RP2350 MCU Board Plus, with measurements provided in millimeters for accurate project planning and integration.
7. Configuració
To begin using your Waveshare RP2350 MCU Board Plus, follow these general setup steps:
- Connexió a l'ordinador: Use a Type-C USB cable to connect the RP2350 MCU Board Plus to your computer.
- Instal·leu els controladors (si cal): Your operating system may automatically install necessary drivers. If not, refer to the official Waveshare documentation for driver installation instructions.
- Install Development Environment: Download and install your preferred development environment (e.g., Thonny IDE for MicroPython, or a C/C++ IDE with the Pico SDK).
- Càrrega de firmware: For initial use or firmware updates, you may need to put the board into bootloader mode. Typically, this involves holding down the BOOT button while connecting the USB cable or pressing BOOT and then RESET. Follow the specific instructions in the Waveshare online resources for your chosen programming language.
- Primer programa: Load a simple "blink" program or a "hello world" example to verify the board's functionality.
8. Instruccions de funcionament
Once set up, the RP2350 MCU Board Plus can be operated for various applications:
- Programació: Write your code in C/C++ or MicroPython using the installed IDE.
- Uploading Code: Compile your code and upload it to the board via the USB connection. The drag-and-drop mass storage programming method simplifies this process.
- Ús de GPIO: Utilize the 26 multi-function GPIO pins to interface with sensors, actuators, displays, and other electronic components. Refer to the pinout diagram for specific pin functions.
- Powering External Devices: The onboard DC-DC chip and battery header allow for powering and managing external devices, making it suitable for mobile and embedded projects.
- Depuració: Use the provided debug points and your development environment's debugging tools to troubleshoot your programs.
9. Manteniment
To ensure the longevity and optimal performance of your RP2350 MCU Board Plus, consider the following maintenance guidelines:
- Manejar amb cura: Eviteu deixar caure la taula o sotmetre-la a un esforç físic excessiu.
- Descàrrega estàtica: Always handle the board in an anti-static environment to prevent damage from electrostatic discharge.
- Mantenir sec: Protect the board from moisture and humidity.
- Neteja: Keep the board free from dust and debris. Use a soft, dry brush or compressed air for cleaning.
- Font d'alimentació: Use a stable and appropriate power supply. Avoid over-voltage or reverse polarity connections.
- Emmagatzematge: When not in use, store the board in its original packaging or an anti-static bag in a cool, dry place.
10. Solució De Problemes
If you encounter issues with your RP2350 MCU Board Plus, try the following troubleshooting steps:
- La placa no s'encén:
- Comproveu la connexió del cable USB i la font d'alimentació.
- Ensure the USB port on your computer is functional.
- If using a battery, ensure it is charged and correctly connected to the battery header.
- Computer Not Recognizing Board:
- Prova amb un port o cable USB diferent.
- Ensure the board is in the correct mode (e.g., bootloader mode for firmware upload).
- Check device manager for driver issues and install/update drivers if needed.
- Code Not Uploading/Running:
- Verifiqueu el vostre codi per detectar errors de sintaxi.
- Ensure the correct board and port are selected in your IDE.
- Try re-uploading the firmware.
- Consult online forums and the Waveshare documentation for common issues related to your specific development environment.
- Perifèric no funciona:
- Double-check wiring connections to the GPIO pins.
- Verify the pin assignments in your code match the hardware connections.
- Ensure the peripheral itself is functional and correctly configured.
11. Garantia i Suport
For warranty information, technical support, and additional resources, please visit the official Waveshare website or contact their customer service. Online development resources and technical support are provided to assist you with any problems.
Podeu trobar més informació i suport a Waveshare Store on Amazon.


