1. Introducció
Thank you for choosing the HOMCOM Boho Sideboard Storage Cabinet. This manual provides essential information for the safe assembly, operation, and maintenance of your new furniture. Please read all instructions carefully before beginning assembly and retain this manual for future reference.
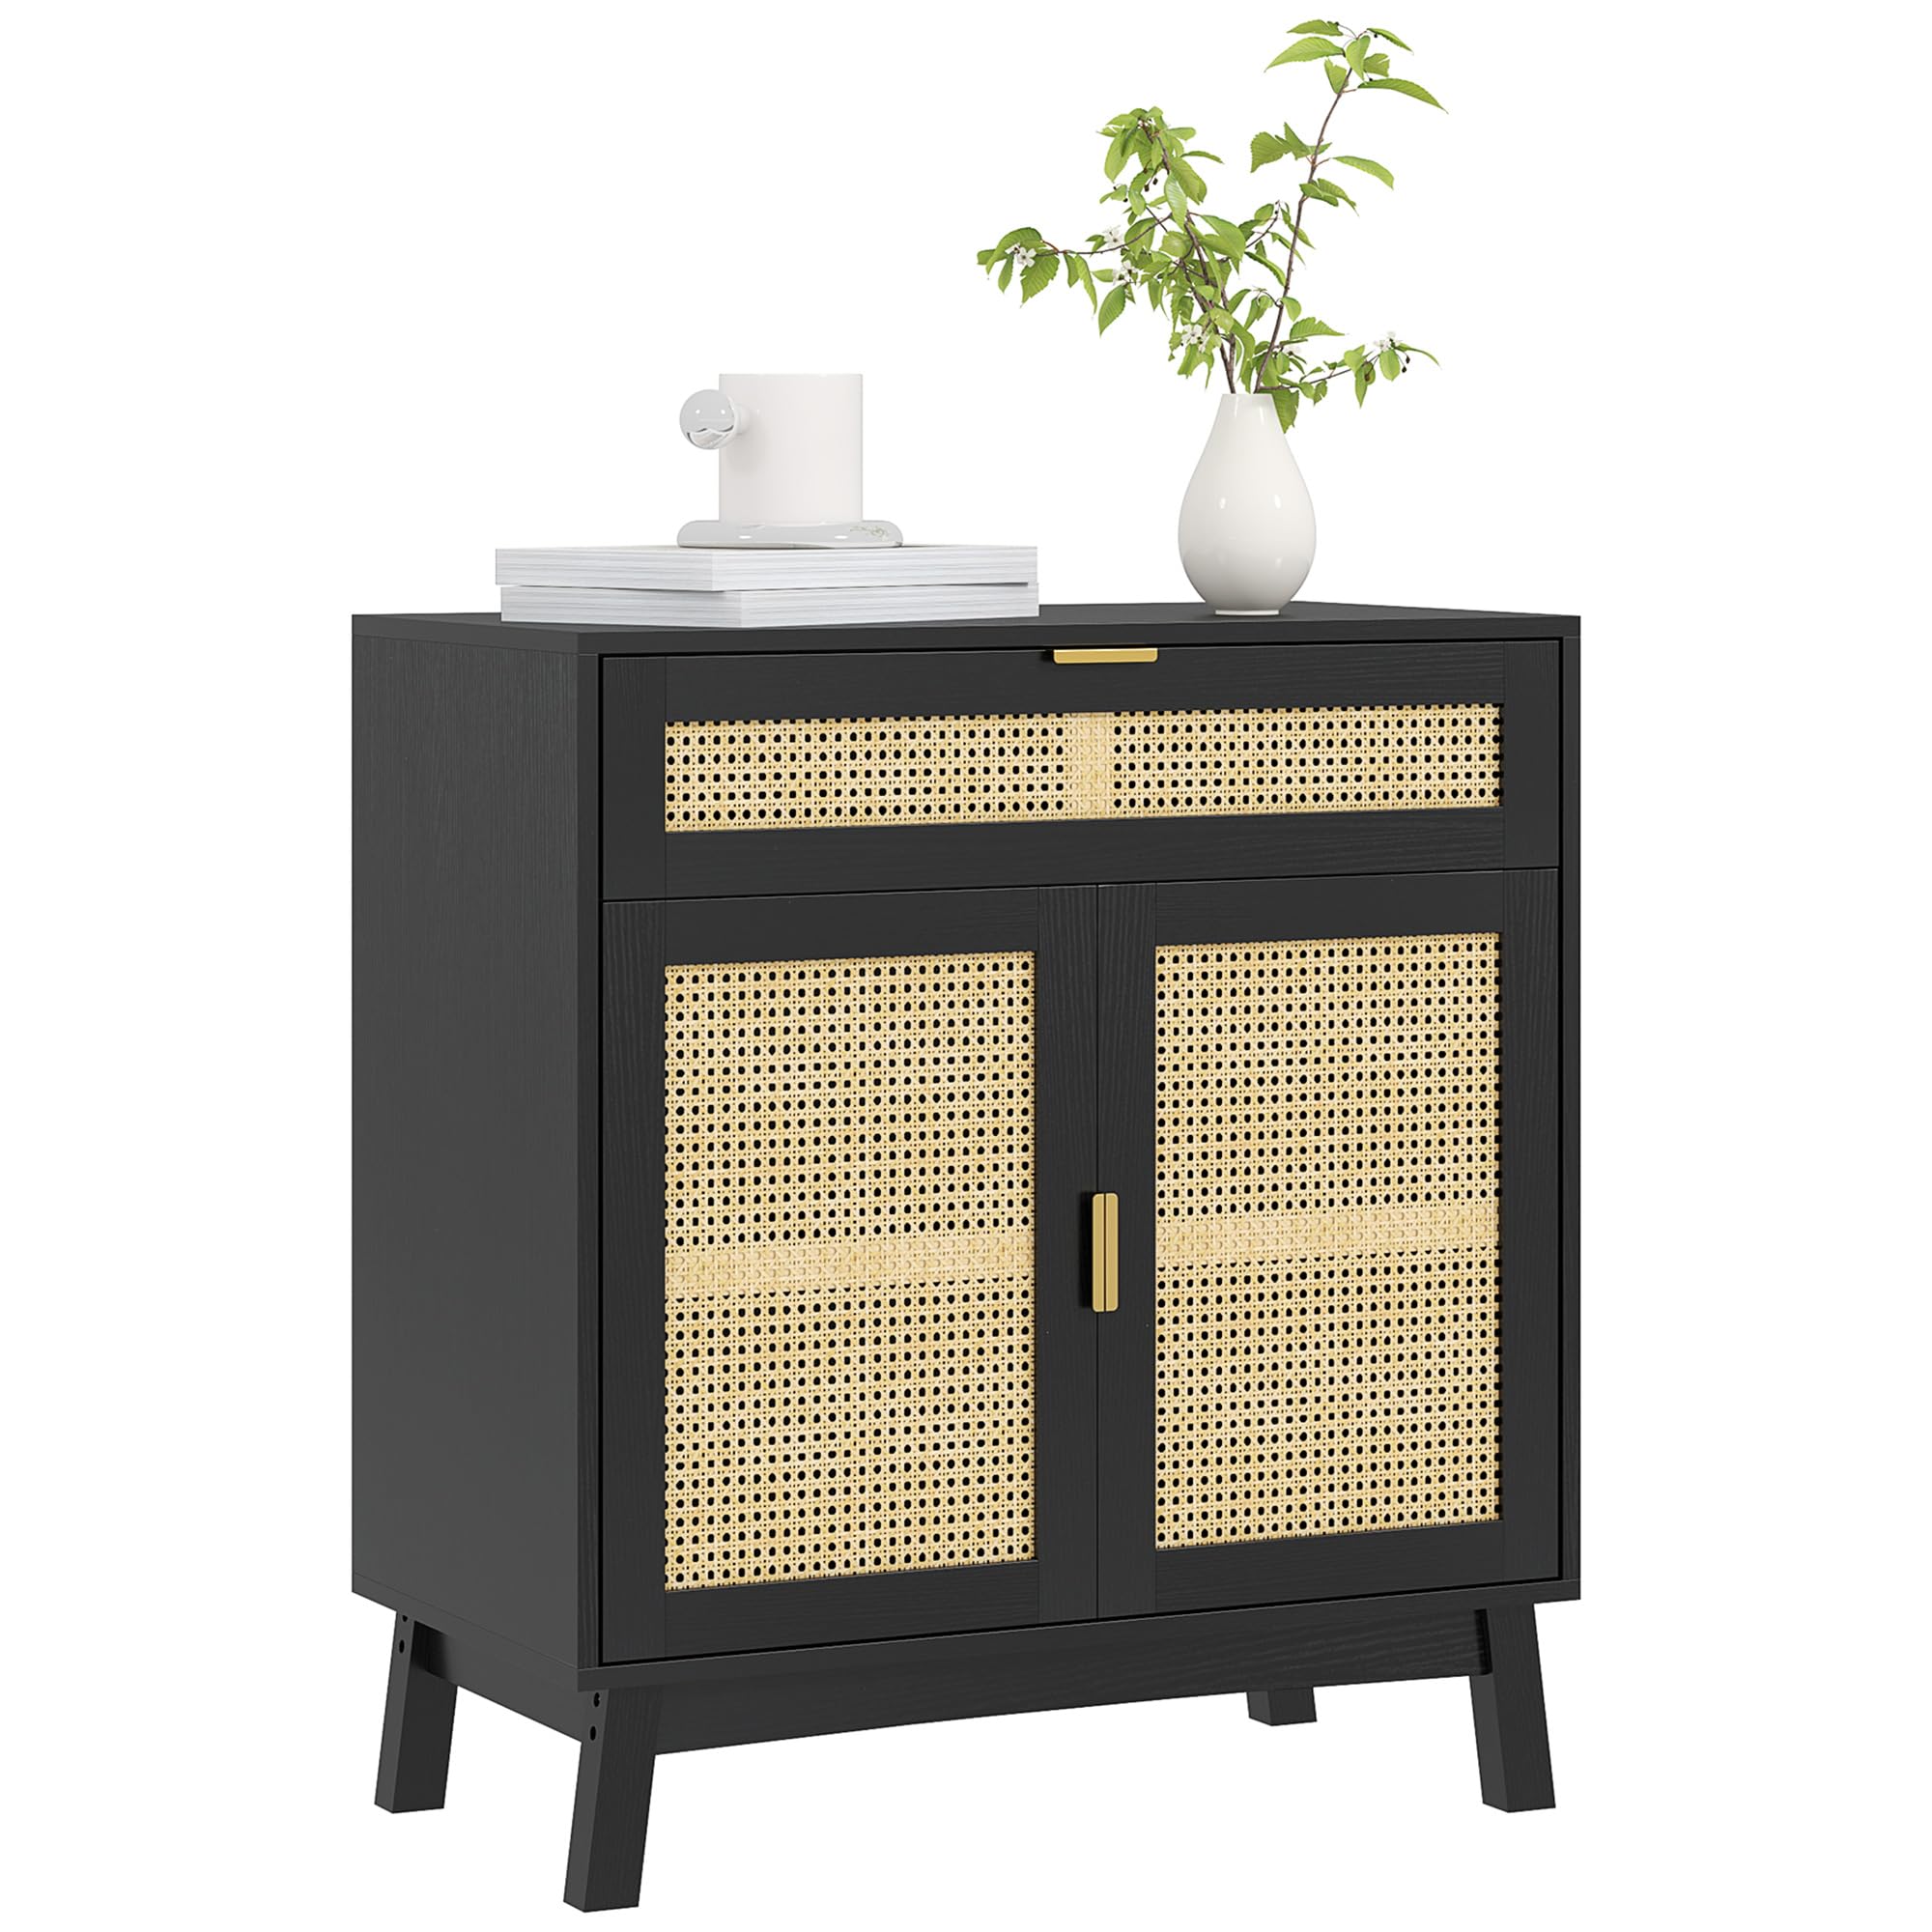
Image: The HOMCOM Boho Sideboard Storage Cabinet, featuring a black finish and rattan doors, positioned in a modern living room.
2. Informació de seguretat
AVÍS: Si no es segueixen aquestes instruccions de seguretat, es poden produir lesions o danys al producte.
- Always secure the cabinet to the wall using the provided anti-tipping hardware to prevent tipping.
- Be cautious of pinch points, especially with the elevated legs and moving parts during assembly and use.
- Always follow assembly instructions carefully to avoid injury and ensure structural integrity.
- Do not exceed the maximum weight capacities: Total 121 lbs (55 kg), top 22 lbs (10 kg), shelf 22 lbs (10 kg), drawer 11 lbs (5 kg).
- Mantingueu les peces petites fora de l'abast dels nens durant el muntatge per evitar riscos d'asfíxia.
3. Contingut del paquet
Before beginning assembly, ensure all parts listed in the assembly diagram are present and undamaged. If any parts are missing or damaged, please contact customer support.

Image: A cardboard box indicating the product comes in one package.
Refer to the detailed assembly video for a visual guide to all components and steps.
4. Instruccions de muntatge
Assembly is required for this product. Please follow the steps below carefully. It is recommended to have two people for assembly.
4.1 Guia de vídeo de muntatge
Video: Detailed assembly instructions for the Black Rattan Cabinet. This video provides a step-by-step visual guide to help you assemble your cabinet correctly.
4.2 Muntatge pas a pas
Step 1: Prepare Side Panels
Attach the cam bolts to the designated holes on the side panels (parts 3 and 4). Ensure they are screwed in vertically and securely.

Image: Illustration showing cam bolts being screwed into the side panels (parts 3 and 4).
Step 2: Connect Crossbars
Insert wooden dowels into the top and bottom crossbars (parts 6 and 8). Connect these crossbars to the side panels using cam locks and cam bolts.

Image: Illustration showing the side panels connected by top and bottom crossbars.
Step 3: Attach Back Panel
Slide the back panel (part 5) into the grooves of the assembled frame. Ensure it fits snugly.

Image: Illustration showing the back panel being inserted into the cabinet frame.
Step 4: Secure Top Panel
Attach the top panel (part 1) to the frame using cam bolts and cam locks. Ensure all connections are tight.

Image: Illustration showing the top panel being attached to the cabinet structure.
Pas 5: munta el marc de la base
Connect the base frame pieces (parts 9 and 10) using wooden dowels and screws to form the cabinet's base.

Image: Illustration showing the assembly of the cabinet's base frame.
Pas 6: connecteu la base a l'armari
Secure the assembled base frame to the bottom of the cabinet using screws. Ensure it is firmly attached.

Image: Illustration showing the base frame being attached to the main cabinet body.
Pas 7: Instal·leu les guies del calaix
Attach the drawer slides to the interior side panels of the cabinet using screws. Ensure they are level and aligned.

Image: Illustration showing the installation of drawer slides inside the cabinet.
Pas 8: munta el calaix
Assemble the drawer components (front, back, sides, and bottom) according to the diagram, using cam bolts, cam locks, and wooden dowels. Attach the drawer handles.

Image: Illustration showing the assembly of the drawer components.
Step 9: Install Drawer into Cabinet
Carefully slide the assembled drawer onto the installed drawer slides within the cabinet.

Image: Illustration showing the drawer being slid into the cabinet.
Step 10: Attach Door Hinges
Attach the hinges to the cabinet doors (parts 11 and 12) using the provided screws. Ensure they are securely fastened.

Image: Illustration showing hinges being attached to the cabinet doors.
Step 11: Mount Doors
Attach the doors to the cabinet frame by securing the hinges to the side panels. Adjust as needed for proper alignment. Install the door handles.

Image: Illustration showing the cabinet doors being mounted onto the main cabinet body.
Step 12: Install Adjustable Shelf
Insert the shelf pins into the desired holes inside the cabinet. Place the adjustable shelf (part 13) onto the pins.

Image: The adjustable shelf inside the cabinet, demonstrating its three-position adjustability.
Step 13: Install Anti-Tipping Hardware
Secure the anti-tipping hardware to the back of the cabinet and to a wall stud using the provided screws and wall anchors. This step is crucial for safety.

Image: Illustration showing the anti-tipping hardware being installed on the cabinet and wall.
5. Instruccions de funcionament
5.1 prestatge ajustable
The cabinet features a three-position adjustable shelf. To adjust the shelf height:
- Buideu el prestatge de tot el contingut.
- Remove the shelf by lifting it off the pins.
- Relocate the shelf pins to the desired height.
- Torneu a col·locar el prestatge sobre els passadors, assegurant-vos que estigui anivellat i segur.
5.2 Drawer and Doors
The drawer and doors operate smoothly. The doors are equipped with small magnets to ensure they stay closed when not in use. To open, gently pull the handle. To close, push until the magnet engages.

Image: The cabinet with its drawer and doors open, showcasing the internal storage compartments.
6. Manteniment
6.1 Neteja
- Netegeu les superfícies amb un suau, damp tela.
- Eviteu utilitzar productes químics agressius o netejadors abrasius, ja que poden danyar l'acabat.
- For the rattan doors, gently dust with a soft brush or vacuum with a brush attachment.
6.2 Atenció general
- Reviseu periòdicament tots els cargols i connexions per assegurar-vos que romanen ajustats. Torneu a apretar-los si cal.
- Avoid placing hot items directly on the cabinet surface. Use coasters or protective pads.
- Keep the cabinet away from direct sunlight and excessive moisture to prevent warping or fading.
7. Solució De Problemes
| Problema | Causa possible | Solució |
|---|---|---|
| L'armari està inestable. | Connexions soltes o terra irregular. | Check and tighten all screws. Use furniture levelers if the floor is uneven. Ensure anti-tipping hardware is correctly installed. |
| Les portes no tanquen correctament. | Frontisses desalineades o obstrucció. | Adjust the hinges. Ensure nothing is blocking the door's path. |
| Drawer is difficult to open/close. | Misaligned drawer slides or overloaded drawer. | Check drawer slide alignment. Reduce the weight in the drawer. |
8. Especificacions
- Marca: HOMCOM
- Número de model: CA83B-135V80BK0231
- Color: Negre
- Material: Fusta d'enginyeria
- Dimensions del producte: 30.7"L x 15.7"W x 33.5"H (78W x 40D x 85H cm)
- Pes de l'article: 25.9 kg (57.1 lliures)
- Capacitat de pes màxim:
- Total: 121 lbs (55 kg)
- Top: 22 lbs (10 kg)
- Shelf: 22 lbs (10 kg)
- Drawer: 11 lbs (5 kg)
- Característiques especials: Adjustable Shelf, Anti-tipping design, Elevated Legs
- Estil: Boho
- Tipus de muntatge: Autònom

Image: Diagram illustrating the dimensions of the HOMCOM Boho Sideboard Storage Cabinet.
9. Garantia i Suport
For warranty information, replacement parts, or customer support, please refer to the contact information provided at the point of purchase or visit the official HOMCOM website. Please have your model number (CA83B-135V80BK0231) ready when contacting support.


