1. Introducció
This manual provides detailed instructions for the installation, operation, and maintenance of your NB ERGONOMIC G80 Extra Height Gaming Monitor Arm. Please read this manual thoroughly before installation and retain it for future reference. This monitor arm is designed to support monitors from 32 to 60 inches, with a load capacity of 2 to 20 kg, and is compatible with VESA 75x75mm or 100x100mm mounting patterns.

Image 1.1: NB ERGONOMIC G80 Extra Height Gaming Monitor Arm.
2. Informació de seguretat
- Ensure all components are present and undamaged before installation. Do not use if any parts are missing or faulty.
- Always follow the installation steps carefully. Incorrect installation may result in product damage or personal injury.
- No supereu la capacitat màxima de pes de 20 kg (44 lliures).
- Ensure the desktop surface is stable and strong enough to support the combined weight of the monitor arm and your monitor.
- Exercise caution when releasing the arm from its packaging due to mechanical spring force. Avoid sudden release to prevent injury.
- Mantingueu els nens i les mascotes allunyats durant la instal·lació.
3. Especificacions
| Característica | Especificació |
|---|---|
| Model | G80 |
| Compatibilitat amb la mida de la pantalla | 32 a 60 polzades (corbat / ultra ample / pla) |
| Capacitat de càrrega | De 2 a 20 kg (de 4.4 a 44 lliures) |
| Compatibilitat VESA | 75x75mm, 100x100mm |
| Height Adjustment (Lift) | Up to 27 inches (685mm) above desk, Max 29.1 inches (740mm) total lift from base, 10.2 inches (260mm) vertical travel |
| Extensió | Maximum 25 inches (635mm) |
| Angle d'inclinació | -50° a +50° |
| Angle de gir | 360° |
| Angle de rotació | 360° (monitor plate) |
| Materials | Aliatge d'alumini, acer laminat en fred, ABS |
| Mètodes de muntatge | C-Clamp or Grommet Hole |
| Il·luminació RGB | Built-in, one-click color mode switch |

Image 3.1: Product dimensions and specifications.
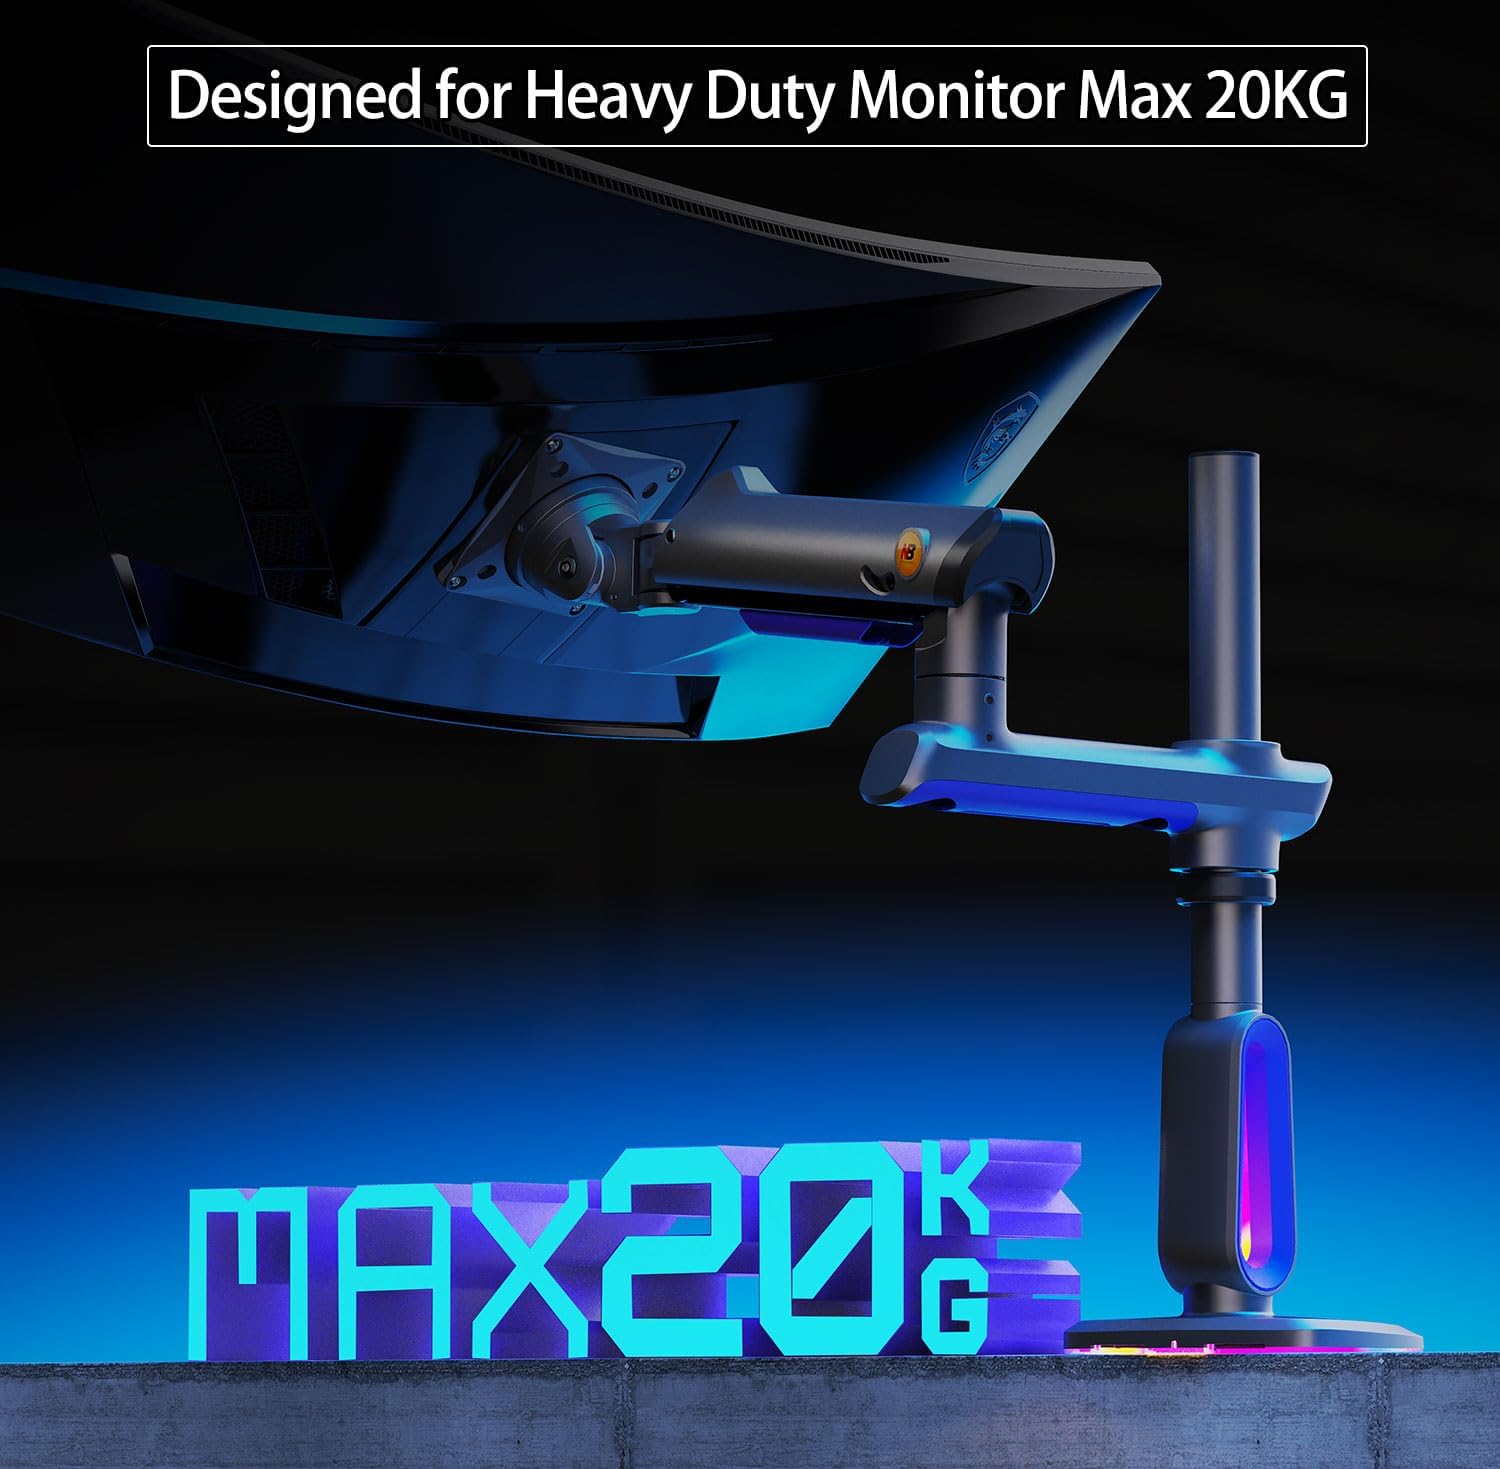
Image 3.2: The G80 monitor arm is designed for heavy-duty monitors up to 20kg.
4. Configuració i instal·lació
4.1 Desktop Compatibility
Before installation, ensure your desktop is suitable for mounting. Avoid the following desktop types:
- Fragile desktops: Such as marble or glass, which may crack under pressure.
- Desktops with too narrow clamp superfície: Due to a table bottom baffle that prevents proper clamping.
- Desktops with irregular or beveled edges: Which may not provide a secure grip for the clamp.

Image 4.1: Unsuitable desktop types for mounting.
4.2 Compatibilitat VESA
Confirm your monitor's VESA hole position. Locate the square pattern of mounting holes on the back of your monitor. The G80 arm supports VESA patterns of 75x75mm or 100x100mm. If your monitor has an embedded hole, ensure the panel can be placed directly. If the embedded position is small or the panel cannot be placed inside, use the provided heightening pads and lengthened screws.

Image 4.2: Confirming VESA hole position.
4.3 Mètodes de muntatge
El braç del monitor G80 ofereix dos mètodes d'instal·lació: C-Clamp and Grommet type.
- C-Clamp Tipus: Suitable for desk thickness 20-90mm (0.8"-3.5"), with a minimum depth of bottom above 50mm (1.97").
- Tipus de vàlvules: Suitable for desk thickness 20-90mm (0.8"-3.5"), with a hole diameter of 10-60mm (0.4"-2.3").

Image 4.3: Two ways to mount the monitor arm.
4.4 Passos d'instal·lació
Caution: Be careful when releasing the arm to avoid injury from mechanical spring force.
- Instal·leu la base: Secure the chosen base (C-Clamp or Grommet) to your desktop. Ensure it is tightened firmly.
- Prepara el braç: While pressing the upper arm, slowly release the wrapping tape that secures the arm. Continue to slowly release until the bracket is fully unfolded.
- Connecta el monitor: The G80 features a special quick-release head design for easy one-person installation. Attach the VESA plate to your monitor first, then slide the monitor onto the arm's quick-release mechanism until it clicks securely into place.

Image 4.4: Product Installation Guide.
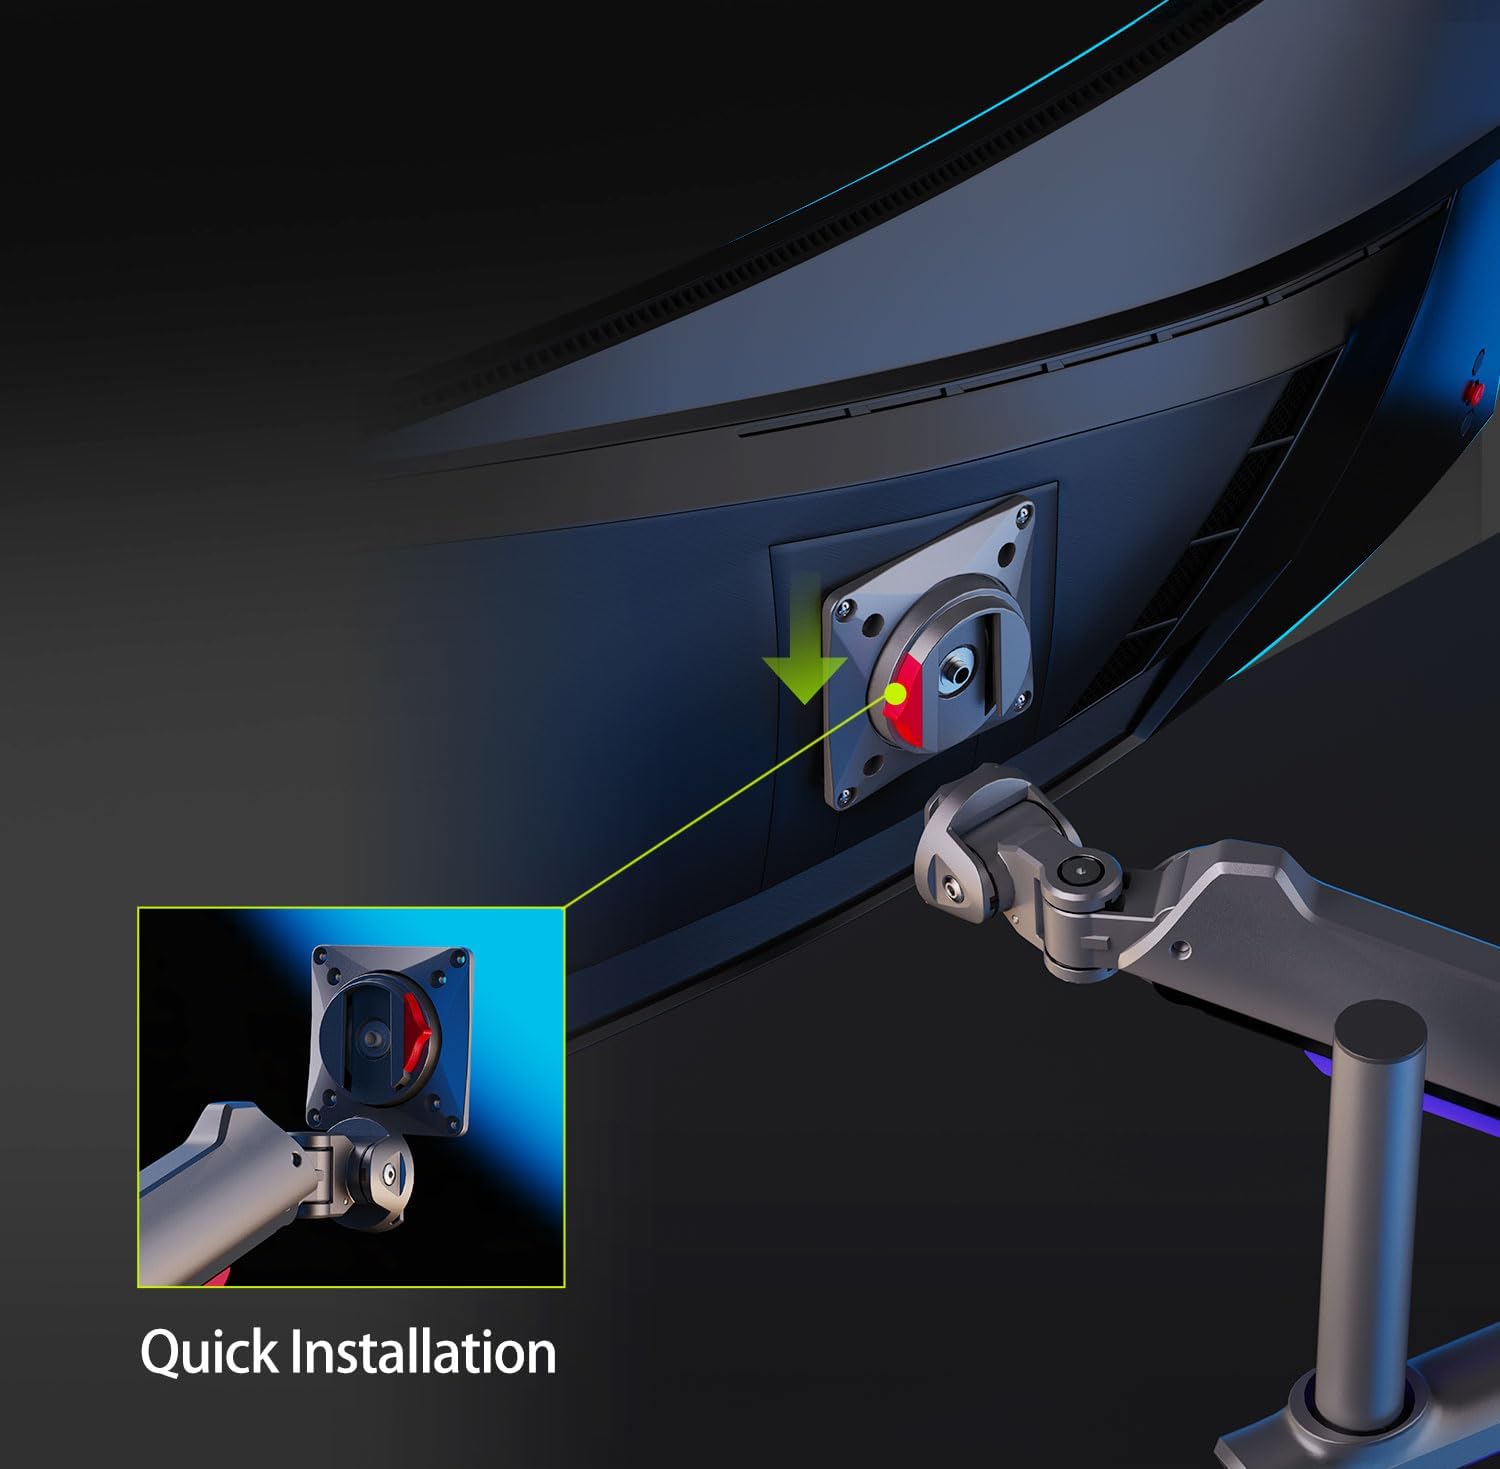
Image 4.5: Quick Installation feature.

Image 4.6: Quick Installation and Easy Disassembly.
5. Instruccions de funcionament
5.1 Monitor Adjustments
The G80 monitor arm allows for flexible adjustment of your monitor's position to optimize your viewing angle and ergonomics.
- Ajust d'alçada: The arm provides up to 27 inches of height adjustment above the desk, ideal for standing workstations or stacking screens.
- Inclinació: Adjust the monitor tilt from -50° to +50° to reduce glare and find your preferred angle.
- Girar: Swivel the monitor 360° at the arm joint for collaborative viewing or screen sharing.
- Rotació: Rotate the monitor 360° (portrait to landscape) at the VESA plate for different orientations.

Image 5.1: Monitor arm adjustment ranges.

Image 5.2: Maximum extension and lift capabilities.
5.2 Ajust de la tensió
The arm features Mechanical ProSpring Technology for easier tension adjustment. Adjust the tension to match your monitor's weight for optimal movement and stability.
- If the monitor raises up: Turn the adjustment screw in the "-" direction to reduce tension for a lighter monitor.
- If the monitor falls down: Turn the adjustment screw in the "+" direction to increase tension for a heavier monitor.
Note: Please hang your monitor before making tension adjustments.

Image 5.3: Tension adjustment mechanism.
5.3 RGB Lighting Operation
The G80 monitor arm includes built-in RGB lighting to enhance your setup. The lighting is controlled via a single button.
- Encendre la llum: Premeu el botó una vegada.
- Adjust the light mode: Press the button again to cycle through various RGB light effects.
- Apagar els llums: Premeu llargament el botó.

Image 5.4: RGB lighting control.

Image 5.5: RGB light effects and one-click adjustment.
6. Manteniment
To ensure the longevity and optimal performance of your monitor arm, follow these simple maintenance guidelines:
- Neteja: Wipe the arm regularly with a soft, dry cloth. For stubborn dirt, use a slightly damp drap i detergent suau i, a continuació, eixugueu-ho bé. Eviteu productes de neteja o dissolvents abrasius.
- Gestió de cables: Utilize the built-in cable management system to keep cables organized and prevent strain. Regularly check cables for wear and tear.
- Comprovacions periòdiques: Reviseu periòdicament tots els cargols i connexions per assegurar-vos que estiguin ben ajustats i segurs. Torneu a apretar-los si cal.
7. Solució De Problemes
- Monitor is too high or too low: Adjust the tension screw as described in Section 5.2. Ensure the monitor's weight is within the specified range (2-20 kg).
- Monitor wobbles or is unstable: Check all mounting points, including the desk clamp/grommet and VESA plate screws, to ensure they are securely tightened. Verify that your desktop is stable and compatible.
- RGB lights are not working: Ensure the RGB power cable is properly connected. Check for any physical damage to the lighting strip or control button.
- Dificultat per ajustar el braç: Ensure the tension is correctly set for your monitor's weight. If the arm feels stiff, try moving it through its full range of motion a few times.
8. Garantia i Suport
NB ERGONOMIC products are manufactured with high-quality materials and undergo rigorous testing. For specific warranty details, please refer to the warranty card included with your product or contact your retailer. Protection plans may be available for extended coverage.
For technical support or inquiries, please visit the official NB ERGONOMIC website or contact their customer service department through the contact information provided on their weblloc web o la documentació de la compra.


