1. Introducció
This manual provides essential information for the safe and effective operation of your GROVIEW Native 1080P Bluetooth Projector. Please read it thoroughly before use and retain it for future reference. This projector is designed to deliver a high-quality visual experience for home theater, gaming, and presentations.
2. Informació de seguretat
- Font d'alimentació: Feu servir només l'adaptador de corrent especificat. Assegureu-vos que el volumtage coincideix amb la vostra font d'alimentació local.
- Ventilació: No bloquegeu les obertures de ventilació. Assegureu-vos que hi hagi un flux d'aire adequat al voltant del projector per evitar el sobreescalfament.
- Calor: El projector lamp generates heat. Avoid touching the lens or vents during operation.
- Humitat: Do not expose the projector to rain, moisture, or immerse it in water.
- Neteja: Desconnecteu l'alimentació abans de netejar. Feu servir un drap suau i sec. No utilitzeu netejadors líquids ni en aerosol.
- Col·locació: Place the projector on a stable, flat surface. Avoid placing it in direct sunlight or near heat sources.
- Protecció ocular: No mireu directament a la lent del projector quan estigui encès.amp està encès, ja que la llum brillant pot causar fatiga o danys als ulls.
3. Contingut del paquet
Verifiqueu que tots els elements siguin presents al vostre paquet:
- GROVIEW Mini projector
- Manual d'usuari
- Control remot
- Cable HDMI
- Kit de neteja
4. Producte acabatview
4.1 Components del projector
Familiarize yourself with the main parts of your projector.

4.2 Ports d'entrada/sortida
The projector features various ports for connecting external devices.

- Port HDMI: Connects to devices such as laptops, gaming consoles (PS5, Xbox), TV sticks, and Blu-ray players.
- Ports USB (USB1, USB2): Per connectar unitats USB per reproduir contingut multimèdia files.
- Sortida d'àudio (3.5 mm): Es connecta a altaveus externs o auriculars.
- Entrada d'alimentació: Connecta l'adaptador de corrent.
5. Configuració
5.1 Col·locació inicial
Place the projector on a stable surface. Ensure the projector lens is facing the projection surface (wall or screen). For optimal image quality, position the projector perpendicular to the screen.
5.2 Connexió d'alimentació
- Connecteu l'adaptador de corrent al port d'entrada d'alimentació del projector.
- Connecteu l'adaptador de corrent a una presa de corrent.
- L'indicador lluminós d'engegada del projector s'il·luminarà.
6. Instruccions de funcionament
6.1 Encès/Apagat
- Encès: Press the power button on the projector or the remote control. The projector will start up, and the lamp s'encendrà.
- Apagar: Press the power button again. Confirm shutdown if prompted. Allow the fan to run briefly to cool down the lamp before completely disconnecting power.
6.2 Navegació de menús
Use the arrow buttons on the projector or remote control to navigate through the on-screen menu. The 'OK' or 'Enter' button confirms selections, and the 'Back' or 'Exit' button returns to the previous menu.
7. Connectivitat
7.1 Connexió HDMI
Connect your HDMI-enabled device (e.g., laptop, game console, streaming stick) to the projector's HDMI port using the provided HDMI cable. Select the corresponding HDMI input source from the projector's input menu.
7.2 Reproducció multimèdia USB
Insert a USB flash drive into one of the projector's USB ports. Navigate to the media player function in the projector's menu to browse and play supported video, audio, or image files.
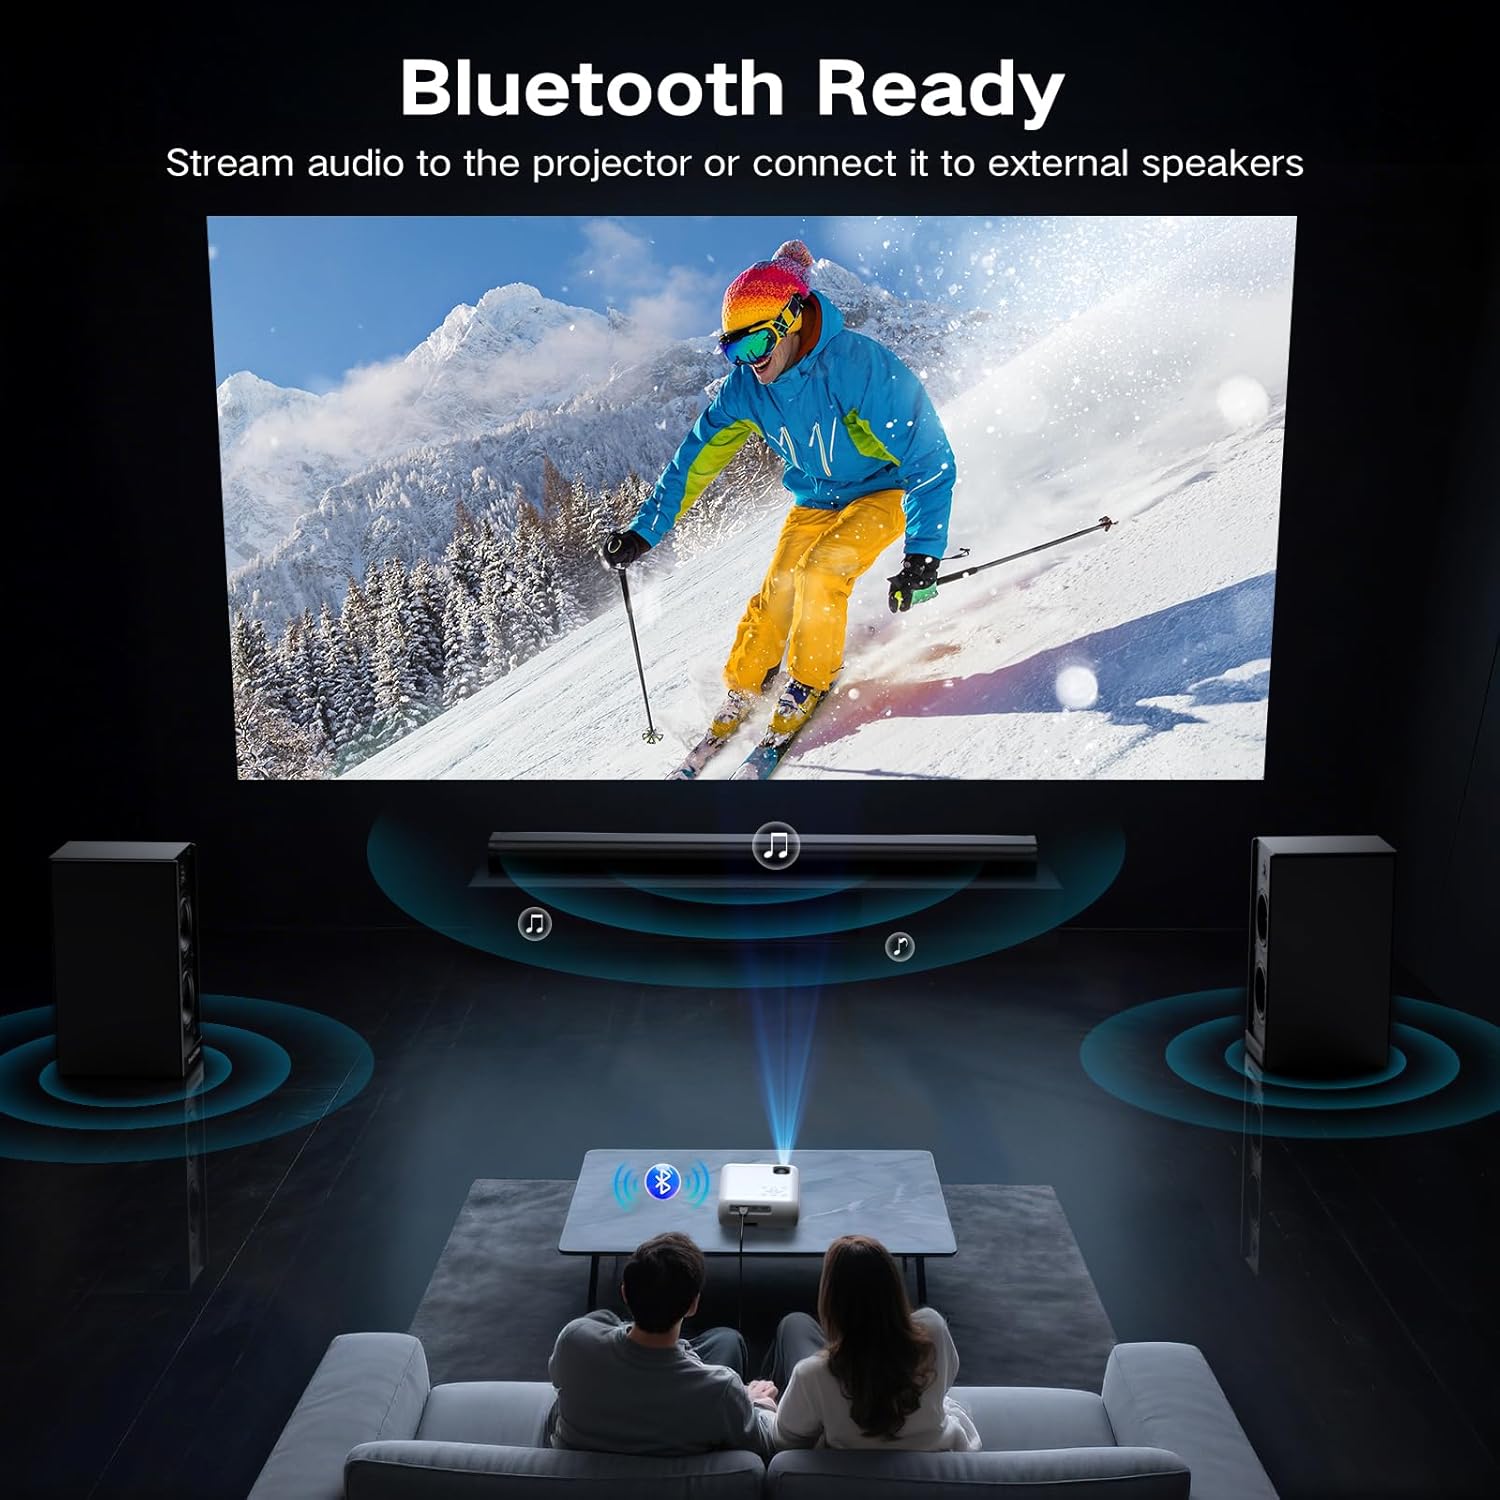
7.3 Bluetooth Connection (Audio)
The projector supports Bluetooth 5.0 for connecting to external Bluetooth speakers or headphones. This allows for enhanced audio output.

- Enable Bluetooth on your external audio device and set it to pairing mode.
- Al projector, navegueu fins al menú de configuració de Bluetooth.
- Seleccioneu el dispositiu d'àudio de la llista de dispositius disponibles per emparellar-lo.
7.4 Smartphone Connection
To connect a smartphone, an additional adapter (not included) is required:

- Per a telèfons Android: Use a Micro USB/Type C to HDMI cable.
- Per a iPhones: Use a Lightning to HDMI cable.
Connect the adapter to your phone and then to the projector's HDMI port. Select the HDMI input source.
8. Ajust de la imatge
8.1 Ajust del focus
Rotate the focus ring on the projector lens until the projected image appears sharp and clear. This is a manual adjustment.
8.2 Digital Vertical Keystone Correction
The projector features digital vertical keystone correction to adjust image distortion when the projector is not perfectly perpendicular to the screen. This helps achieve a rectangular image.
Access the keystone settings in the projector's menu and use the arrow buttons to adjust the vertical angle until the image is properly aligned.
8.3 Funció de zoom
The projector includes a digital zoom function, allowing you to reduce the size of the projected image without moving the projector. Access this feature in the display settings menu.
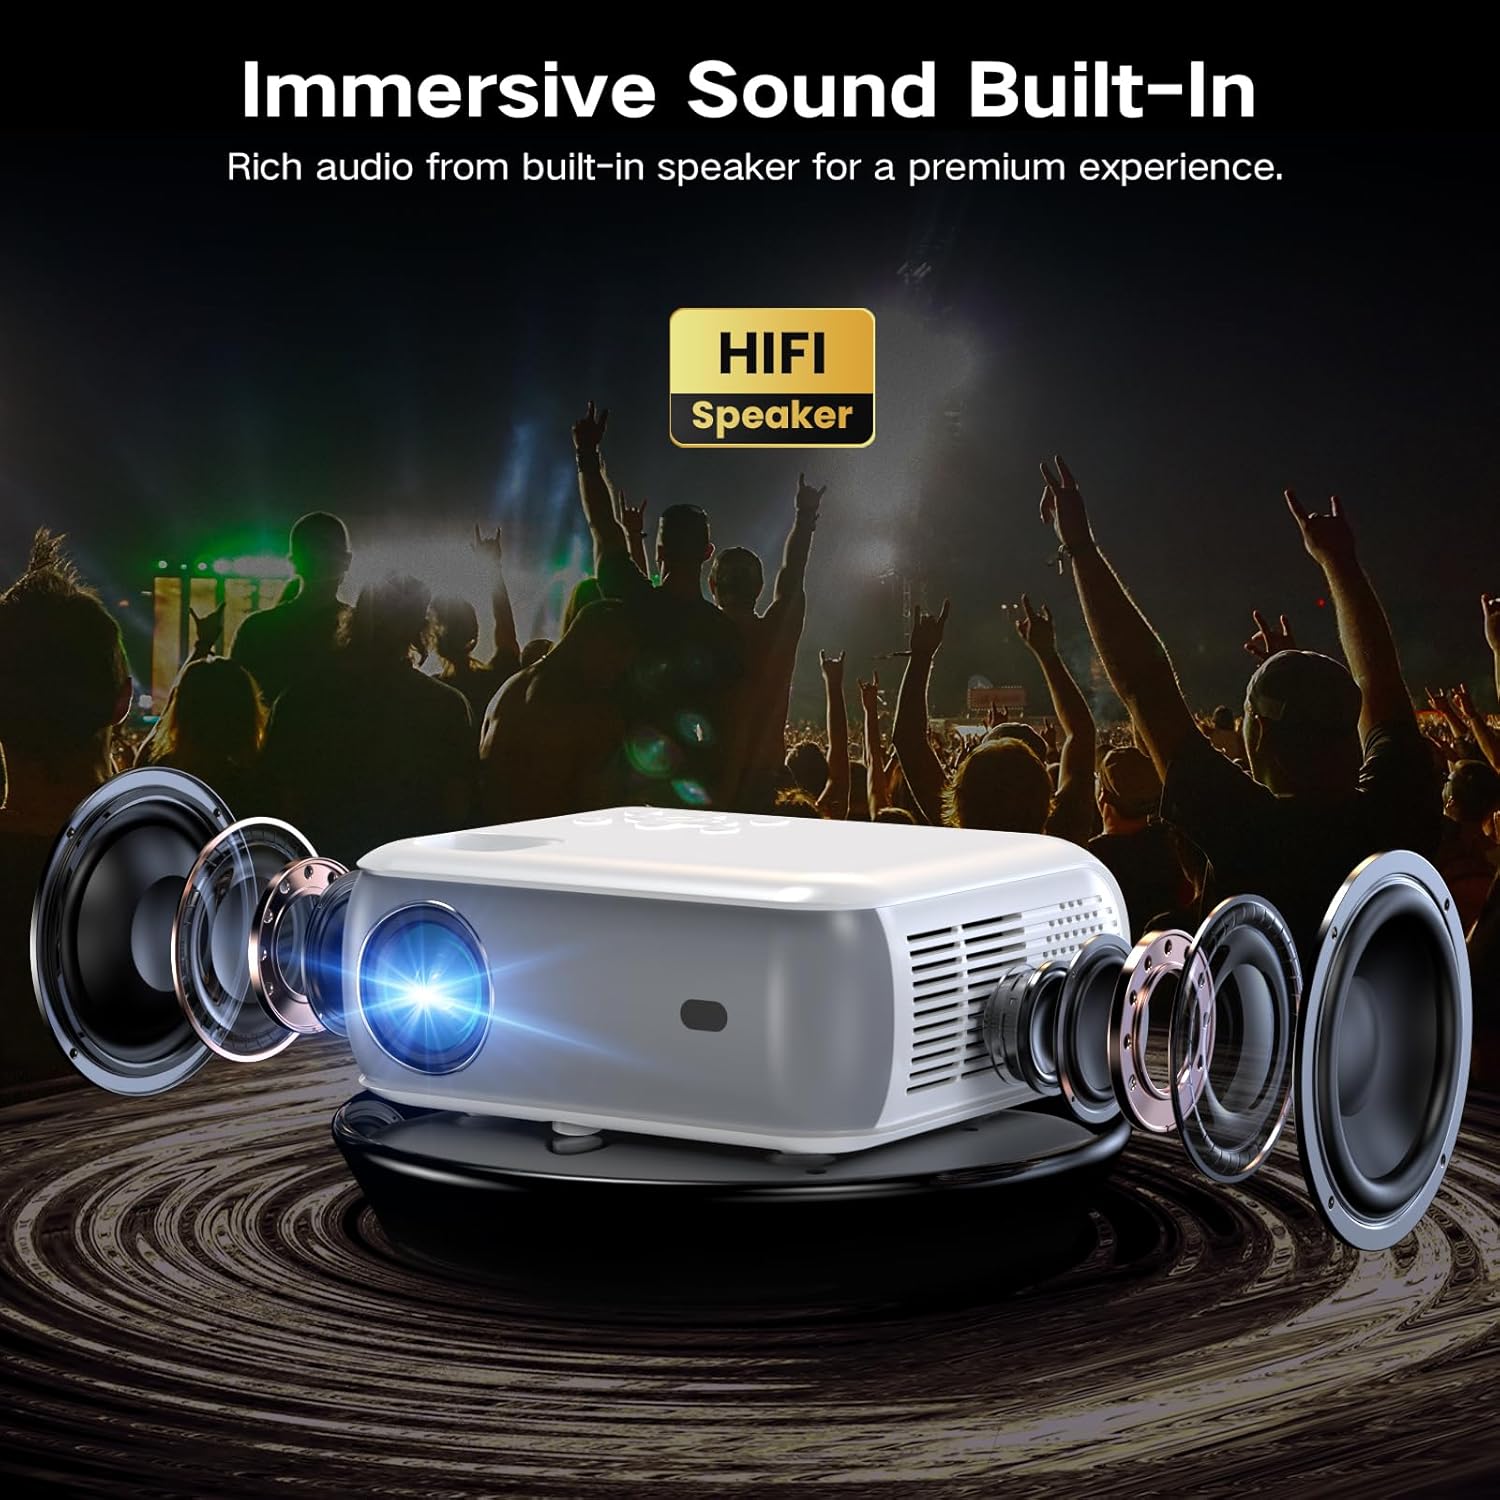
9. Configuració d'àudio
The projector has built-in HiFi stereo speakers for direct audio output. You can adjust the volume using the remote control or the projector's control panel. For a more immersive experience, connect external speakers via the 3.5mm audio out port or Bluetooth (see Section 7.3).
10. Manteniment
10.1 Neteja de la lent
Use a soft, lint-free cloth specifically designed for optical lenses. Gently wipe the lens in a circular motion. Avoid using abrasive materials or harsh chemicals.
10.2 Neteja del cos del projector
Netegeu l'exterior del projector amb un drap suau i sec. Per a marques difícils, netegeu lleugeramentamp cloth can be used, followed by a dry cloth. Ensure no liquid enters the ventilation openings.
10.3 Air Filter Cleaning (if applicable)
Refer to the specific model's design for air filter maintenance. If an accessible air filter is present, clean it regularly to ensure proper ventilation and prevent dust buildup.
10.4 Emmagatzematge
Quan no l'utilitzeu durant períodes prolongats, guardeu el projector en un lloc fresc, sec i sense pols. Feu servir l'embalatge original o una funda protectora per evitar danys.
11. Solució De Problemes
| Problema | Causa possible | Solució |
|---|---|---|
| No es projecta cap imatge | Power not connected; Incorrect input source; Device not connected properly | Check power cable; Select correct HDMI/USB input; Ensure source device is on and connected. |
| La imatge és borrosa | Focus not adjusted; Projector too far/close; Lens dirty | Adjust the focus ring; Reposition projector; Clean the lens. |
| La imatge està distorsionada (forma trapezoïdal) | Projector not perpendicular to screen; Keystone not adjusted | Adjust Digital Vertical Keystone Correction in settings. Try to position the projector as straight as possible. |
| Sense so | Volume too low; Muted; Incorrect audio output selected; Bluetooth not paired | Increase volume; Unmute; Check audio settings; Re-pair Bluetooth device. |
| El soroll del ventilador és fort | Normal operation; Blocked vents | Ensure proper ventilation; Fan noise is typical for projectors. |
| El comandament a distància no funciona | Piles baixes/descarregades; Obstrucció entre el comandament a distància i el projector | Replace batteries; Ensure clear line of sight to the IR receiver. |
12. Especificacions
| Característica | Especificació |
|---|---|
| Marca | Groview |
| Model | Projector Bluetooth natiu 1080P |
| Resolució de visualització | 1920 x 1080 (1080P natiu) |
| Brillantor | 400 lúmens ANSI |
| Tecnologia de connectivitat | HDMI, USB, Bluetooth 5.0 |
| Característiques especials | Digital Keystone Correction, Two-way Bluetooth, Zoom |
| Usos recomanats | Home Cinema, Gaming, Business, Education |
| Dimensions del producte | 7.13 x 6.33 x 3.15 polzades |
| Pes de l'article | 1.9 lliures |
| Altaveu incorporat | Yes (HiFi Stereo) |
| Mida màxima de la pantalla | Fins a 200 polzades |
13. Garantia i Suport
The GROVIEW Native 1080P Bluetooth Projector comes with a 2-year customer service and replacement policy. For any technical assistance, warranty claims, or support inquiries, please contact GROVIEW customer service through the retailer where the product was purchased or visit the official GROVIEW weblloc per obtenir informació de contacte.
Si us plau, conserveu el comprovant de compra per validar la garantia.