1. Introducció
This manual provides essential instructions for the installation, operation, and maintenance of your EKWB EK-Quantum Kinetic 3 FLT 120 D5 PWM Pump/Reservoir Combo. Please read this manual thoroughly before proceeding with installation to ensure proper function and to prevent damage to the unit or other components. This product is designed for advanced liquid cooling systems and requires careful handling.
2. Pautes de seguretat
Adhere to the following safety precautions to prevent injury or damage:
- Always disconnect power from your computer system before installing or performing maintenance on any components.
- Ensure all fittings are securely tightened to prevent leaks. Use appropriate tools and avoid over-tightening.
- Only use approved liquid cooling fluids. Do not use tap water or corrosive liquids.
- Perform a leak test for at least 24 hours before powering on your system.
- Keep the product away from direct sunlight, high temperatures, and humidity.
- This product is intended for use by experienced users. If you are unsure about any step, consult a professional.
3. Contingut del paquet
Verify that all components are present and undamaged upon unboxing:
- EK-Quantum Kinetic 3 FLT 120 D5 PWM Pump/Reservoir Combo
- Mounting mechanism (brackets, screws, nuts)
- D-RGB cable (3-pin, 5V)
- G1/4" plugs (pre-installed or included)
- Allen key for mounting screws
- Manual d'usuari
4. Producte acabatview & Característiques
The EK-Quantum Kinetic 3 FLT 120 D5 PWM Pump/Reservoir Combo is a high-performance liquid cooling component designed for custom PC builds. It integrates a genuine D5 PWM pump with a flat-style reservoir, offering versatile mounting options and efficient fluid circulation.

Figura 1: De dalt a baix view of the EK-Quantum Kinetic 3 FLT 120 D5 PWM Pump/Reservoir Combo. This image shows the compact design and the integrated D5 pump.
Característiques principals:
- Genuine D5 PWM Pump: Equipped with a reliable D5 pump for powerful and controllable flow rates.
- Multiple G1/4" Ports: Features nine G1/4" ports for flexible loop routing and component integration.
- Caudal alt: Capable of delivering flow rates up to 1000 liters per hour.
- High Head Pressure: Provides a maximum head pressure of up to 5.2 meters.
- D-RGB Lighting: Integrated addressable RGB lighting for customizable aesthetics.
- Plexi Construction: Durable acrylic (Plexi) construction for clear visibility of coolant.
5. Especificacions tècniques
| Especificació | Valor |
|---|---|
| Número de model | 3831109880715 |
| Product Dimensions (HxWxT) | 126.4 x 123.3 x 86mm (4.98 x 4.85 x 4.98 polzades) |
| Pes de l'article | 3 lliures |
| Capacitat del dipòsit | 125 ml |
| Tipus de bomba | Genuine D5 PWM Pump |
| Caudal màxim | 1000 litres per hora |
| Pressió màxima del cap | 5.2 metres |
| Port Thread Size | G1/4" |
| D-RGB Connector | 3-pin, 5V Digital RGB Header |

Figure 2: Technical drawing illustrating the dimensions and mounting points of the EK-Quantum Kinetic 3 FLT 120. Refer to these measurements for planning your installation.
6. Instal·lació
6.1. Muntatge de la unitat
The EK-Quantum Kinetic 3 FLT 120 offers flexible mounting options. Use the provided brackets and screws to secure the unit to your PC case. Refer to Figure 2 for mounting hole patterns and dimensions. Ensure the unit is mounted vertically with the pump at the bottom for optimal performance and air bleeding.
6.2. Connecting the Pump
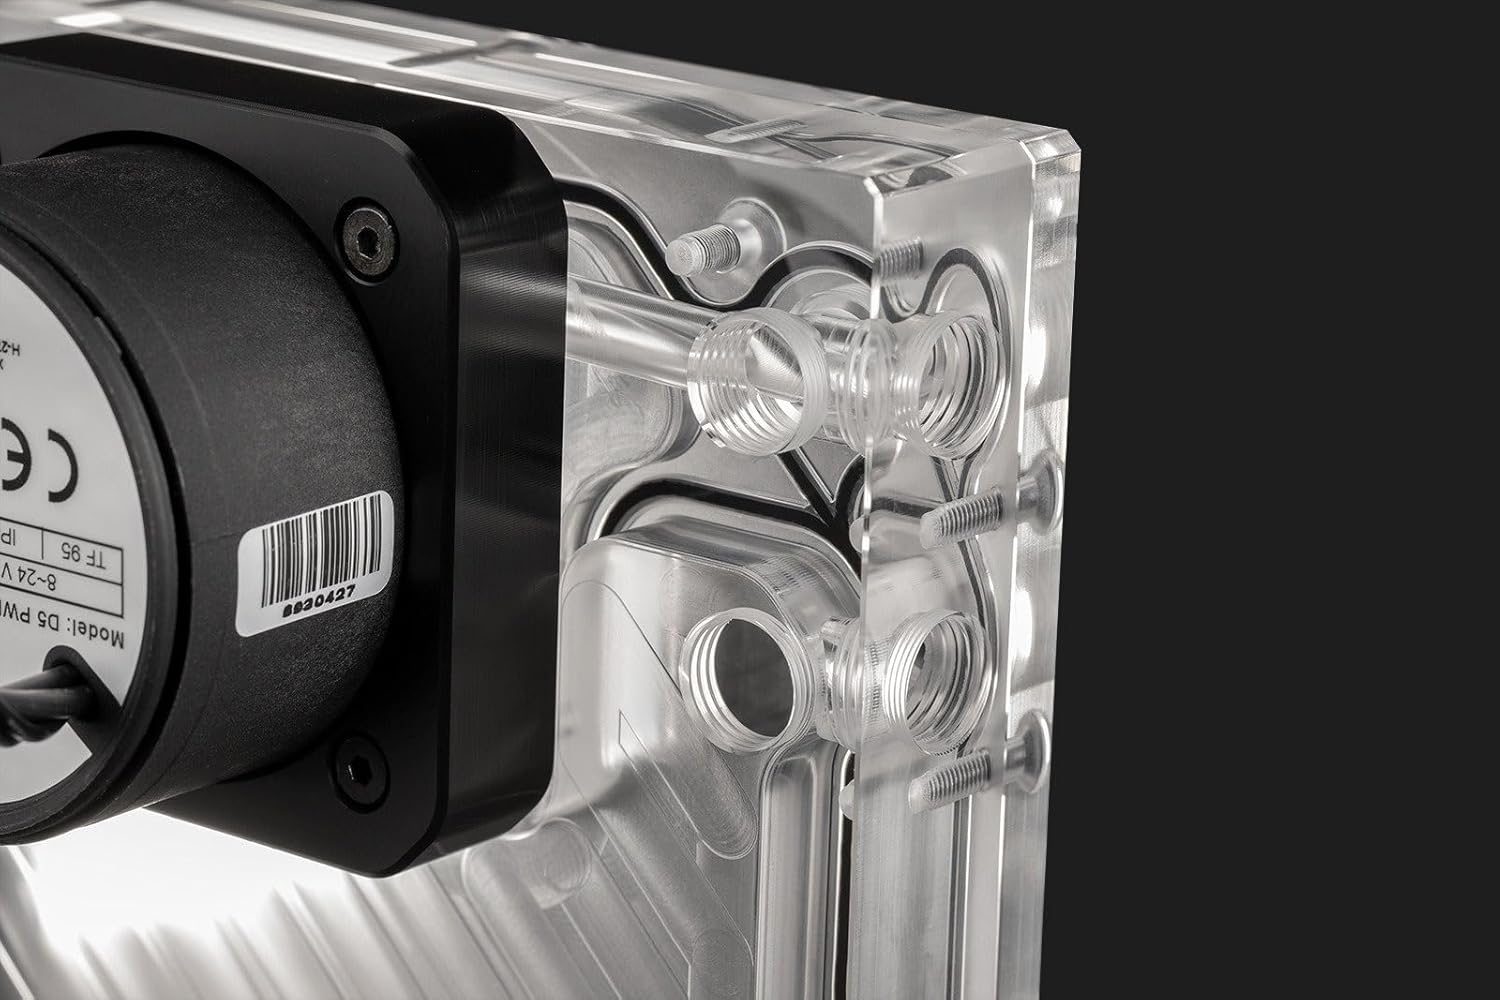
Figura 3: lateral view of the pump/reservoir combo, highlighting the D5 pump and various G1/4" ports for connection.
- Connect the 4-pin PWM cable from the D5 pump to an available 4-pin fan header on your motherboard or a dedicated fan controller. This allows for speed control of the pump.
- Connect the SATA power connector from the D5 pump to a SATA power cable from your power supply unit (PSU). This provides power to the pump.
- Assegureu-vos que les dues connexions siguin segures.
6.3. Connecting D-RGB Lighting

Figure 4: The pump/reservoir combo showcasing its integrated D-RGB lighting.
The unit features integrated D-RGB lighting. Connect the included 3-pin, 5V D-RGB cable to a compatible addressable RGB header on your motherboard or a dedicated D-RGB controller. Consult your motherboard manual for header locations and software control.
6.4. Loop Assembly and Filling

Figura 5: Detallada view of the internal channels and G1/4" ports, illustrating potential flow paths.
- Plan your loop routing carefully. The EK-Quantum Kinetic 3 FLT 120 has multiple G1/4" ports for inlet and outlet flexibility. Use the provided plugs for unused ports.
- Install all necessary fittings (not included) and tubing to connect the pump/reservoir to other components in your liquid cooling loop (CPU block, GPU block, radiator).
- Ensure all fittings are tightened securely. Hand-tighten, then use a fitting tool for a final quarter-turn. Do not overtighten.
- Fill the reservoir with approved liquid cooling fluid. Use the designated fill port, typically the top-most port.
- Slowly fill the reservoir, allowing air to escape. Continuously top off the reservoir as the fluid circulates and fills the loop.
6.5. Leak Testing
Before powering on your entire system, perform a thorough leak test:
- Disconnect all power cables from your computer components except for the PSU and the D5 pump.
- Use a PSU jumper or paperclip to short the ATX 24-pin connector (green wire to any black wire) to power on the PSU without booting the system.
- Allow the pump to run for at least 24 hours. Inspect all fittings and connections for any signs of leaks.
- If leaks are detected, immediately power off the PSU, drain the loop, and re-tighten or replace the problematic fitting. Repeat the leak test.
- Once the leak test is successful, power off the PSU, remove the jumper, and reconnect all power cables to your system components.
7. Instruccions de funcionament
7.1. Inici inicial
After successful installation and leak testing, you can power on your system. The D5 PWM pump will start circulating the coolant. Monitor the fluid level in the reservoir during the first few hours of operation and top it off if necessary as air bubbles are purged from the system.
7.2. PWM Control
The D5 PWM pump's speed can be controlled via your motherboard's BIOS/UEFI settings or through fan control software. Adjust the pump speed to balance cooling performance and noise levels according to your preferences. Higher pump speeds generally result in better flow and cooling, but also increased noise.
8. Manteniment
Regular maintenance ensures the longevity and optimal performance of your liquid cooling system:
- Reemplaçament de fluids: It is recommended to replace the coolant every 6-12 months, depending on the coolant type and usage. Drain the old coolant completely before refilling with fresh, approved liquid.
- Neteja: Periodically inspect the reservoir and pump for any signs of sediment buildup or discoloration. If significant buildup occurs, disassemble the unit (refer to manufacturer's guidelines for disassembly) and clean with distilled water and a soft brush.
- Inspecció: Regularly check all tubing and fittings for wear, cracks, or signs of leakage. Ensure all connections remain secure.
9. Solució De Problemes
9.1. Pump Not Starting
- Check if the SATA power cable is securely connected to both the pump and the PSU.
- Verify that the PSU is providing power.
- Ensure the 4-pin PWM cable is correctly connected to a functional motherboard header.
- Inspect the pump for any obstructions or damage.
9.2. Leaks Detected
- Immediately power off the system.
- Identify the source of the leak.
- Drain the loop and re-tighten or replace the faulty fitting or tubing.
- Perform another leak test before powering on the system.
9.3. D-RGB Lighting Not Working
- Ensure the 3-pin D-RGB cable is correctly connected to a 5V addressable RGB header.
- Check your motherboard's BIOS/UEFI or D-RGB software for lighting control settings.
- Verify that the D-RGB header on your motherboard is enabled and configured correctly.
10. Garantia i Suport
EKWB products are manufactured to the highest standards and come with a limited warranty. For detailed warranty information, technical support, or to report issues, please visit the official EKWB weblloc web o contacteu directament amb el seu servei d'atenció al client. Conserveu el comprovant de compra per a reclamacions de garantia.


