Introducció
This manual provides essential information for the safe and efficient operation of your InoKraft 7,500W Electric Garage Heater. Please read all instructions carefully before installation and use. Retain this manual for future reference.
Informació important de seguretat
ADVERTIMENT: La instal·lació, l'ajust, l'alteració, el servei o el manteniment inadequats poden causar lesions o danys a la propietat. Consulteu aquest manual. Per obtenir ajuda o informació addicional, consulteu un instal·lador qualificat, una agència de servei o el proveïdor de gas.
- Assegureu-vos sempre que l'escalfador estigui correctament connectat a terra.
- No feu funcionar l'escalfador amb un cable o un endoll danyats.
- Mantingueu els materials combustibles com a mínim a 3 peus (0.9 metres) de distància de la part davantera, laterals i posterior de l'escalfador.
- Do not use in areas where gasoline, paint, or flammable liquids are stored.
- Installation must be performed by a qualified electrician to ensure safe operation and optimal performance.
- Aquest escalfador està calent quan s'utilitza. Per evitar cremades, no deixeu que la pell nua toqui superfícies calentes.
- Cal extremar la precaució quan l'escalfador és utilitzat per o a prop de nens o persones invàlides i sempre que l'escalfador es deixi en funcionament i sense vigilància.
- No introduïu ni deixeu que entrin objectes estranys a cap obertura de ventilació o d'escapament, ja que això podria provocar una descàrrega elèctrica o incendi, o danyar l'escalfador.
- Per evitar un possible incendi, no bloquegeu de cap manera les entrades d'aire o l'escapament.
- The heater features overheat protection and an automatic shut-off function for safe use.
Contingut del paquet
Before installation, verify all components are present and undamaged:
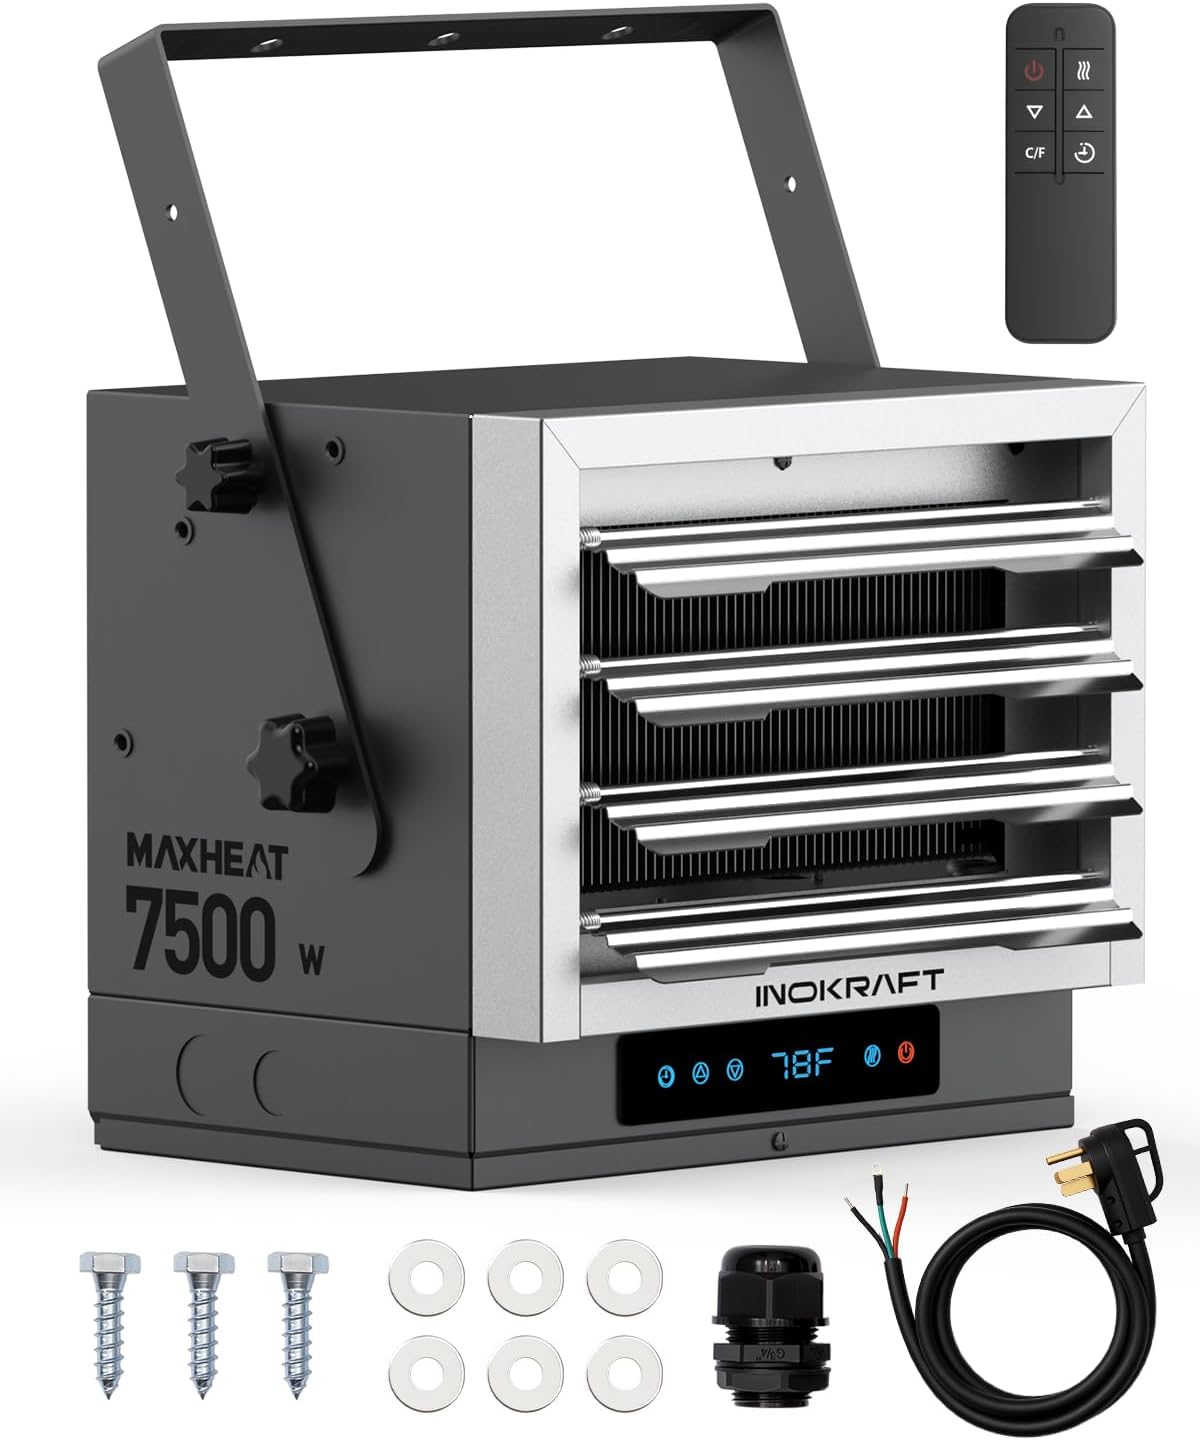
- InoKraft 7,500W Electric Garage Heater Unit
- Suport de muntatge
- Infrared Remote Control (requires 2x AAA batteries, not included)
- 8.2 ft Power Cord with NEMA 14-50P Plug (8 AWG wire)
- Cinturó de cable
- Cargols de muntatge (x3)
- Rentadores (x6)
- Guia ràpida d'usuari

Especificacions del producte
| Característica | Especificació |
|---|---|
| Marca | InoKraft |
| Model | MH-E7500 |
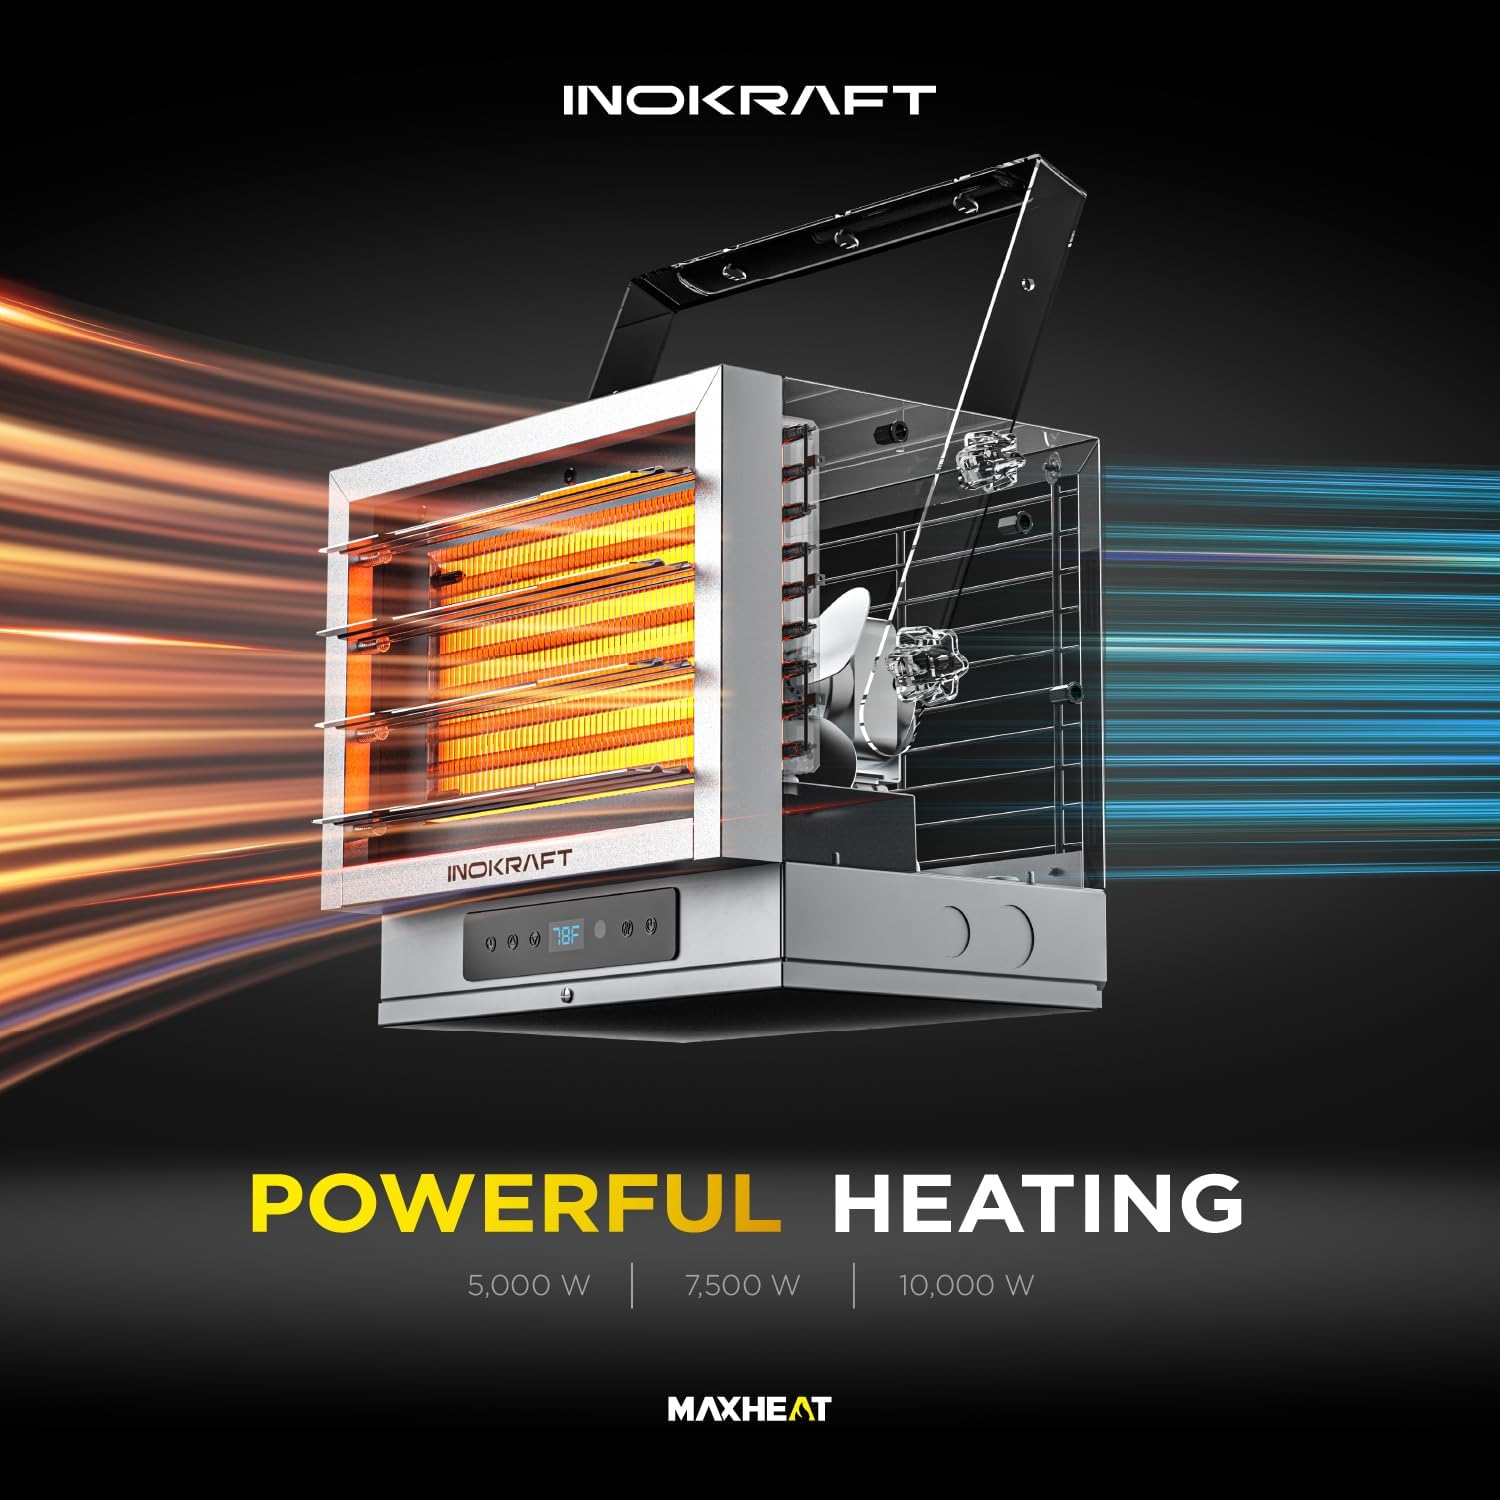
| Potència de sortida | 7,500W |
| Voltage | 240 V |
| Ampedat | 31.25 Amps |
| Factor de forma | Wall-Mounted / Ceiling-Mounted |
| Ús interior/exterior | Indoor (Garage, Workshop) |
| Cobertura de calefacció | Fins a 750 peus quadrats |
| Tipus de combustible | Elèctric |
| Nombre de velocitats | 2 (Alt/Baix) |
| Control de temperatura | Digital Thermostat (40°F to 99°F) |
| Temporitzador | 1-24 hores |
| Característiques de seguretat | Protecció contra sobreescalfament, apagat automàtic |
| Nivell de soroll | Màxim 65 dB |
| Cable d'alimentació | 8.2 ft, 8 AWG, NEMA 14-50P Plug |
| Pes de l'article | 24.9 lliures |
| Dimensions del paquet | 16 x 14 x 14 polzades |
Configuració i instal·lació
Important: Installation must be performed by a qualified electrician to ensure safe operation and optimal performance. All wiring must be performed by a certified electrician and must comply with national and local electrical codes in the United States.
1. Connecting the Wire
- Remove the screw from the bottom panel of the heater.
- Choose a side for the power cord and open the corresponding cutout.
- Install the cable gland into the cutout.
- Run the power cord wire through the cable gland and into the heater's interior.
- Tighten the wires securely to the L1, L2, and ground terminals as indicated in the wiring diagram.
- Ensure all wires and the cable gland are securely tightened.
- Close the bottom panel and tighten the screw.
2. Locating the Heater
Install the heater away from traffic areas and maintain the required clearances:
- Minimum distance from sides: 13 inches (33 cm)
- Minimum distance from rear: 8 inches (20 cm)
3. Hanging the Heater
- Locate a wood stud in the desired mounting location.
- Place washers on the mounting screws and tighten them securely into the wall, ensuring the bracket is firmly attached.
- Carefully lift the heater unit onto the installed bracket. Align the holes and tighten the larger bolts to secure the heater to the bracket.
- Align and secure the bracket with the small bolts for either horizontal or tilted mounting, providing five angle adjustments.
Consells: Please handle the heater with care when lifting it for installation.
4. Connexió de l'alimentació
Plug the NEMA 14-50P power cord into a compatible 240V NEMA 14-50 outlet. The power cord length is 8.2 feet.
Instruccions de funcionament
Your InoKraft garage heater offers versatile control options and heating modes.
Opcions de control:
- Panel Touch Control: Directly operate the heater using the buttons on the unit's control panel.
- Comandament a distància: Use the infrared remote for convenient operation from a distance. Ensure AAA batteries are installed.
- Control del sensor: The built-in digital thermostat allows for precise temperature management.

Modes de calefacció:
- High Mode (H): Provides maximum power for rapid heating to reach the set temperature.
- Low Mode (L): Uses reduced power to maintain the set temperature, suitable for smaller spaces or less intense heating needs.
- ECO Mode (E): Automatically adjusts heating output based on ambient temperature to optimize energy consumption without sacrificing comfort. The heater will cycle between high and low power as needed and may shut off when the desired temperature is reached, reactivating when the temperature drops.
- Fan Only Mode (FAN): Circulates air without engaging the heating elements, useful for ventilation.
To switch between modes, press the Mode Selection button on the control panel or remote.
Control de temperatura:
The built-in digital thermostat allows you to set the desired temperature between 40°F and 99°F. Use the Up/Down buttons on the control panel or remote to adjust the temperature. The heater will operate until the set temperature is reached, then cycle on and off to maintain it.
Funció de temporitzador:
Set a 1-24 hour timer for worry-free operation. The heater will automatically shut off after the set time has elapsed.
External Thermostat Option:
The heater supports two thermostat control options: built-in thermostat or external thermostat. A selector switch on the unit allows you to choose between these options. If using an external thermostat, ensure the switch is set to the appropriate position.
Manteniment
Un manteniment regular garanteix un rendiment òptim i una llarga vida útil del vostre escalfador.
- Neteja: Desconnecteu l'alimentació abans de netejar. Feu servir un drap suau i sec.amp drap per netejar l'exterior. No utilitzeu productes de neteja abrasius ni dissolvents.
- Funció de retard del ventilador: The automatic fan delay function ensures effective heat distribution and helps cool down internal components after heating stops, contributing to a longer service life.
- Emmagatzematge: Si guardeu l'escalfador durant un període prolongat, assegureu-vos que estigui net, sec i que el guardeu en un lloc segur i protegit.
Resolució de problemes
Si teniu problemes amb el vostre escalfador, consulteu els següents problemes i solucions habituals:
| Problema | Causa possible | Solució |
|---|---|---|
| L'escalfador no s'encén. | No power, tripped circuit breaker, incorrect thermostat setting. | Check power connection and circuit breaker. Ensure thermostat is set above ambient temperature. |
| Heater has power but won't adjust settings. | Thermostat selector switch is in the wrong position (external thermostat selected). | Set the switch to position 'I' for built-in thermostat control. Refer to the installation video for switch location. |
| L'escalfador no produeix prou calor. | Incorrect mode selected, room size exceeds coverage, poor insulation. | Select High mode. Ensure room size is within 750 sq ft. Improve room insulation if necessary. |
| La calefacció s'apaga inesperadament. | Overheat protection activated, timer expired, desired temperature reached in ECO mode. | Check for obstructions around the heater. Reset timer if applicable. Heater may be operating normally in ECO mode. |
Garantia i Suport
InoKraft is committed to providing user-friendly, durable, and cost-effective tools.
- Garantia: 1-Year Hassle-Free Warranty for InoKraft HVAC products.
- Atenció al client: For questions or assistance, please contact support@inokraft.com.
- Recursos en línia: Access abundant printed guides and online resources (videos on Amazon and YouTube) for solutions.
- Kraftsman Club: Register your InoKraft product for priority customer support, how-to guides, and exclusive product trial opportunities. Visit toolant.com/pages/inokraft-kraftsman-club per a més detalls.


