1. Introducció
This manual provides detailed instructions for the assembly, operation, and maintenance of your Patiowell 10x14 FT Outdoor Storage Shed. Designed for durability and practicality, this large metal shed offers ample storage space for your outdoor equipment and tools. Please read this manual thoroughly before beginning assembly or use to ensure safe and correct installation and operation.

Figure 1: Patiowell 10x14 FT Outdoor Storage Shed
2. Informació de seguretat
ADVERTÈNCIA: Si no es segueixen aquestes instruccions de seguretat, es poden produir lesions o danys materials.
- Seguiu sempre les instruccions de muntatge que es proporcionen en aquest manual.
- Wear appropriate safety gear, including gloves and eye protection, when handling components, especially metal edges which can be sharp.
- Ensure the shed is assembled on a flat, stable, and level surface. A proper foundation is crucial for stability and longevity.
- Do not use the shed in extreme weather conditions, such as high winds or heavy snow loads, unless properly anchored and reinforced.
- Keep the shed locked when not in use to prevent unauthorized access and secure stored items.
- Mantingueu els nens i les mascotes allunyats de la zona de reunió.
- Assembly typically requires two or more adults. Do not attempt to assemble alone.
3. Contingut del paquet
Before beginning assembly, verify that all parts listed in the packing list (included with your shed) are present and undamaged. The package typically includes:
- Panells metàl·lics per a parets i sostre
- Components del marc d'acer
- Door panels and hardware (hinges, latch)
- components de ventilació
- Elements de fixació (cargols, femelles, volanderes)
- Manual d'instruccions
- Necessary assembly tools (e.g., gloves, basic wrenches/drivers)
Note: The shed does not include a base. A suitable foundation (e.g., concrete slab, wooden platform) must be prepared separately if needed.
4. Muntatge i muntatge
Careful attention to detail during assembly will ensure the stability and longevity of your shed. Follow the step-by-step instructions provided in the separate assembly manual included in your package.
4.1 Llista de comprovació prèvia al muntatge
- Preparació del lloc: Choose a level, stable area for your shed. Ensure adequate drainage.
- Fundació: Construct or prepare a solid, square foundation (e.g., concrete, treated timber) if not already present. The shed's base must be perfectly square before attaching sidewalls.
- Eines: Gather all required tools, including a drill (use low setting to prevent stripping), measuring tape, level, and safety gear.
- Desempaquetar i organitzar: Unpack all components and lay them out, grouping similar numbered parts together for easier identification.
- Review Instruccions: Read the entire assembly manual thoroughly before starting. Pay close attention to diagrams, hole locations, and component orientation.
4.2 Consells de muntatge
- Porteu guants: Metal edges can be sharp. Always wear protective gloves during handling and assembly.
- Assemblea d'equip: This shed requires at least two people for safe and efficient assembly.
- Orientació: Double-check the orientation of each piece, especially where holes and notches align, before fastening.
- Elements de fixació: Use a drill on a very low setting to avoid stripping screws. For roof screws, consider using #10x1" self-piercing screws with rubber washers for enhanced watertight sealing, as the provided nylon/plastic washers may not provide sufficient compression.
- Plastic Film: The protective plastic film on panels can be left on or removed. It provides additional protection and is often unnoticeable once assembled.
- Squaring the Base: Ensure the base is perfectly square before proceeding with wall assembly. Consider anchoring the base to your foundation to maintain squareness during construction.

Figura 2: Dimensions del producte
5. Instruccions de funcionament
5.1 Funcionament de la porta
The shed features a lockable door for security. To open, disengage the latch and pull the door outwards. To close, push the door firmly shut and engage the latch. For added security, a padlock (not included) can be used with the integrated locking mechanism.

Figure 3: Lockable Metal Latch Detail
5.2 Ventilació
The shed is equipped with four vents to ensure optimal airflow, reducing moisture buildup and protecting stored items from condensation. Ensure these vents remain unobstructed for proper air circulation.
6. Manteniment
Regular maintenance will extend the life and appearance of your Patiowell storage shed.
- Neteja: Periodically clean the exterior with mild soap and water. Avoid abrasive cleaners or harsh chemicals that could damage the finish.
- Elements de fixació: Annually check all screws and bolts for tightness. Re-tighten as necessary to maintain structural integrity.
- Segellat: To enhance weather resistance, consider applying 100% silicone sealant along the base where it meets the foundation, and around the edges of air vents on the interior.
- Drenatge: Ensure the area around the shed remains clear of debris to allow for proper water runoff from the sloping roof.
- Prevenció de l'òxid: Although constructed with rust-resistant materials, inspect for any signs of rust, especially in areas where the finish might be scratched. Address promptly with rust-inhibiting paint if needed.
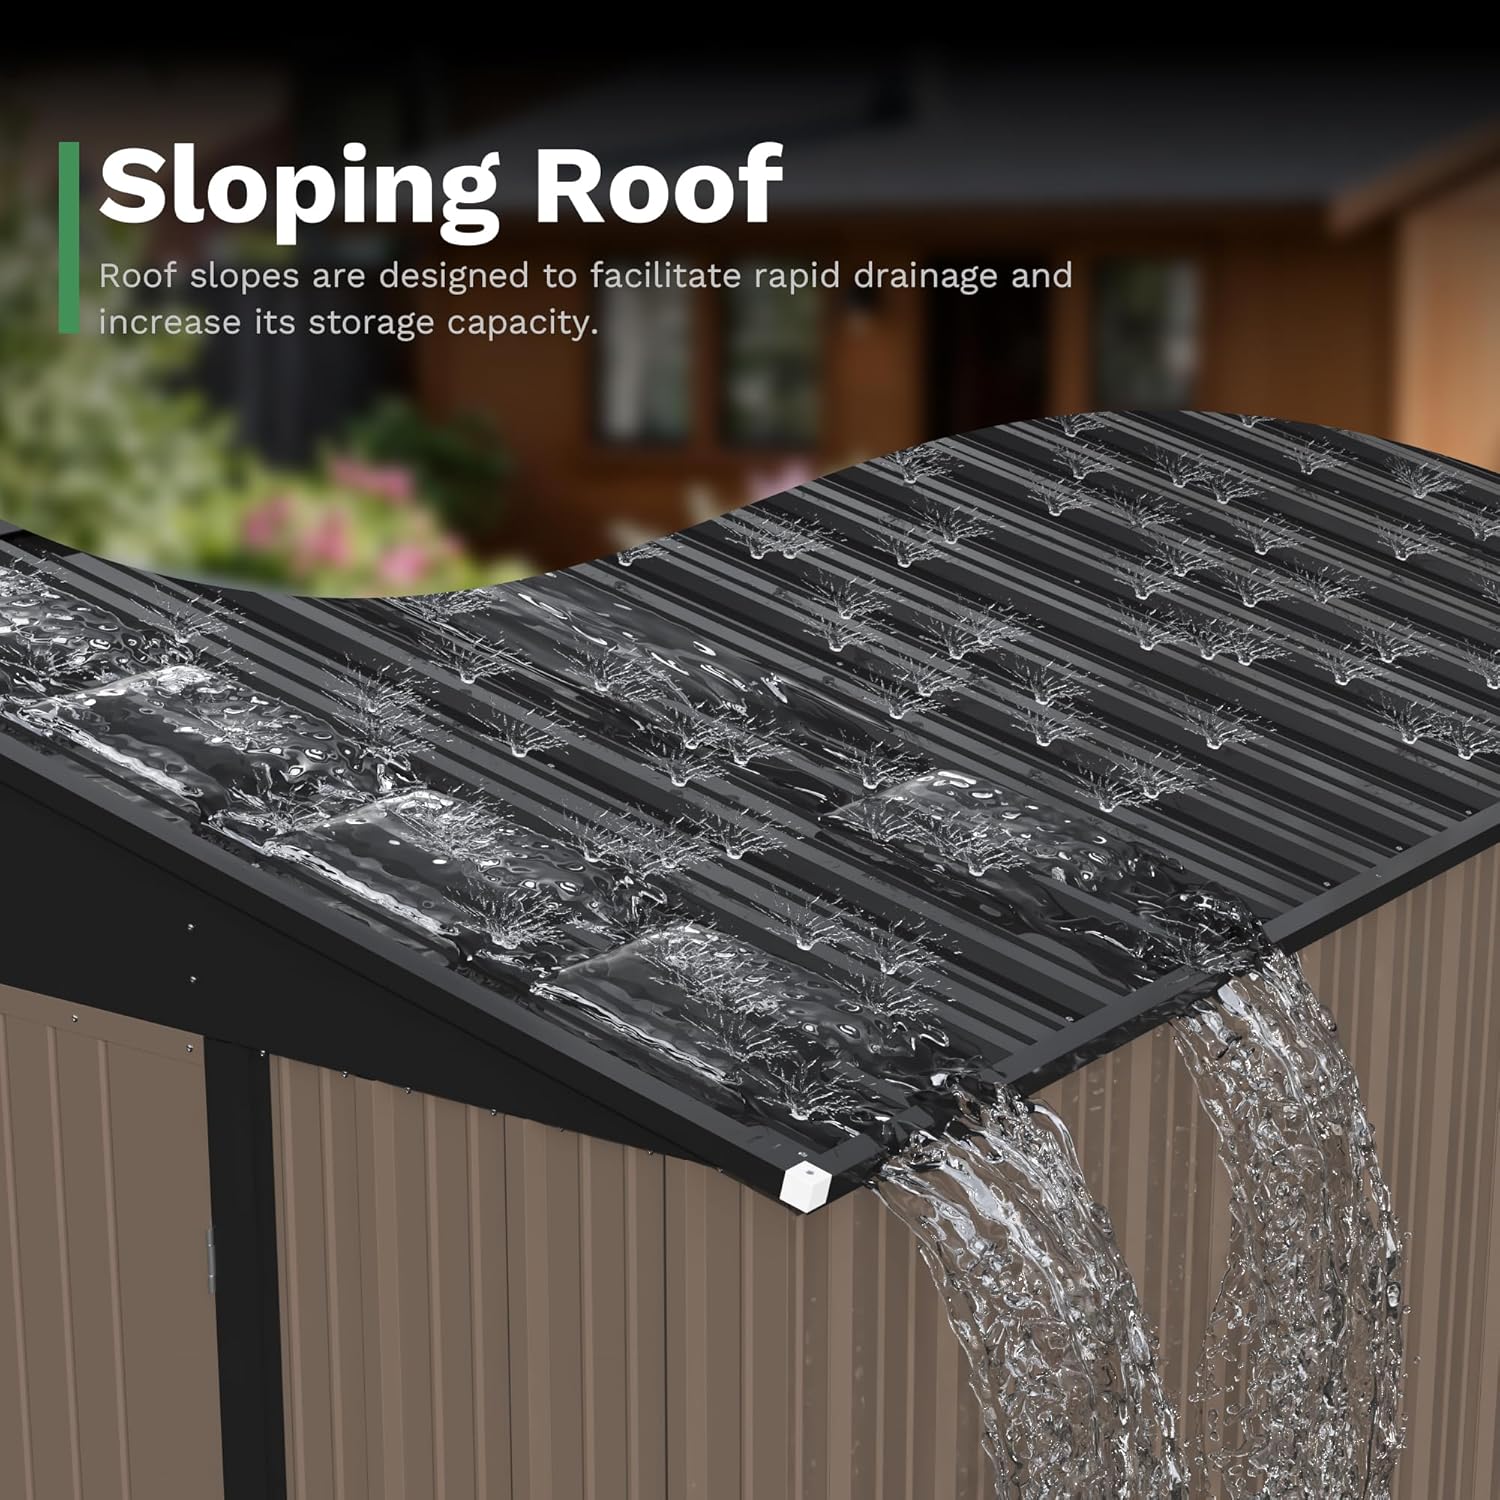
Figure 4: Sloping Roof for Water Drainage
7. Solució De Problemes
Aquesta secció tracta els problemes habituals que poden sorgir durant el muntatge o l'ús.
- Forats no alineats:
Ensure the base is perfectly square. Slight adjustments to the base or gentle manipulation of panels may be required. In rare cases, minor drilling of new holes (an eighth of an inch off) might be necessary if the base is confirmed square and components are correctly oriented.
- Dents or Bends in Panels:
Minor dents or bends can often be pushed out with a thumb or gently bent back into place with pliers. These typically do not affect the structural integrity once the shed is fully assembled.
- Door Gap or Misalignment:
Check hinge adjustments. Small gaps can often be resolved by adjusting the hinges or gently bending the door frame piece. Ensure the shed is on a level surface, as an uneven foundation can cause door misalignment.
- Fuites d'aigua:
Inspect all seams, especially around the roof and base. Apply silicone sealant to any gaps. Ensure roof screws are properly sealed, potentially replacing factory screws with rubber-washered versions for better watertightness.
8. Especificacions
| Marca | Pou del pati |
| Model | 10x14 FT Outdoor Storage Shed |
| Color | marró |
| Material | Acer d'aliatge (metall) |
| Estil | Modern |
| Material base | Acer d'aliatge |
| Tipus de material superior | Acer d'aliatge |
| Nivell de resistència a l'aigua | Resistent a l'aigua |
| Material del marc | Acer d'aliatge |
| Estil de la porta | Frontissa simple, amb pany |
| Muntatge obligatori | Sí |
| Dimensions totals (L x A x A) | 167'' x 113'' x 77'' (approximately 13.9 ft x 9.4 ft x 6.4 ft) |
| Pes de l'article | 140.2 lliures |
| ASIN | B0FMDG7SH6 |
9. Informació de la garantia
For detailed warranty information regarding your Patiowell 10x14 FT Outdoor Storage Shed, please refer to the warranty card included in your product packaging or contact Patiowell customer service directly. Warranty terms typically cover manufacturing defects and material flaws for a specified period from the date of purchase.
10. Atenció al client
If you have any questions, require assistance with assembly, or need to report missing or damaged parts, please contact Patiowell customer support. Refer to the contact information provided in your product packaging or visit the official Patiowell weblloc per obtenir opcions de suport.
També podeu visitar el Patiowell Store on Amazon per obtenir més informació sobre el producte.


